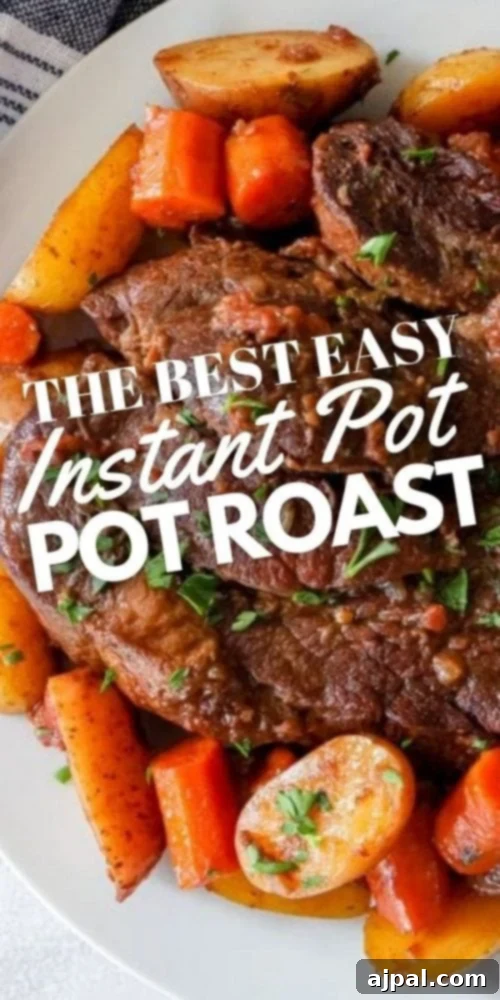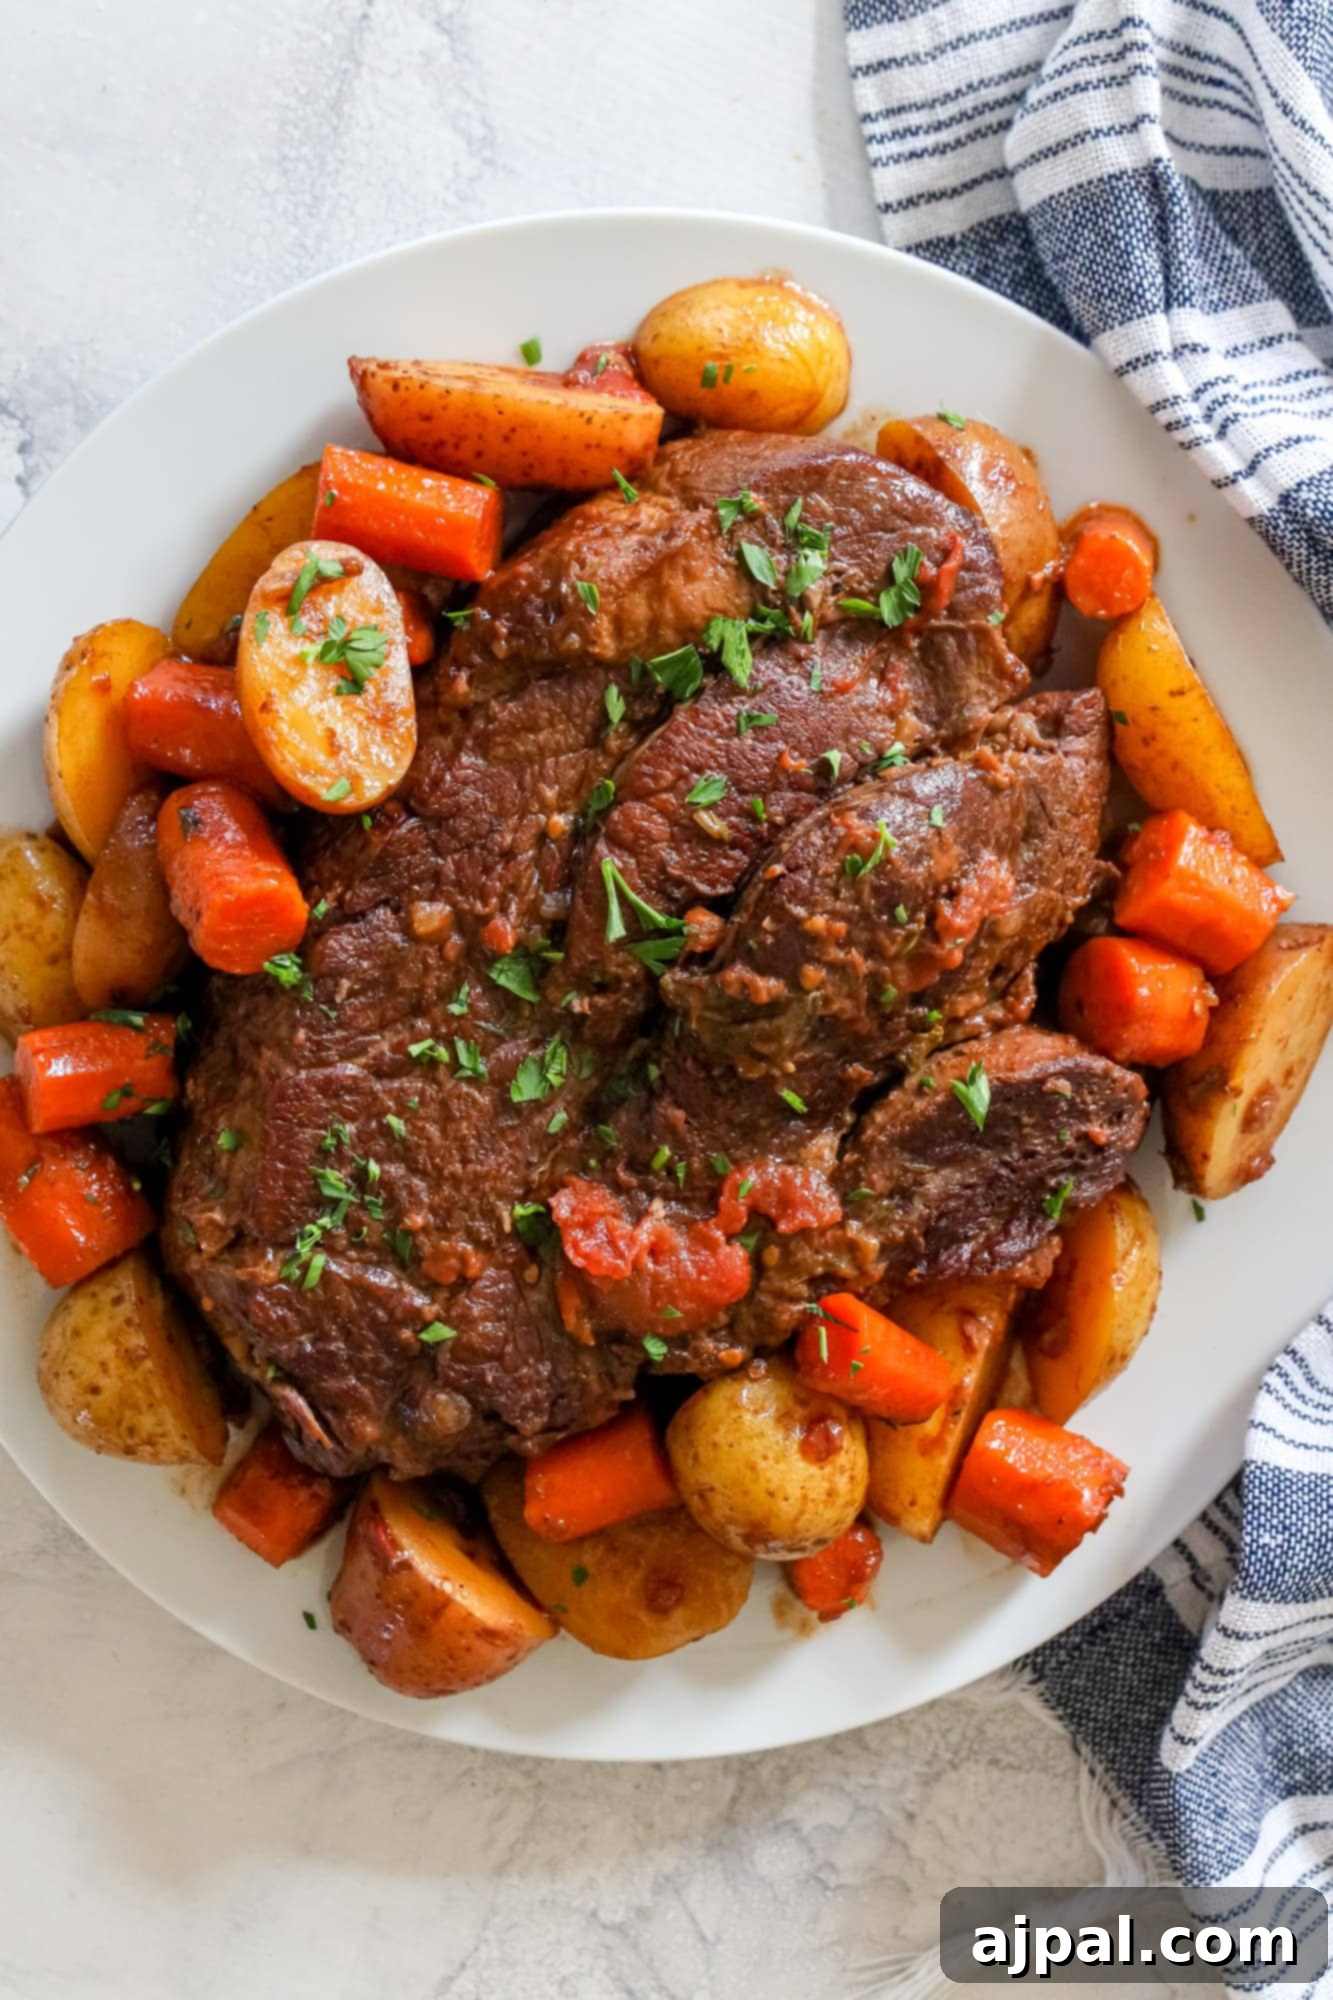
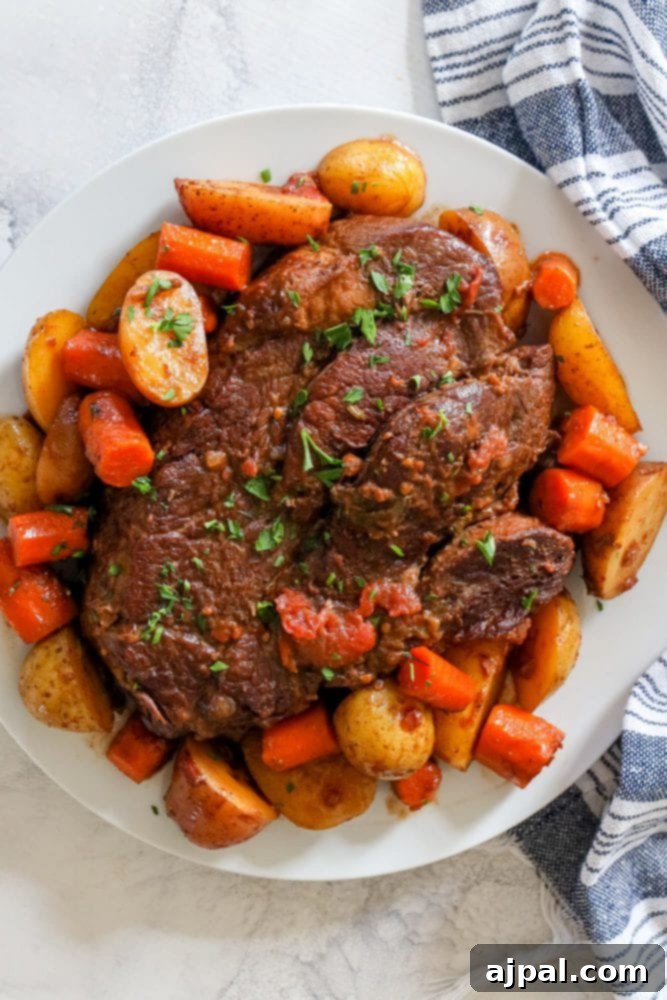
The Best Easy Instant Pot Pot Roast: Tender, Flavorful, and Ready in Under 90 Minutes!
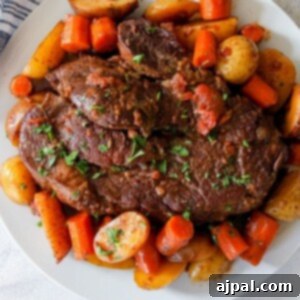
Craving a hearty, comforting pot roast but short on time? This incredible recipe for **Pot Roast in the Instant Pot** is your answer! Chuck roast, known for its rich flavor and potential for incredible tenderness, traditionally requires hours of slow cooking. But with the magic of pressure cooking, you can achieve fall-apart, melt-in-your-mouth beef in a fraction of the time, making this a perfect weeknight meal or a convenient Sunday dinner. We’ve perfected this **Instant Pot Chuck Roast** with wholesome carrots and potatoes, turning a classic comfort food into a quick, family-favorite masterpiece.
Pressure cookers like the Instant Pot are game-changers, transforming budget-friendly cuts of beef into perfectly cooked, succulent dishes every time. Say goodbye to long hours of simmering and hello to effortless gourmet meals. This recipe is designed to deliver maximum flavor and tenderness with minimal fuss, ensuring a delicious and satisfying experience for everyone at your table.
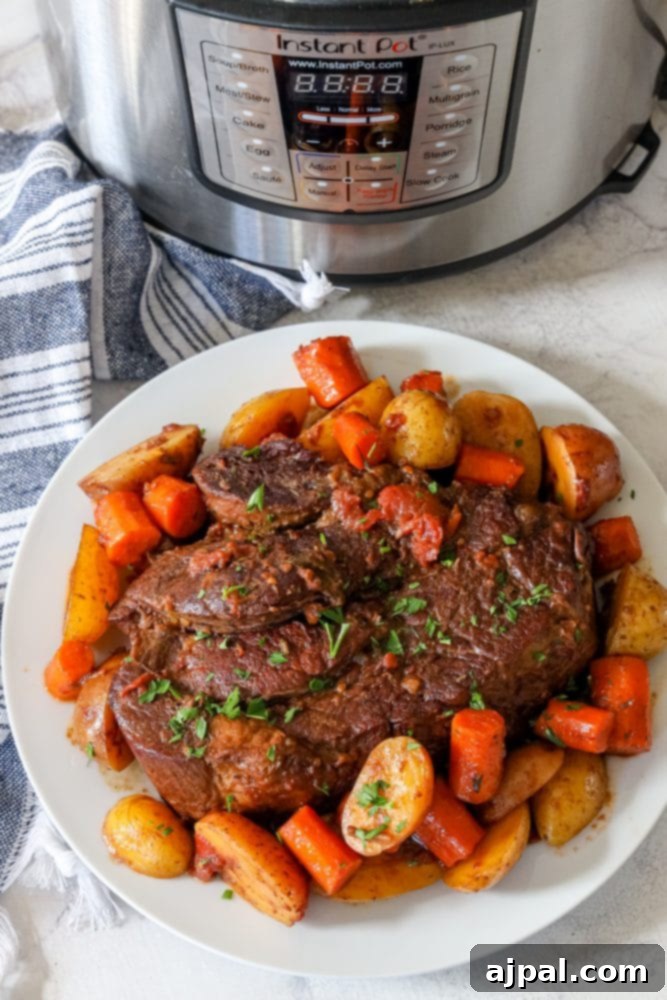
Welcome to a culinary adventure where speed meets flavor! As a home cook without formal training, I understand the desire for clear, easy-to-follow recipes that explain *why* each step and ingredient matters. My goal is to empower even the most novice cook to feel confident and excited in the kitchen, creating dishes that impress without the stress. Dive into this guide for a perfect Instant Pot Pot Roast experience.
Table of Contents
- Why Instant Pot Pot Roast?
- How to Make Instant Pot Pot Roast
- Essential Ingredients for Your Instant Pot Pot Roast
- Step-by-Step Guide to Making Pot Roast in the Instant Pot
- Instant Pot Pot Roast Pro Tips for Perfection
- What to Serve with Your Instant Pot Pot Roast
- Storing Your Pressure Cooker Pot Roast
- Instant Pot Chuck Roast FAQs
Why Instant Pot Pot Roast?
If you adore the rich, savory flavors of a classic pot roast but simply don’t have the luxury of waiting all day for it to slowly braise in a Dutch oven or slow cooker, this recipe is about to become your new culinary obsession. We’re leveraging the incredible efficiency of the Instant Pot pressure cooker to significantly reduce the cooking time for a traditional pot roast, complete with tender carrots and potatoes, to under an hour of active cooking. This makes it an ideal choice for busy weeknights, last-minute gatherings, or whenever you crave comforting food without the extensive prep. You can even start with a frozen chuck roast, adding to its unparalleled convenience. Prepare to be amazed at how quickly you can achieve a truly spectacular meal!
Looking for a visual guide? You can also check out our exciting web story about this amazing pot roast recipe!
How to Make Instant Pot Pot Roast
Creating a mouthwatering pot roast in your Instant Pot is surprisingly straightforward. The key lies in layering flavors and allowing the pressure cooker to do the heavy lifting, tenderizing the meat and vegetables to perfection. Follow these steps for an unforgettable meal that tastes like it cooked all day.
Essential Ingredients for Your Instant Pot Pot Roast
To craft this incredibly tender and flavorful Instant Pot Pot Roast, gather these simple yet powerful ingredients:
- 2 tbsp butter: Butter is crucial for developing a rich, deeply delicious crust when browning the roast, adding a layer of complex flavor. While oil can be substituted, butter truly elevates the initial searing process.
- 3-5 pound boneless chuck roast: Chuck roast is the star here. This affordable cut of beef is packed with connective tissue that, when cooked under pressure, breaks down beautifully to create an exceptionally soft, tender, and easy-to-chew texture that the entire family will adore.
- 1 large onion, cut into fourths: Onions provide an earthy, slightly sweet aromatic foundation, perfectly complementing the rich beef and rounding out the overall flavor profile of your hearty dinner.
- 4 large carrots, peeled and chopped into large 1-2″ chunks: A classic partner to pot roast, carrots offer a natural sweetness and tender texture that beautifully contrasts and cuts through the savory, meaty flavors of the beef.
- 1 lb small boiler potatoes/Yukon Gold potatoes, halved: Yukon Gold potatoes are ideal for this recipe. Their waxy texture helps them hold their shape during pressure cooking, and their rich, buttery flavor pairs wonderfully with the beef.
- 4 stalks celery, rough chopped: Celery adds a subtle, refreshing earthy note and contributes a natural salty depth to the roast, enhancing the overall savory balance of the dish.
- 6 cloves garlic, peeled (chop or toss in whole – up to you!): As a fervent garlic lover, I believe more is always better! Garlic infuses the entire dish with a pungent, aromatic warmth that is simply irresistible. Feel free to adjust to your preference.
- 1 tsp fresh cracked black pepper: Freshly cracked black pepper adds a vibrant, sharp counterpoint to the rich flavors, enhancing the savory notes of the roast.
- 1 tsp Celtic sea salt: Celtic sea salt provides a nuanced mineral flavor and helps to draw out moisture, perfectly seasoning the meat and vegetables from within.
- 1 tbsp Italian herbs seasoning: A blend of classic Mediterranean herbs, Italian seasoning adds a fragrant, earthy, and slightly peppery depth that complements the beef and vegetables beautifully.
- 1-2 sprigs rosemary: Fresh rosemary imparts a piney, peppery, and woodsy aroma and flavor, adding a gourmet touch that truly elevates the pot roast.
- 1 cup good quality red wine: Choose a red wine whose flavor you genuinely enjoy drinking, but avoid anything overly expensive. The wine will deglaze the pot, adding complexity and richness to the sauce as it cooks down.
- 1 1/2 cup beef stock: Opt for a lower sodium beef stock. This allows you complete control over the salt levels in your final dish, ensuring the best possible flavor balance and depth.
Step-by-Step Guide to Making Pot Roast in the Instant Pot
Follow these detailed steps to create a succulent Instant Pot Pot Roast:
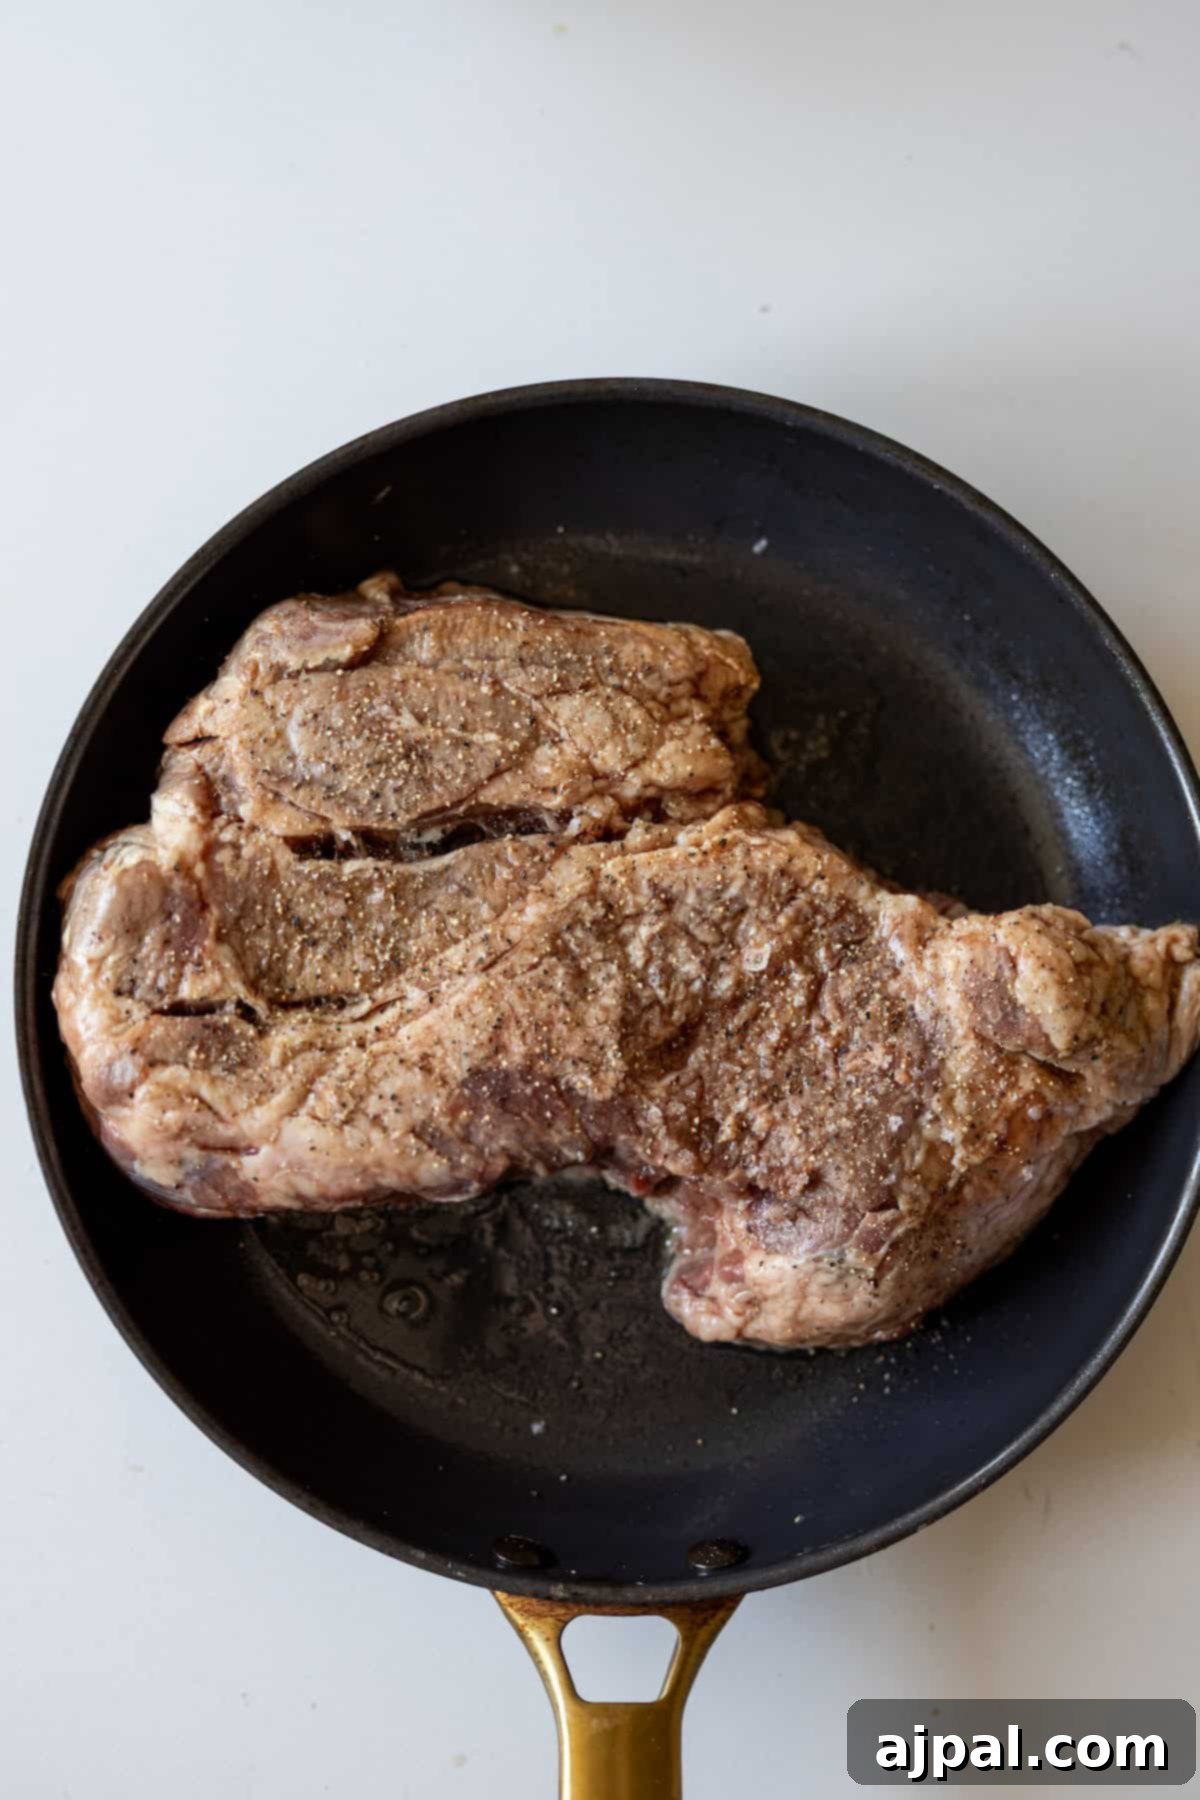
1. Brown the Pot Roast
Set your Instant Pot to the “Sauté” function (or use a large skillet on the stovetop). Add butter and allow it to melt and shimmer. If you’re cooking a roast directly from frozen, skip this browning step for the meat and proceed to brown only the vegetables, as frozen meat tends to stick. For fresh or thawed roast, pat it thoroughly dry with paper towels to ensure a good sear, then generously season all sides with salt and freshly cracked black pepper. Carefully place the seasoned roast into the hot pot and brown it deeply on all sides until a rich, dark crust forms. This crucial step develops immense flavor. Once browned, remove the roast and set it aside.
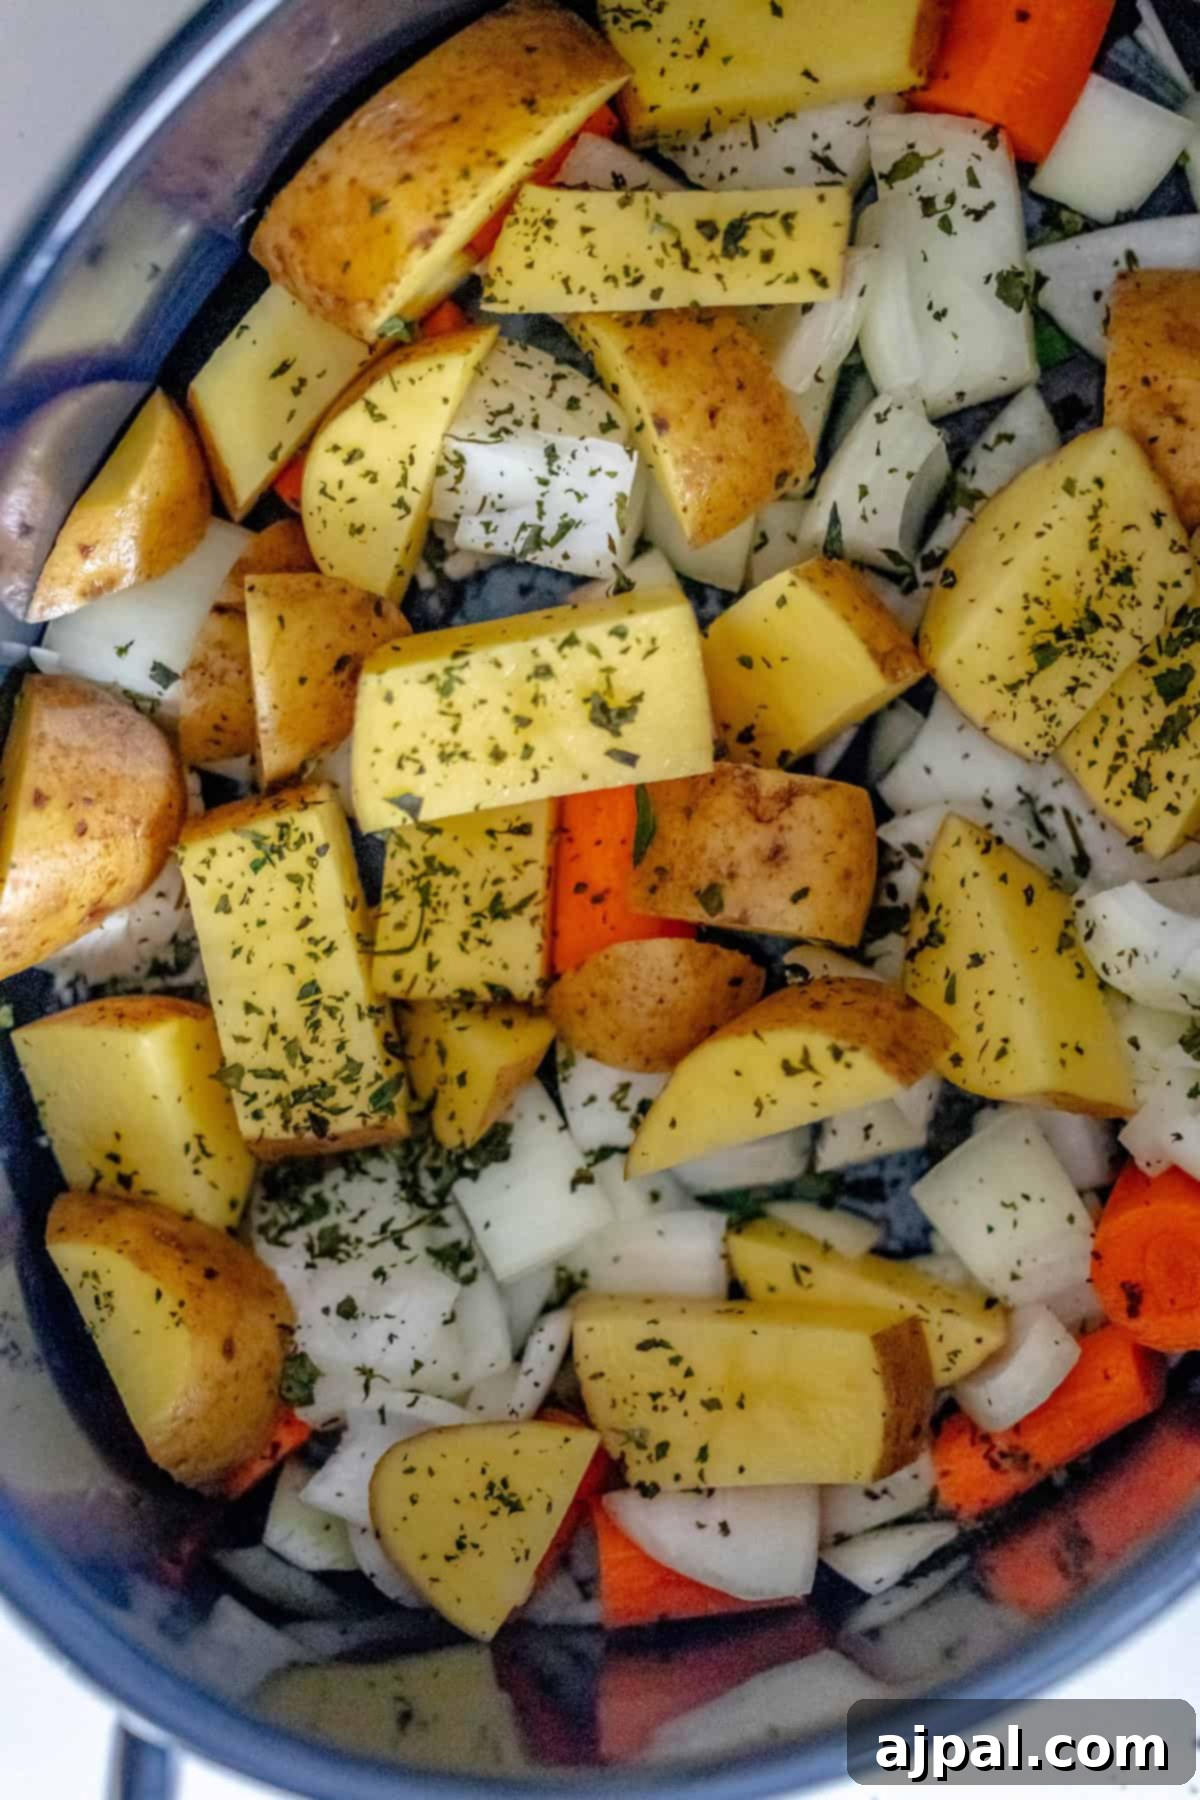
2. Sauté Vegetables and Deglaze
In the same Instant Pot (still on “Sauté” mode), add the chopped onion, celery, garlic, and carrots. Sauté these aromatic vegetables for 5-8 minutes, stirring occasionally, until they begin to soften and release their fragrant oils. This step builds another layer of flavor. Once softened, remove the vegetables from the pot and set them aside with the browned roast. Now, it’s time to deglaze the pot: pour in the beef stock and red wine, using a wooden spoon or spatula to carefully scrape up any browned bits of food (known as “fond”) from the bottom of the Instant Pot. This fond is packed with flavor and is essential for a rich sauce, plus it prevents a “burn” error message during pressure cooking.
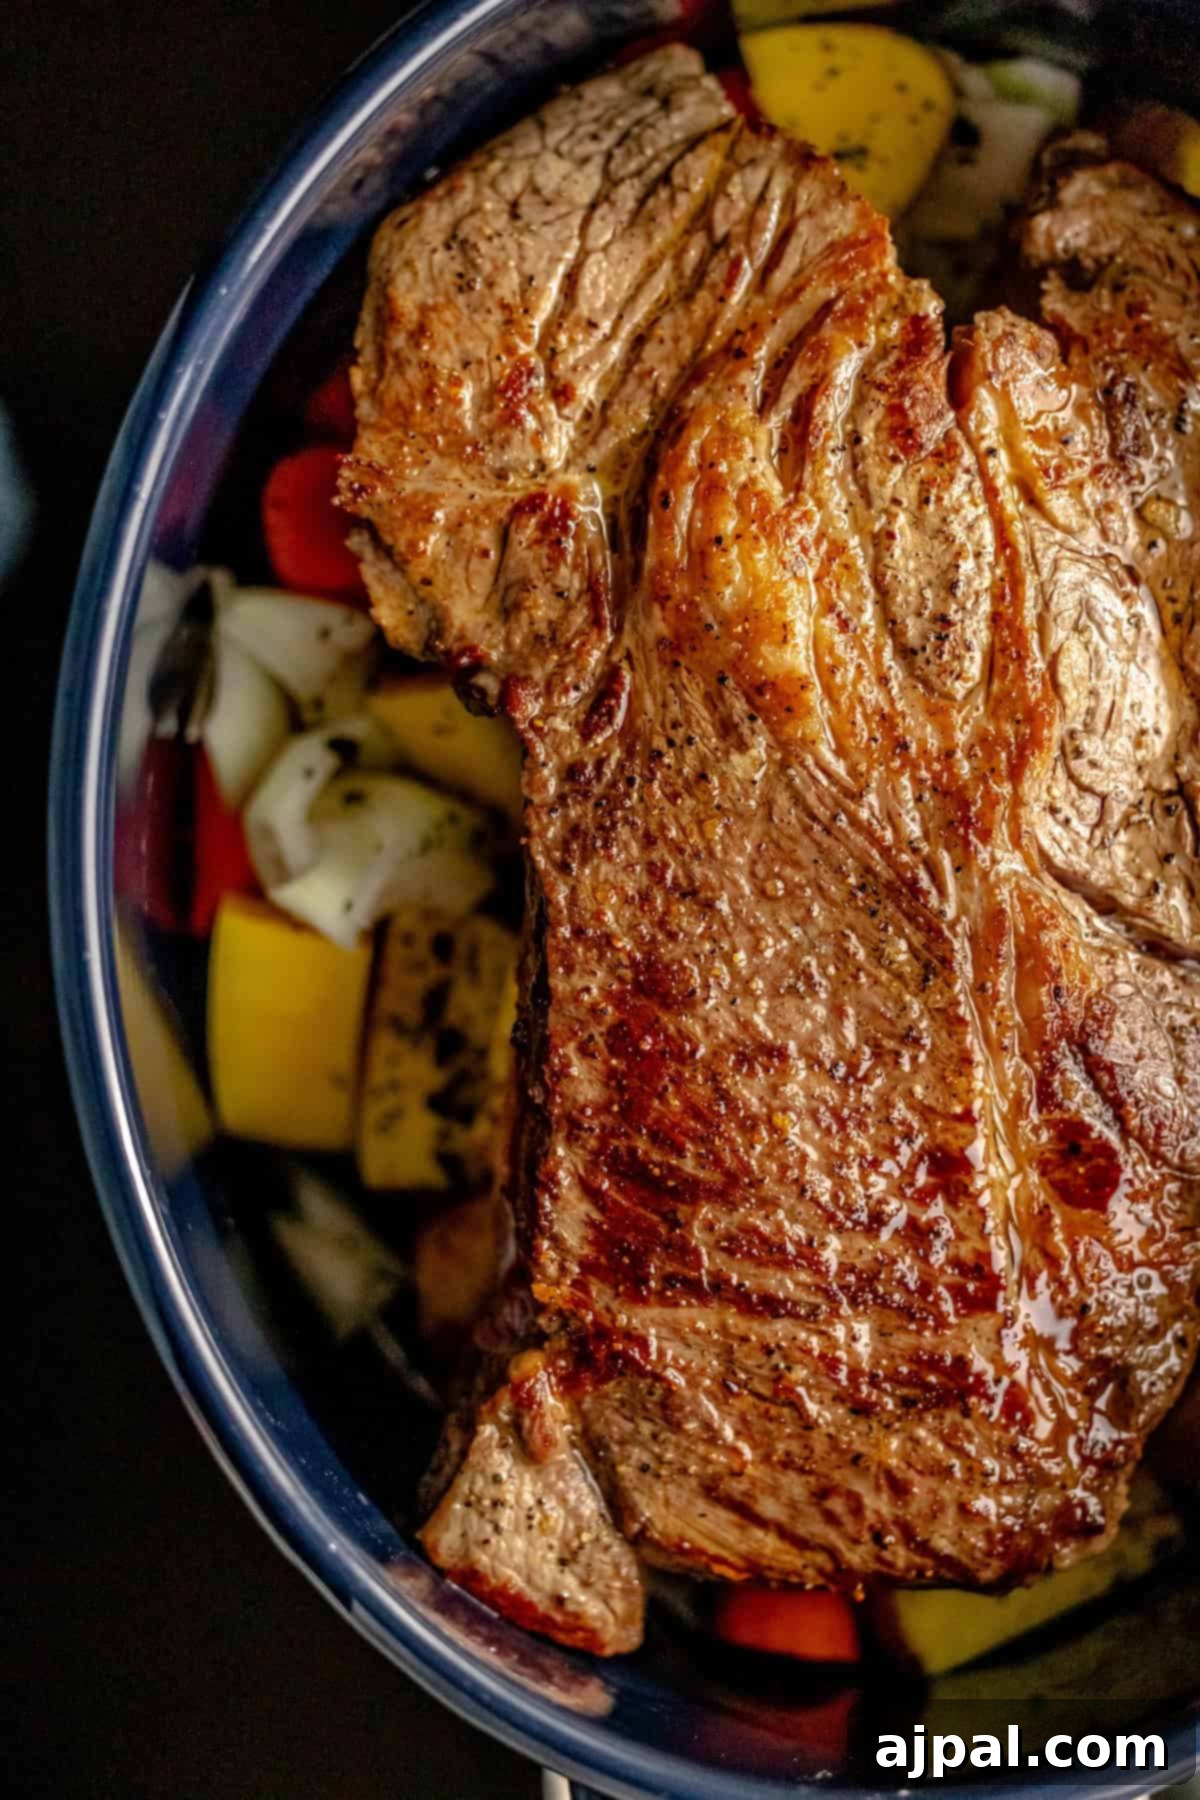
3. Pressure Cook to Perfection
Return the browned roast to the Instant Pot, nestling it into the liquid. Add the reserved sautéed vegetables, halved potatoes, Italian herbs seasoning, and fresh rosemary sprigs. Ensure all ingredients are submerged as much as possible in the liquid for even cooking. Secure the Instant Pot lid, ensuring the sealing ring is properly in place. Turn the steam release valve to the “Sealing” position. Select the “Pressure Cook” or “Manual” setting and set the cooking time to “High Pressure” for 45 minutes. The Instant Pot will take some time to build pressure before the countdown begins.
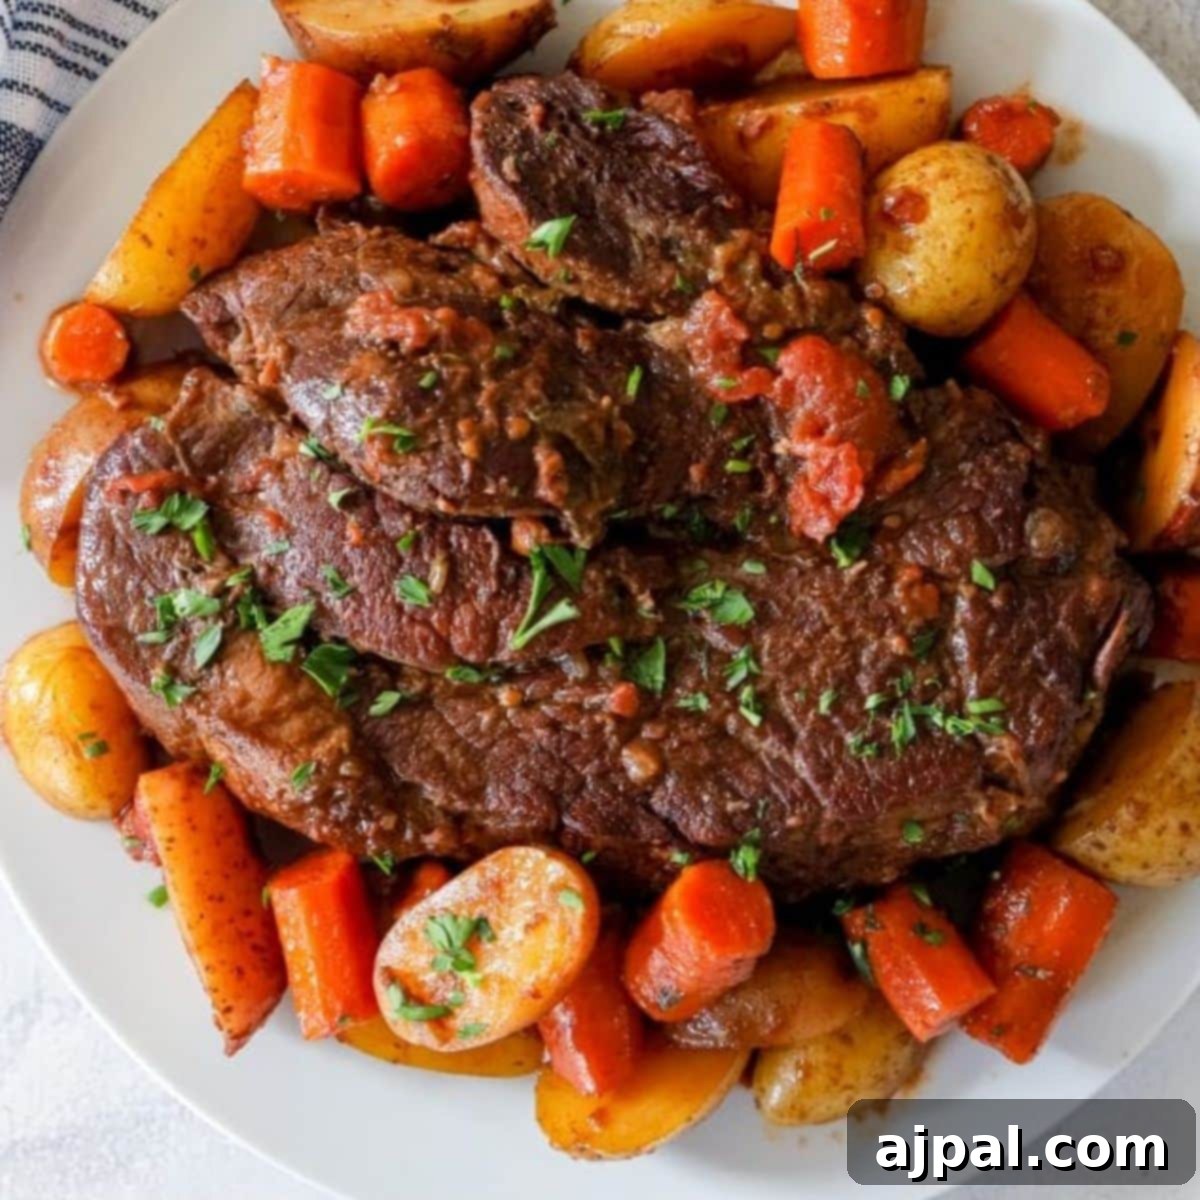
4. Natural Release and Serve
Once the Instant Pot completes its cooking cycle, allow it to naturally release pressure for about 15 minutes. This natural release is crucial as it allows the internal temperature of the roast to gradually equalize, resulting in an even more tender and juicy piece of meat. After 15 minutes, you can carefully turn the steam release valve to the “Venting” position to release any remaining pressure. Once the float valve drops, open the lid. Carefully remove the magnificent pot roast from the Instant Pot, slice it or gently pull it apart, and arrange it on a serving platter with the tender vegetables and potatoes. Drizzle generously with the flavorful cooking liquid. Serve hot and enjoy your perfectly cooked, effortless meal!
Instant Pot Pot Roast Pro Tips for Perfection
Mastering the Instant Pot for pot roast is simple with these expert tips:
- Cooking Frozen Pot Roast: The beauty of the Instant Pot is its ability to cook from frozen with minimal fuss. Generally, you won’t need to significantly alter your cook time when using a frozen roast, as it will thaw quickly as the pot comes to pressure. However, expect the Instant Pot to take an additional 30-40 minutes to come to pressure with a large frozen roast. For very thick chuck roasts, I often increase the programmed high-pressure cook time to 55 minutes instead of 45, ensuring maximum tenderness. Remember to season your frozen roast with salt and pepper when you add it to the Instant Pot after browning the vegetables.
- Knowing When Your Roast is Done: Unlike steaks, which are judged by internal temperature, pot roast relies on a different indicator for doneness: tenderness. You’re looking for a roast that is fork-tender, not necessarily falling apart but easily yielding to gentle pressure. After 45 minutes at high pressure with a natural release (approximately 15 minutes), remove the lid. Test the roast by gently pulling at the meat with a fork. If it feels soft and begins to shred easily, it’s perfectly done.
- What if Your Roast Isn’t Tender Enough? In the rare event that your roast isn’t as tender as desired after the initial 45-minute pressure cook and natural release (perhaps due to a slightly larger cut or a less-than-perfect seal), don’t despair! Simply reseal the Instant Pot and cook for an additional 5-8 minutes at high pressure. This extra cooking time will typically achieve the desired tender texture.
- Choosing the Right Chuck Roast: Look for a chuck roast with good marbling (streaks of fat throughout the meat). This fat melts during cooking, infusing the meat with flavor and keeping it incredibly moist and tender.
- Searing is Essential: Don’t skip the browning step! Searing the roast before pressure cooking creates the Maillard reaction, developing a deep, caramelized crust and locking in savory flavors that will permeate the entire dish. This also prevents the meat from looking grey.
- Making a Rich Gravy: After removing the roast and vegetables, you’ll be left with a flavorful cooking liquid. For a thicker gravy, you can use the “Sauté” function to simmer and reduce the liquid, or create a slurry by mixing a tablespoon of cornstarch with a tablespoon of cold water, then whisking it into the simmering liquid until thickened.
- Adding Fresh Herbs at the End: For an extra burst of fresh flavor, consider adding a few fresh parsley or dill sprigs after the pressure cooking is complete and before serving.
What to Serve with Your Instant Pot Pot Roast
This Instant Pot Pot Roast is truly a complete one-pot meal, with the potatoes and carrots cooking right alongside the succulent beef. However, if you’re looking to elevate your dinner or add more variety, here are some fantastic side dish and dessert ideas to complement this drool-worthy main course:
Classic Accompaniments:
- Our to-die-for buttery soft dinner rolls are perfect for soaking up every last drop of the rich gravy.
- For a touch of green, try our brown butter bacon brussels sprouts or quick and easy broccolini.
- A simple green salad with a light vinaigrette offers a refreshing contrast.
Sweet Endings:
To finish your meal on a sweet note, consider one of these delightful desserts:
- A delicious blueberry peach cobbler
- A light and tangy lemon jello poke cake
- Elegant berries with creme anglaise
- Our irresistible apple sopapilla cheesecake bars
You can click here to explore our complete side dish recipe archives for even more inspiration.
Storing Your Pressure Cooker Pot Roast
To properly store your Instant Pot Pot Roast and maintain its delicious flavor and moisture, first allow it to cool completely to room temperature. Once cooled, transfer the roast and any remaining cooking juices into an airtight container or a resealable bag. The juices are key to keeping the meat moist during storage. Refrigerate the pot roast if you plan to enjoy it within 3 to 4 days. For longer storage, up to 2 to 3 months, freeze the roast and juices. When reheating, it’s best to thaw frozen pot roast in the refrigerator overnight. Gently warm it on the stovetop or in the microwave, adding a splash of broth if needed, to preserve its tender texture and rich taste.
Instant Pot Chuck Roast FAQs
Boneless chuck roast is overwhelmingly our top choice for the most tender and flavorful pot roast. Its marbling and connective tissue break down beautifully under pressure, resulting in an incredibly succulent dish.
While a pot roast should be wonderfully fork-tender, it doesn’t necessarily have to completely fall apart when served. This particular recipe aims for a beautifully fork-tender roast that can be easily sliced, offering a more structured presentation than a fully shredded roast.
When cooking pot roast in a pressure cooker, we don’t rely on a specific thermometer temperature as we would for a steak. The high-pressure environment ensures food safety beyond the typical 145-degree guideline. Your pot roast will typically reach an internal temperature of about 190 degrees Fahrenheit, which is the ideal point where the tough connective tissues and fats fully break down, creating that signature tender texture.
Your pot roast should be perfectly done after 45 minutes at high pressure in the Instant Pot, followed by a natural release. You’ll know it’s ready when the meat pulls back slightly and yields easily to light pressure from a fork. It will be soft and tender, ideal for slicing. If, after releasing pressure, it still feels tough, cook for an additional 5-8 minutes at high pressure.
When pot roast is the main protein of your meal, a good rule of thumb is to plan for approximately 1/2 pound (or 8 ounces) of raw meat per person. This ensures generous servings for everyone.
For the absolute best flavor and to achieve an appealing color for your meat, we highly recommend browning the roast in the Instant Pot (or a separate pan) before adding other ingredients and pressure cooking. This searing step creates a rich, caramelized crust that significantly enhances the overall taste and visual appeal of your pot roast.
More Delicious Recipes to Try
Easy Cranberry Fluff Salad
Dilly Bread Recipe
Cabbage and Noodles
Bacon Rye Stuffing
Click here for our full dessert recipe index!
If you love this easy recipe, please share your thoughts and a five-star rating below! Your feedback helps others discover and enjoy these delicious meals. Don’t forget to share your culinary creations on Instagram, Facebook, and Pinterest – we love seeing what you make!
Share on Facebook
Share
Pin this now to find it later
Pin It
Follow on Instagram
Follow
Only have 30 minutes to get dinner on the table? Sign up for my 30-minute dinner plans direct to your inbox!
Find and shop my favorite products in my Amazon storefront here!
Pressure Cooker Pot Roast
Equipment
-
Instant Pot Duo Crisp Pressure Cooker 11 in 1 with Air Fryer, 8 Qt, Cook and Crisp
-
OXO Good Grips 9-Inch Tongs with Silicone Heads
Ingredients
- 2 tbsp butter
- 3-5 pound boneless chuck roast
- 1 large onion, cut into fourths
- 4 large carrots, peeled and chopped into large 1-2″ chunks
- 1 lb small boiler potatoes/Yukon Gold potatoes, halved
- 4 stalks celery, rough chopped
- 6 cloves garlic, peeled (chop or toss in whole- up to you!)
- 1 tsp fresh cracked black pepper
- 1 tsp Celtic sea salt
- 1 tbsp Italian herbs seasoning
- 1-2 sprigs rosemary
- 1 cup good quality red wine
- 1 ½ cup beef stock
Instructions
-
In your Instant Pot set to “Sauté” mode, or in a large skillet on the stove, melt the butter. If cooking roast directly from frozen, skip browning the roast and just brown the vegetables – frozen roast will stick to the pan. Season the roast with salt and pepper once you add it to the Instant Pot.
-
Pat the roast dry with paper towels to ensure a good sear, then generously season with salt and pepper on all sides.
-
Add the seasoned roast to the hot pot and brown it on all sides until a deep, appetizing crust forms. Remove the browned roast and set it aside.
-
Add the chopped onion, celery, garlic, and carrots to the Instant Pot. Sauté these vegetables for 5-8 minutes until they begin to soften and become fragrant.
-
Remove the sautéed vegetables from the pot and set them aside with the roast. Deglaze the Instant Pot by pouring in the beef stock and red wine, carefully scraping up any browned bits from the bottom of the pot. This prevents a “burn” notice and adds great flavor.
-
Return the browned roast to the Instant Pot, then add the sautéed vegetables, potatoes, Italian herbs, and rosemary sprigs.
-
Secure the Instant Pot lid, ensuring the steam release valve is set to the “Sealing” position.
-
Set the Instant Pot to “High Pressure” for 45 minutes.
-
Once the cooking cycle is complete, allow the Instant Pot to naturally release pressure for about 15 minutes. This helps tenderize the meat further.
-
Carefully remove the lid. Take out the pot roast, slice or shred it as desired, and serve alongside the tender vegetables and potatoes, drizzled with the rich cooking liquid!
Nutrition
Calories: 546kcal
Carbohydrates: 15g
Protein: 49g
Fat: 31g
Saturated Fat: 13g
Polyunsaturated Fat: 16g
Trans Fat: 2g
Cholesterol: 162mg
Sodium: 470mg
Fiber: 2g
Sugar: 2g
Nutrition information is automatically calculated, so should only be used as an approximation.
Additional Info
Tried this recipe?
Mention @sweetcsdesigns or tag #sweetcsdesigns!