
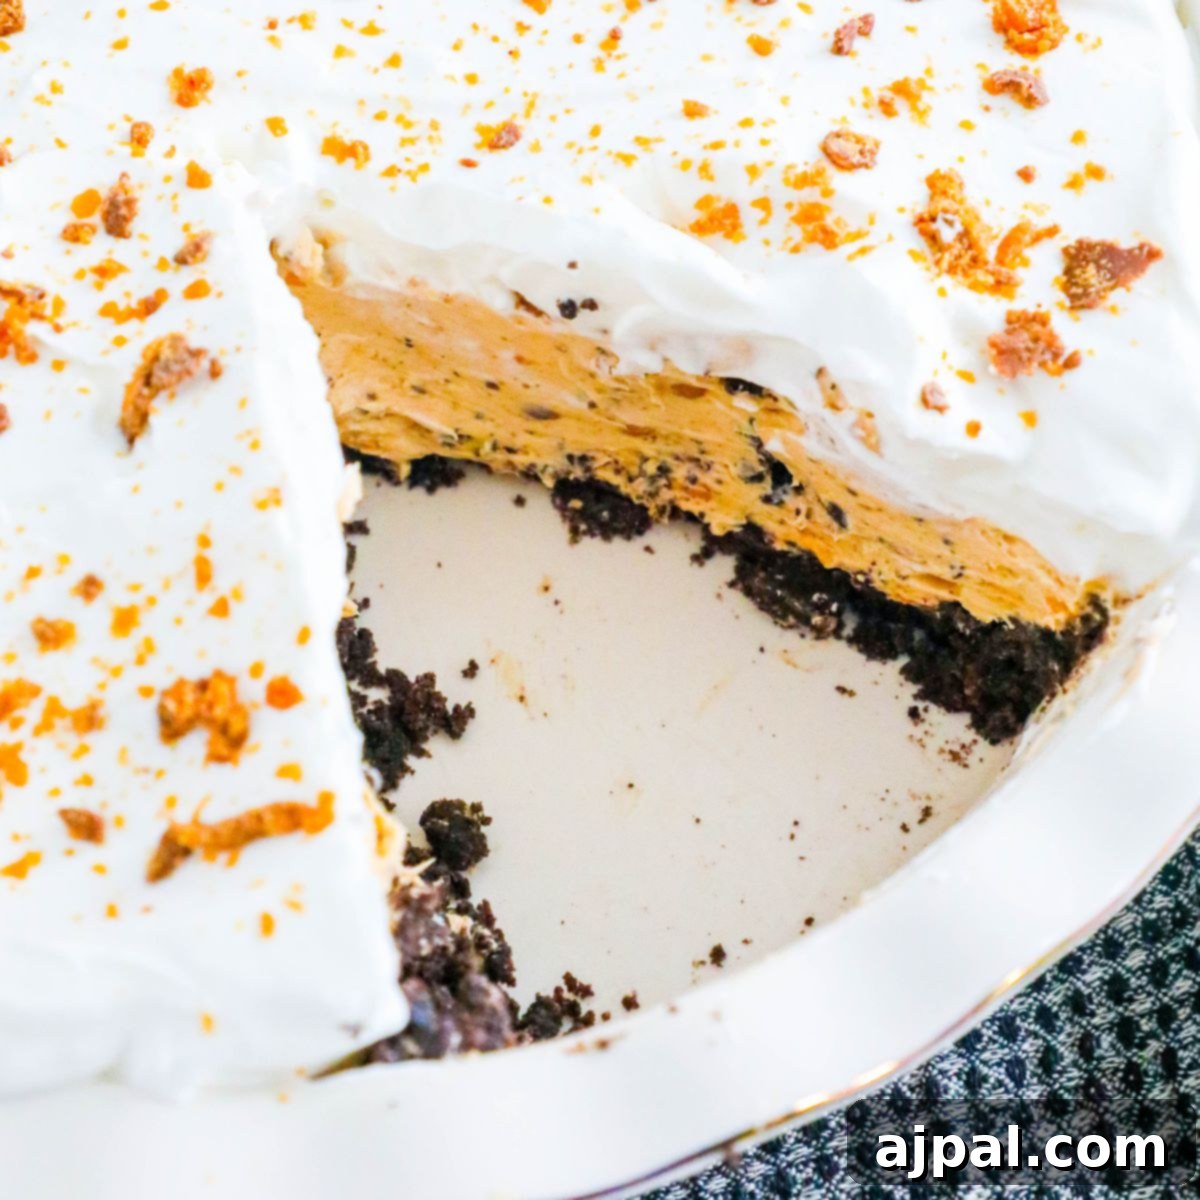
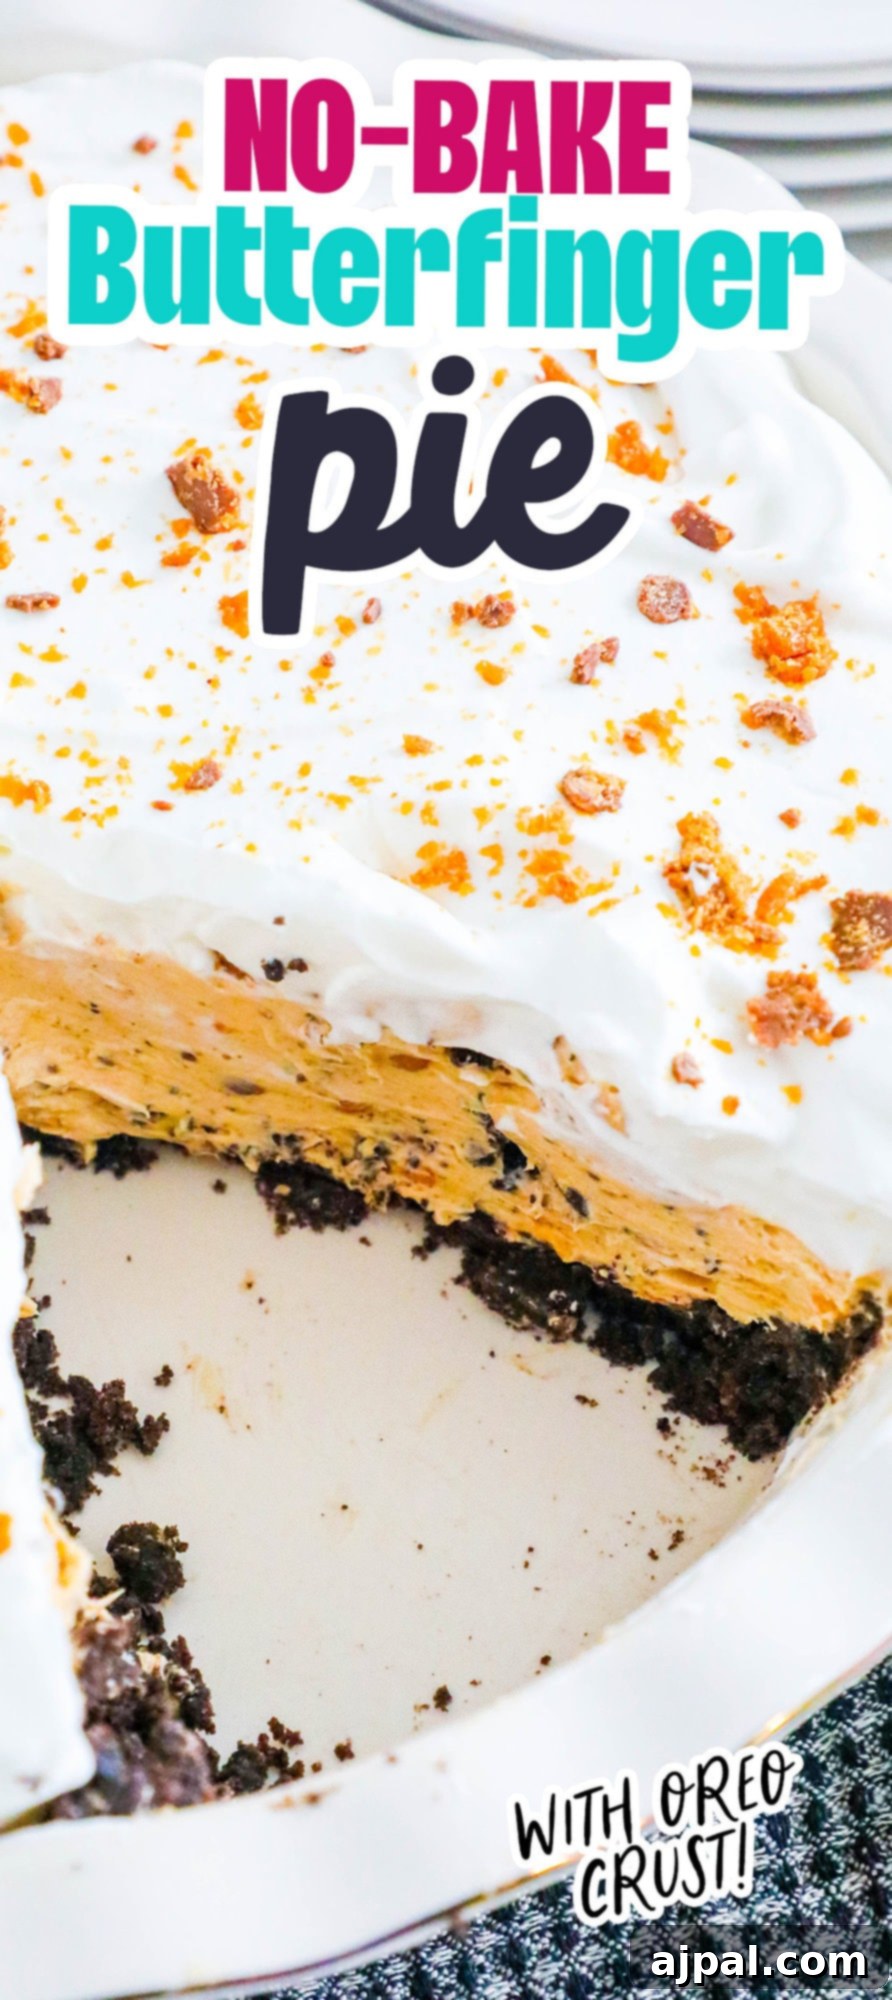
Indulge in the ultimate dessert experience with this incredible Butterfinger Pie! A dream come true for anyone with a sweet tooth, this no-bake wonder effortlessly combines the iconic crunch of Butterfinger candy bars with a luxuriously creamy, fluffy filling. Imagine the irresistible blend of sweet, salty, and crunchy textures melting in your mouth – that’s the magic of this pie. It’s a favorite among candy bar enthusiasts and dessert lovers alike, promising a decadent treat that’s surprisingly easy to create. Perfect for holidays, potlucks, or simply satisfying a late-night craving, this Butterfinger Pie is a guaranteed crowd-pleaser that will leave everyone asking for more.
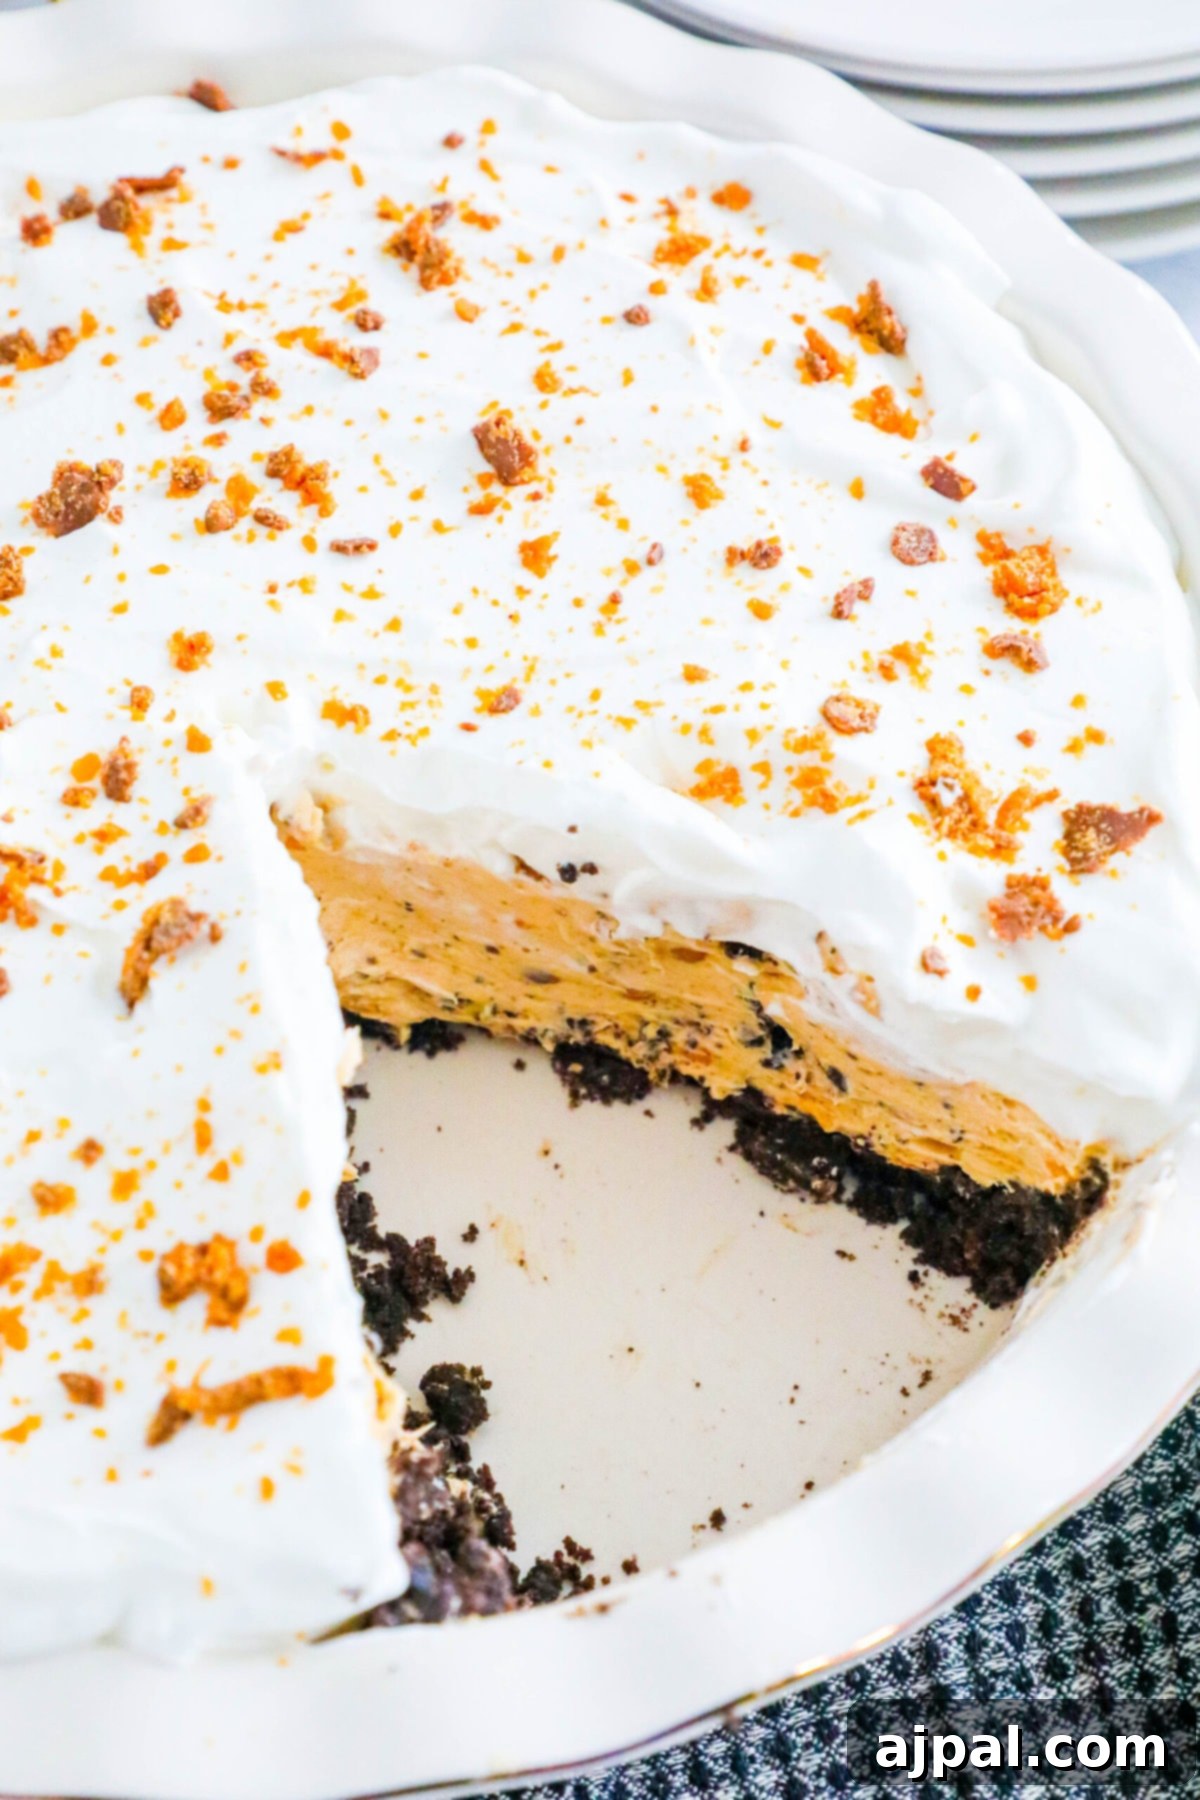
Effortlessly Easy: The Joy of a No-Bake Butterfinger Pie
One of the most appealing aspects of this Butterfinger Pie recipe is its incredible simplicity, especially as a no-bake dessert. Forget the complexities of traditional baking; this pie liberates you from the oven, making it an ideal choice for warm weather or when you’re simply short on time. The ease of preparation doesn’t compromise on flavor or texture; instead, it allows the vibrant tastes of Butterfinger, peanut butter, and creamy goodness to shine through. The pie typically starts with a rich chocolate cookie or graham cracker crust, providing a delightful crunch that perfectly complements the smooth, airy filling. This contrast in textures is key to its widespread appeal, ensuring every bite is a delightful exploration of flavors and sensations.
To assemble this dreamy dessert, you’ll need a handful of readily available ingredients that blend seamlessly to form its signature taste. The core components often include softened cream cheese, light whipped cream (or whipped topping), a touch of powdered sugar for sweetness, a splash of vanilla extract, and, of course, plenty of crushed Butterfinger candy bars. These are layered over a sturdy, flavorful pre-made crust. The combination of cream cheese and whipped cream whips up into a remarkably light and airy base, which then cradles the generous scattering of crunchy Butterfinger pieces. Once the filling is poured into the crust, a brief chill in the refrigerator is all it takes for the pie to set beautifully, transforming humble ingredients into an impressive, show-stopping dessert.
The beauty of the Butterfinger Pie lies not just in its effortless preparation but also in its incredible versatility. While the classic recipe is undeniably delicious, it serves as an excellent canvas for culinary creativity. Feel free to customize it to your heart’s desire! Imagine a luscious layer of warm hot fudge sauce beneath the creamy filling, or an extra flourish of whipped cream and a sprinkle of additional Butterfinger crumbles on top for an even grander presentation. Whether you’re a devoted fan of Butterfinger candy bars, a peanut butter aficionado, or simply someone who appreciates a rich, creamy, and satisfying dessert, this pie is designed to impress and delight. Its combination of convenience, decadent flavor, and satisfying texture ensures it will be a resounding hit at any gathering or a perfect personal indulgence.
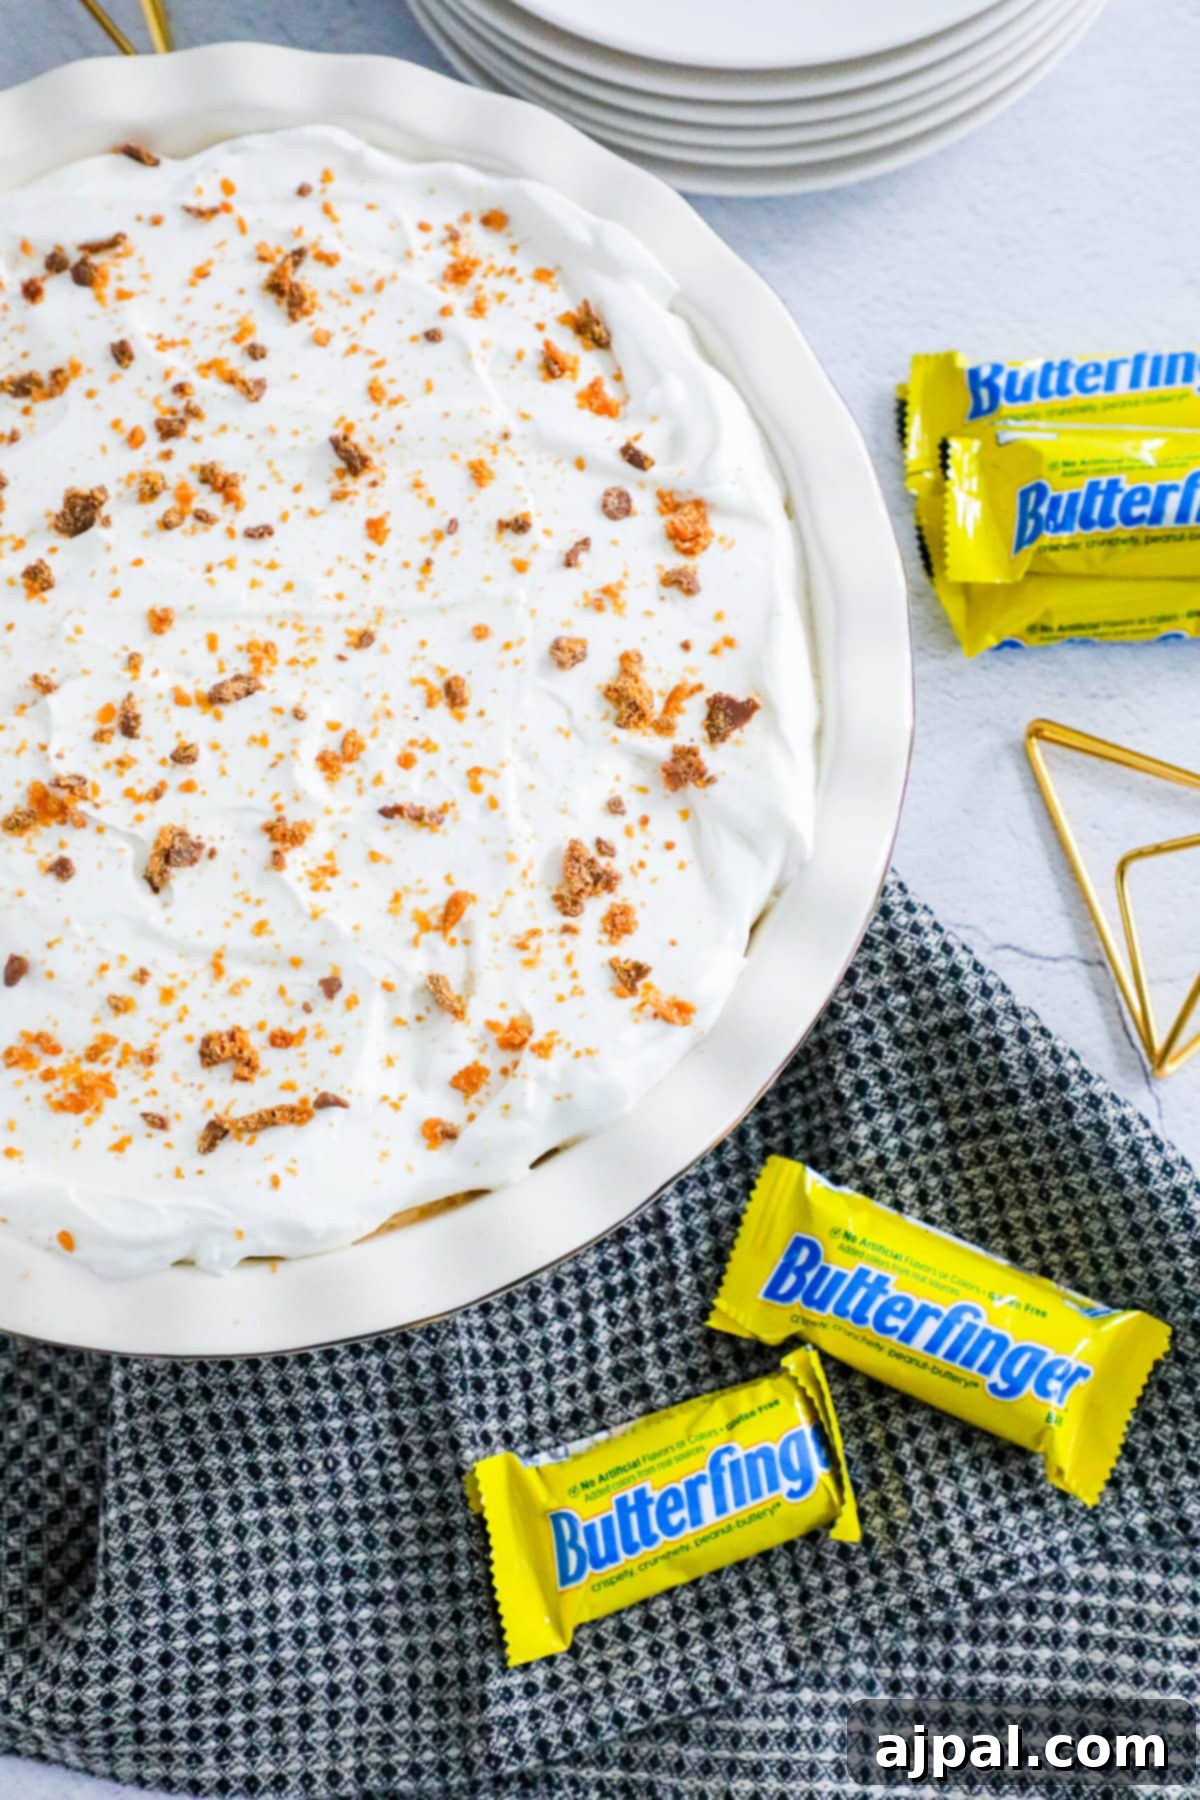
Crafting Your Own Butterfinger Pie: A Step-by-Step Guide
Ready to embark on a delightful baking journey? Making a homemade Butterfinger Pie is simpler than you might think. Here’s a closer look at the essential ingredients and their roles in creating this irresistible dessert:
- Cool Whip (or Whipped Topping): This ingredient is a cornerstone for achieving the pie’s characteristic light and airy texture. It folds into the cream cheese mixture, providing a fluffy consistency and a subtle sweetness that perfectly balances the rich and savory notes of peanut butter and Butterfinger. Its stability also helps the pie set beautifully.
- Oreos: The foundation of our pie, Oreos are transformed into a decadent chocolate crust. When crushed and combined with melted butter, they create a crisp, flavorful base that offers a wonderful textural contrast to the creamy filling. The chocolatey notes of the Oreos also pair exquisitely with the peanut butter and Butterfinger flavors.
- Unsalted Butter: Melted butter acts as the binding agent for the Oreo crumbs, transforming them into a cohesive crust that holds its shape. Using unsalted butter allows you to control the overall saltiness of the pie, ensuring a balanced flavor profile.
- Powdered Sugar: This finely milled sugar is essential for sweetening the pie filling and contributing to its smooth, velvety texture. Unlike granulated sugar, powdered sugar dissolves instantly, preventing a gritty mouthfeel and helping to thicken the creamy mixture without clumping.
- Peanut Butter: The star flavor alongside Butterfinger, creamy peanut butter infuses the filling with its signature salty, nutty, and intensely satisfying taste. It adds richness and a wonderful creaminess that complements the Butterfinger candy bar’s peanut-buttery crunch.
- Butterfingers: These iconic candy bars are the heart and soul of the pie. Crushed into small pieces, they are incorporated into both the main filling and the luscious whipped cream topping. Their distinct crunchy, flaky texture and sweet, buttery, and peanut-buttery flavor are what define this dessert, providing bursts of deliciousness in every bite.
- Heavy Whipping Cream: Used to create a homemade whipped cream topping, heavy whipping cream provides an unparalleled richness and an incredibly light, ethereal texture. When whipped to stiff peaks, it forms a cloud-like topping that beautifully crowns the pie, offering a fresh, dairy counterpoint to the intense flavors below.
- Cream Cheese: Softened cream cheese is the foundation of the pie’s creamy, slightly tangy filling. It provides a luxurious smoothness and a subtle tang that cuts through the sweetness, adding depth and complexity to the overall flavor of the pie. Ensure it’s at room temperature for the best, lump-free consistency.
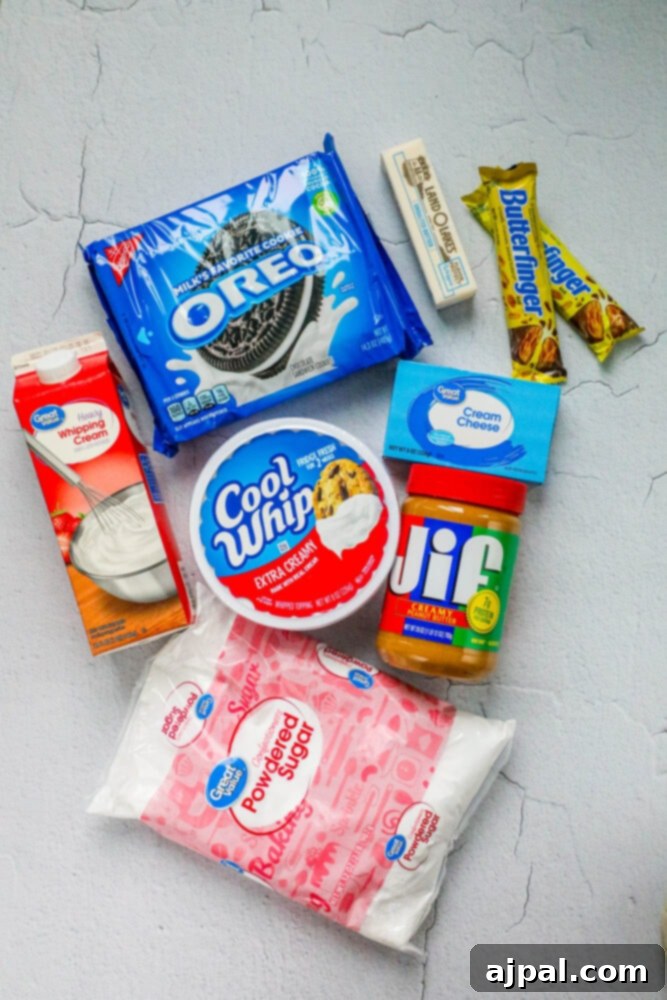
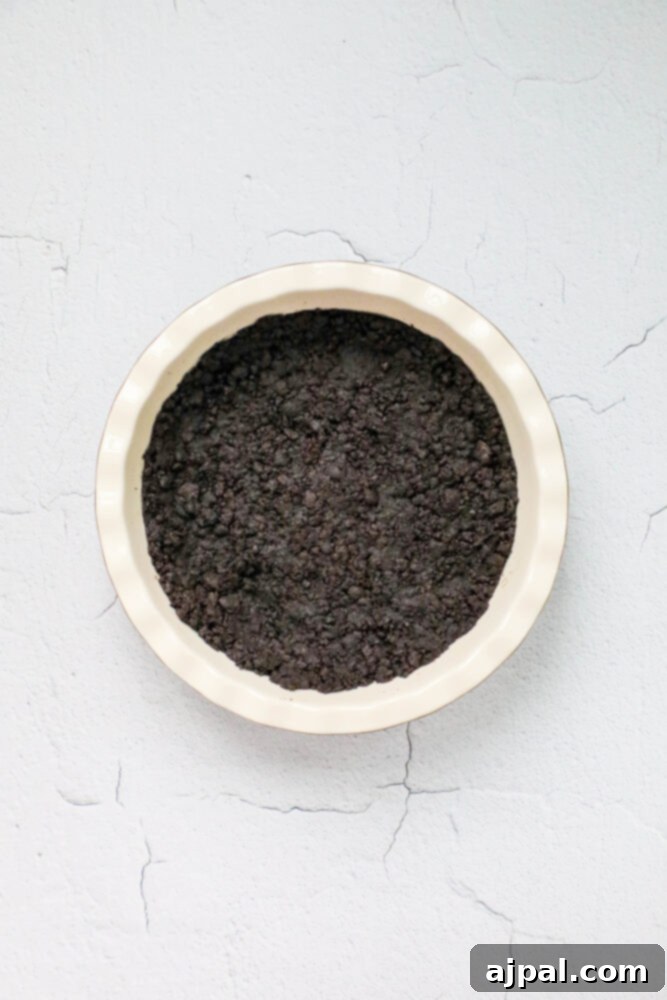
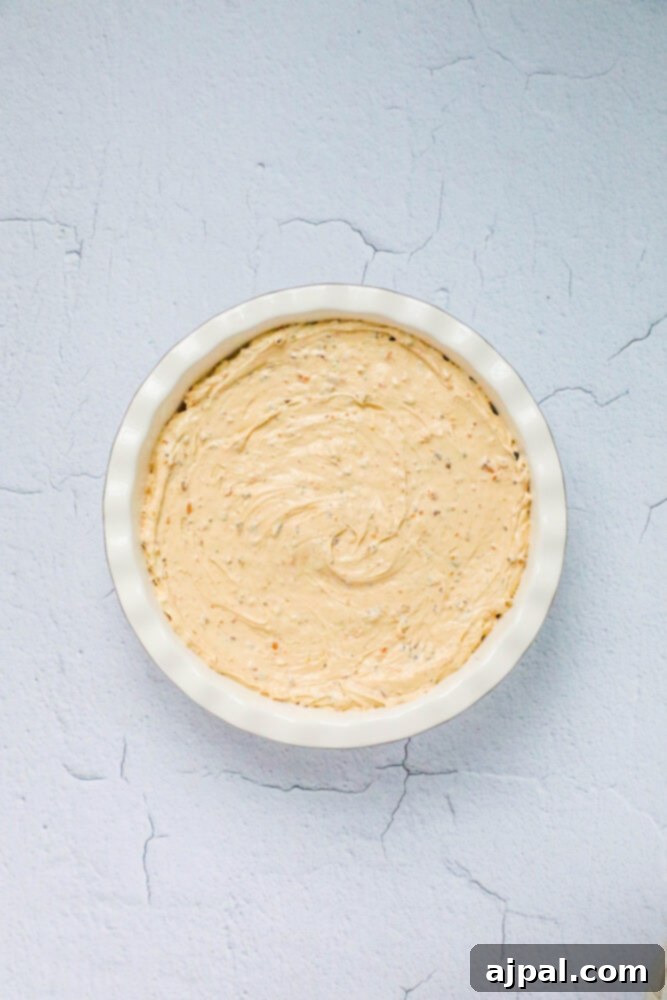
Once you’ve gathered your ingredients, you will use the following method:
- Prepare the Oreo Crust: Begin by preheating your oven to 350 degrees Fahrenheit (175°C). In a food processor, pulse the regular Oreo cookies until they form fine crumbs, resembling damp sand. Transfer the crumbs to a bowl, add the melted unsalted butter, and stir until thoroughly combined. This mixture will be the base of your pie.
- Bake the Crust: Firmly press the Oreo and butter mixture into a 9-inch pie dish, ensuring an even layer across the bottom and up the sides. Bake the crust for 10-12 minutes. This brief bake helps to set the crust, making it sturdy and perfectly crisp. Once baked, remove it from the oven and allow it to cool completely before proceeding. A fully cooled crust prevents the creamy filling from melting or becoming soggy.
- Cream the Cheese: In a large mixing bowl, beat the softened cream cheese with an electric mixer on medium speed until it’s light, fluffy, and completely smooth. Ensure there are no lumps, as this will affect the texture of your filling.
- Add Sweetness and Flavor: Incorporate the powdered sugar and creamy peanut butter into the cream cheese mixture. Continue beating on medium speed until all ingredients are well combined and the mixture is smooth and consistent.
- Fold in Whipped Topping (First Batch): Gently fold in ½ cup of your chosen whipped topping (like Cool Whip) into the peanut butter-cream cheese mixture. Use a spatula for this step to maintain the light and airy texture. Mix until just combined, being careful not to overmix.
- Introduce the Butterfingers (First Batch): Carefully fold in ½ cup of the crushed Butterfinger candy bars. Distribute them evenly throughout the filling to ensure a delightful crunch in every bite.
- Fill the Crust: Spoon the prepared peanut butter-Butterfinger filling into the cooled Oreo pie crust. Use the back of a spoon or a spatula to spread the mixture evenly and smooth out the top for a polished finish.
- Chill (Initial Set): Place the pie in the refrigerator to chill for at least 1 hour. This crucial step allows the filling to firm up, making it easier to slice and enhancing its overall texture.
- Prepare Fresh Whipped Cream: In a separate, clean mixing bowl, whip the heavy cream until stiff peaks form. If using an electric mixer, start on low speed and gradually increase to high. For best results, ensure your bowl and beaters are chilled beforehand.
- Fold in Remaining Topping and Butterfingers: Gently fold the remaining ½ cup of whipped topping and ½ cup of crushed Butterfinger candy bars into the freshly whipped heavy cream. This creates a beautifully light and flavorful topping.
- Top the Pie: Carefully spread the whipped cream and Butterfinger mixture over the top of the chilled pie, creating an inviting, cloud-like layer.
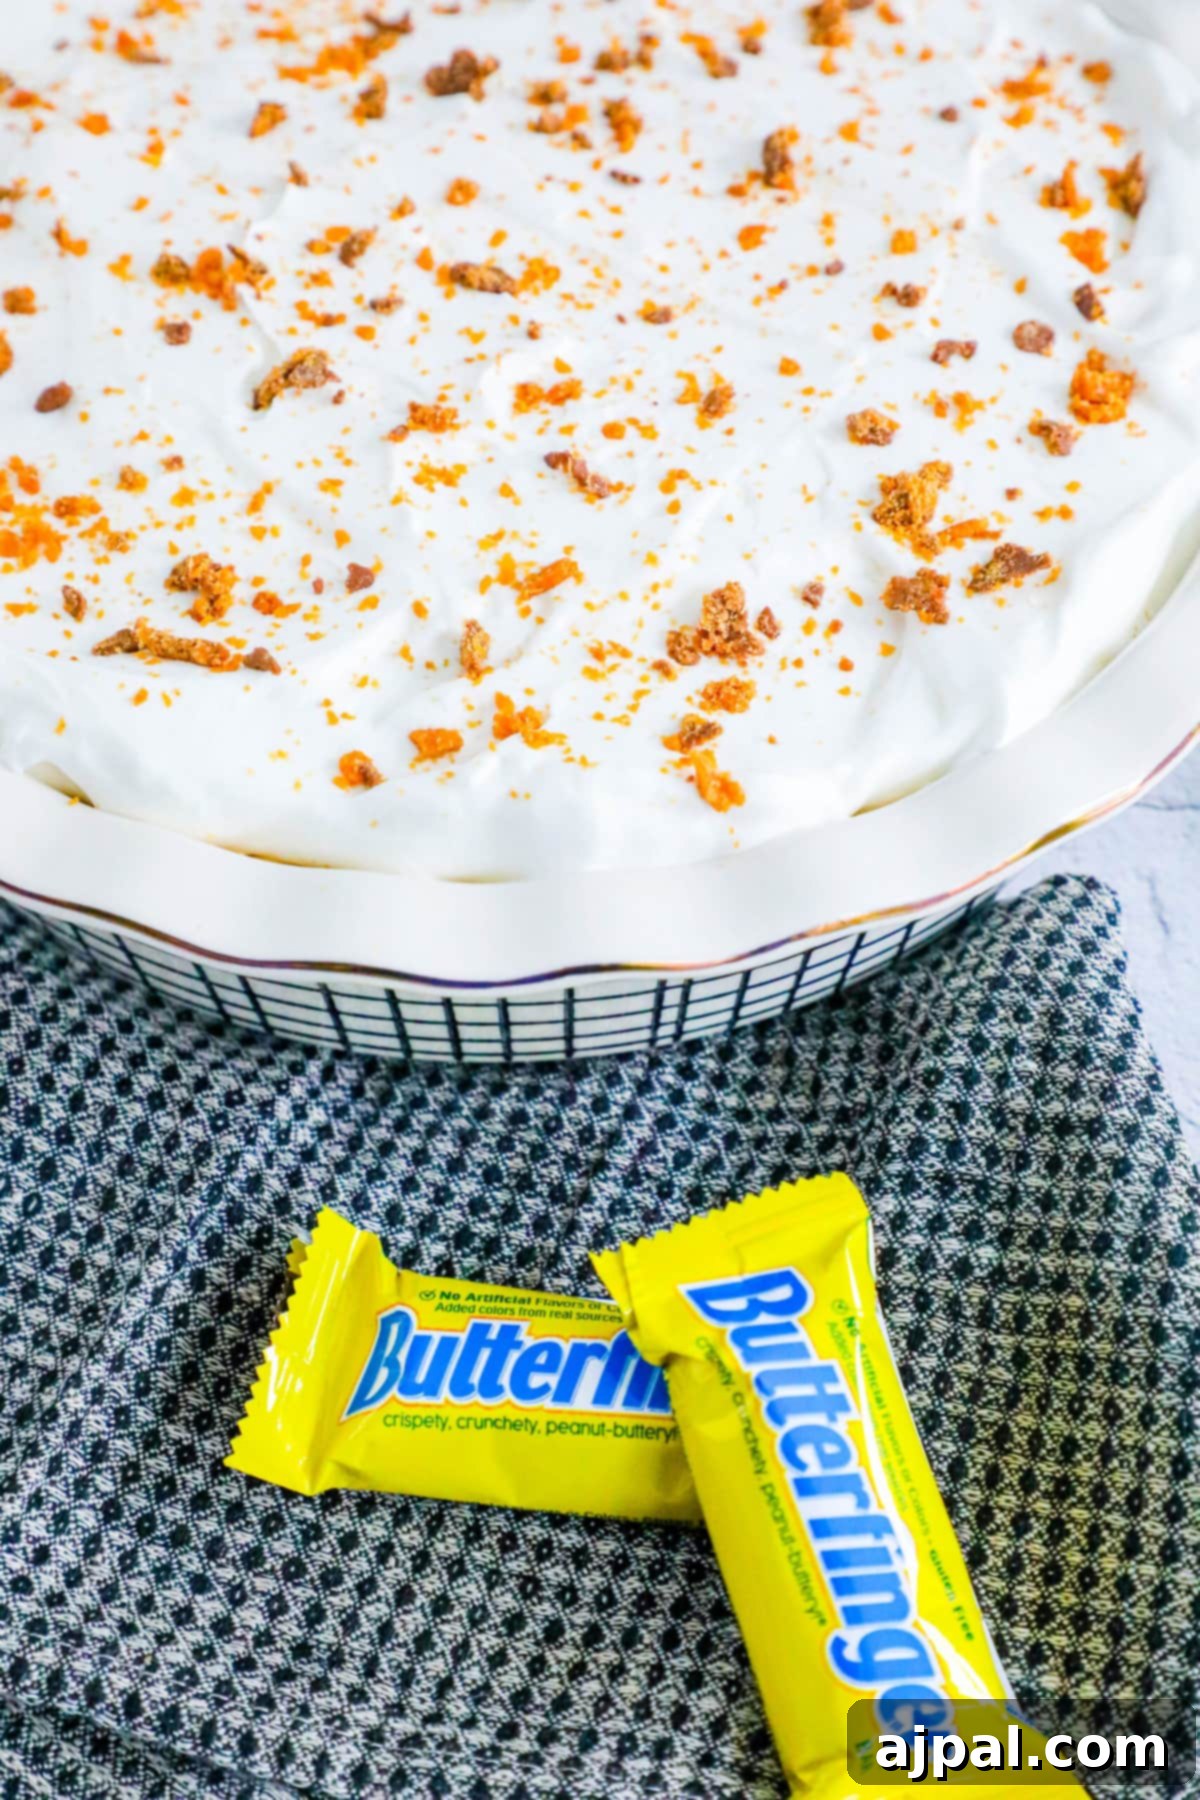
- Garnish: If desired, sprinkle additional crushed Butterfinger candy bars over the whipped cream topping for an extra flourish of flavor and visual appeal. This makes the pie look even more tempting.
- Final Chill: Return the pie to the refrigerator for at least another 1 hour before serving. This final chill ensures the pie is perfectly set, making for clean slices and a truly delightful eating experience.
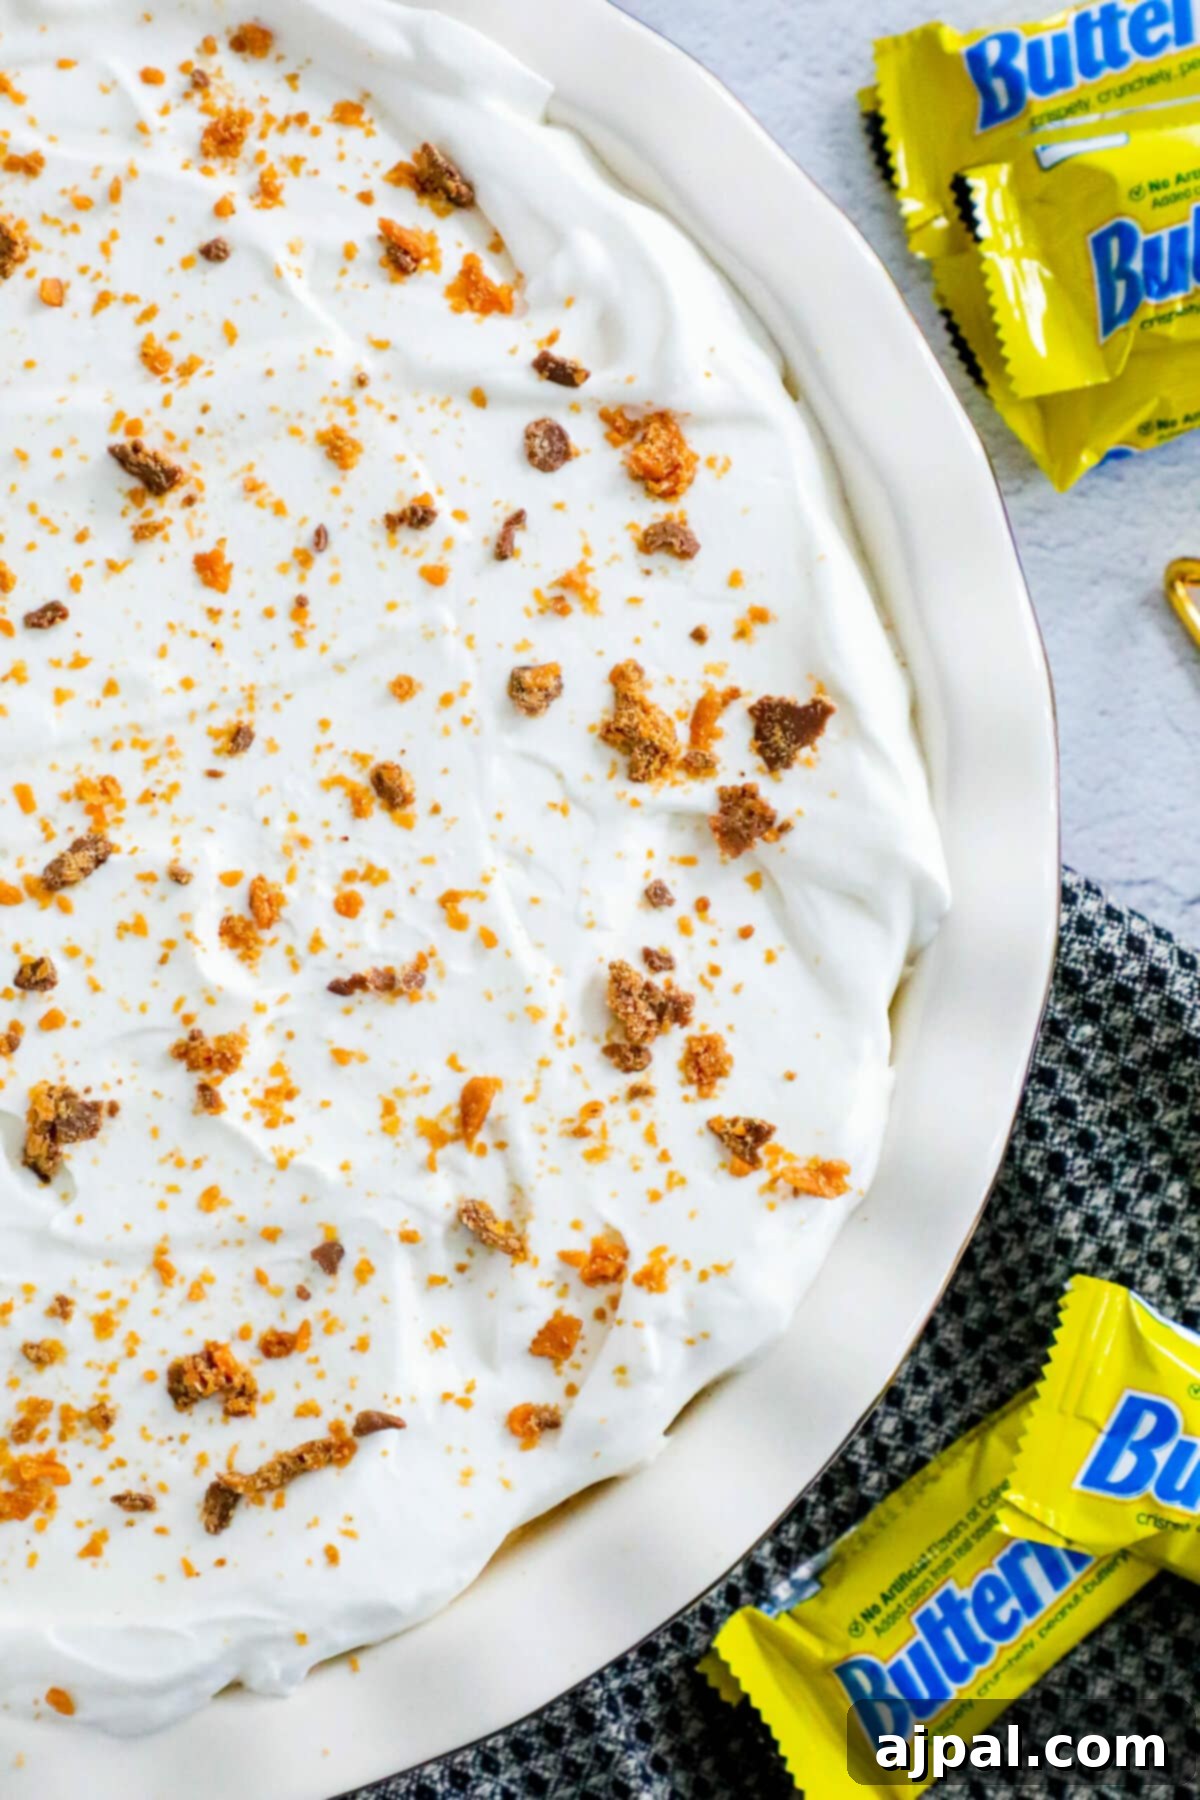
Expert Tips and Tricks to Perfect Your Butterfinger Pie
Achieving Butterfinger Pie perfection is within reach with a few simple culinary secrets. Here are some tips to ensure your dessert is nothing short of spectacular:
- Room Temperature Cream Cheese is Key: Always ensure your cream cheese is thoroughly softened to room temperature before you begin mixing. This seemingly small detail is vital; it allows the cream cheese to blend smoothly and effortlessly with the other ingredients, preventing any lumps and ensuring a consistently creamy, silky filling.
- Chill Your Whipped Cream Tools: For the fluffiest whipped cream possible, take a moment to chill your mixing bowl and beater attachments (from an electric mixer) in the refrigerator for at least 10-15 minutes before whipping the heavy cream. The cold helps the cream whip up faster and achieve those desirable stiff peaks.
- Uniformly Crushed Candy: When crushing your Butterfinger candy bars, aim for small, relatively uniform, bite-sized pieces. This ensures that the delightful crunchy texture is evenly distributed throughout the filling and topping, so every forkful delivers that signature Butterfinger experience. Avoid pulverizing them into a fine powder, as you want to retain some crunch.
- Reserve Garnish Pieces: Don’t forget the visual appeal! Set aside a handful of extra crushed Butterfinger pieces specifically for garnishing the top of your pie just before serving. This not only adds a beautiful, professional touch but also gives a clear indication of the delicious flavor within.
- Patience with Chilling: The chilling time is not just a suggestion – it’s crucial! For the best results, allow your Butterfinger Pie to chill in the refrigerator for a minimum of 2-3 hours before slicing and serving. This extended chill time allows the filling to fully set, ensuring clean, perfect slices and a wonderfully firm texture that holds up well. If time allows, an overnight chill is even better.
- Embrace a Pre-Made Crust: To save time and streamline the process, don’t hesitate to use a high-quality pre-made crust. Whether it’s a classic chocolate cookie crust, a graham cracker crust, or even a shortbread crust, using a store-bought option can cut down on prep time significantly while still providing a delicious, crisp foundation for your pie.
- Quality Ingredients Matter: While this recipe is forgiving, using good quality ingredients will elevate your pie. Opt for a rich, creamy peanut butter, fresh heavy cream, and your favorite Butterfinger bars for the best possible flavor.
- Cover for Freshness: If making ahead, cover the pie loosely with plastic wrap once it has fully set. This prevents it from absorbing odors from the refrigerator and keeps the whipped topping fresh and fluffy.
- Serving Temperature: For optimal texture and flavor, serve the pie directly from the refrigerator. If it sits out for too long, the filling will soften, and the textures may not be as appealing.
Frequently Asked Questions (FAQs)
Absolutely! This pie is wonderfully adaptable. While Butterfinger is classic, you can certainly substitute it with other crunchy, chocolatey, or peanut-buttery candy bars. Great alternatives include Snickers for a caramel and nougat twist, Reese’s Peanut Butter Cups for an extra peanut butter punch, Heath bars for a toffee crunch, or even chopped Milky Way bars. Experiment to find your favorite combination!
Yes, this Butterfinger Pie is an excellent make-ahead dessert, which is perfect for entertaining. You can prepare the entire pie up to 2-3 days in advance. Store it covered loosely with plastic wrap in the refrigerator. The flavors often meld and deepen beautifully with a little time, making it an ideal choice for busy occasions.
Of course! Using a store-bought Oreo crust is a fantastic shortcut that saves a significant amount of time and effort, making this recipe even easier. Just be sure to choose a good quality crust that fits your pie dish size. If you do use a store-bought crust, you can skip the baking step for the crust entirely.
Yes, this pie freezes beautifully! To freeze, ensure the pie is completely chilled and set. Wrap it tightly first with plastic wrap, then with aluminum foil, to prevent freezer burn. It can be stored in the freezer for up to 2-3 months. When you’re ready to enjoy, thaw the pie in the refrigerator overnight before serving to maintain its creamy texture.
Absolutely, and many prefer it! While whipped topping (like Cool Whip) offers convenience and stability, homemade whipped cream made from heavy whipping cream will provide a richer, fresher dairy flavor and a more delicate texture. Just be aware that homemade whipped cream might be slightly less stable over extended periods, so if making ahead, consider adding it closer to serving time or using a stabilizer if desired.
No problem! You can easily crush the Oreos by placing them in a large zip-top bag and crushing them with a rolling pin or the bottom of a heavy glass. Just make sure they are finely crushed for the best crust consistency.
The initial baking of the Oreo crust helps significantly in preventing sogginess. Additionally, ensuring the crust is completely cooled before adding the filling and allowing the pie to chill sufficiently will help create a barrier and keep your crust wonderfully crisp.
Other Delicious Desserts to Explore
If you’ve fallen in love with the sweet satisfaction of this Butterfinger Pie, you’re in for a treat! Our collection of dessert recipes is brimming with delightful options perfect for any occasion or craving. Whether you’re seeking more no-bake wonders, classic baked goods, or innovative sweet concoctions, you’re sure to find a new favorite. Expand your dessert repertoire and discover more ways to sweeten life’s moments.
Easy Cranberry Fluff Salad
Cranberry Bars
Best Chocolate Truffles
Cranberry Apple Pie
White Chocolate Dipped Ghost Cookies
Pumpkin Bread Mini Pumpkins
20+ of the best Halloween treats!
Grandma’s Apple Pie
Click here to view other favorite desserts!
Butterfinger Pie Recipe
If you cherish this simple yet spectacular recipe, please consider rating it five stars below and leaving a comment to share your experience! Your feedback helps others discover this delightful treat. We’d also love for you to help us share the joy on Instagram, Facebook, and Pinterest!
Share on Facebook
Share
Pin this now to find it later
Pin It
Follow on Instagram
Follow
Click here to view web story for this recipe!
Only have 30 minutes to get dinner on the table? Sign up for my 30 minute dinner plans direct to your inbox!
Find and shop my favorite products in my Amazon storefront here!
Butterfinger Pie
Equipment
-
GoGeiLi Pie Cake Server, 9.3-inch Stainless Steel Pizza Pastry Server Set of 3, Dishwasher Safe
Ingredients
- 22 regular Oreo cookies
- 5 tbsp unsalted butter, melted
- 1 cup of powdered sugar
- ½ cup of creamy peanut butter
- 1 8 oz package of cream cheese, softened
- 1 cup of whipped topping, such as Cool Whip
- 1 cup of crushed Butterfinger candy bars
- ½ cup of heavy whipping cream
Instructions
-
Preheat the oven to 350 degrees Fahrenheit (175°C).
-
Process the Oreos into fine crumbs in a food processor, then combine with the melted butter.
-
Press the Oreo mixture into a pie dish and bake for 10 – 12 minutes. Let cool completely.
-
In a large mixing bowl, beat the softened cream cheese until it is light and fluffy.
-
Add in the powdered sugar and peanut butter and mix well until smooth.
-
Gently fold in ½ cup of whipped topping until it is well combined.
-
Gently fold in ½ cup of crushed Butterfinger candy bars.
-
Spread the mixture into the cooled Oreo pie crust and smooth out the top.
-
Chill the pie in the refrigerator for at least 1 hour.
-
In a separate mixing bowl, whip the heavy cream until stiff peaks form.
-
Fold in the remaining ½ cup of whipped topping and ½ cup of crushed Butterfinger candy bars into the whipped cream.
-
Spread the whipped cream mixture over the top of the chilled pie.
-
Garnish with additional crushed Butterfinger candy bars, if desired.
-
Chill the pie in the refrigerator for at least 1 hour before serving for optimal setting.
Nutrition
Nutrition information is automatically calculated, so should only be used as an approximation.