
Who says you need a powerful nail gun to achieve elegant, professionally installed crown molding? This comprehensive guide will show you how to enhance your home’s aesthetic with beautiful crown molding using just a few basic tools and some patience. Say goodbye to expensive equipment rentals and hello to a rewarding DIY project that adds significant value and charm to any room.
How to Install Crown Molding Without a Nail Gun: A Comprehensive DIY Guide
Adding crown molding can dramatically transform a room, lending it a polished and luxurious feel. Many DIY enthusiasts hesitate to tackle this project, often assuming it requires expensive tools like a pneumatic nail gun or professional experience. However, that couldn’t be further from the truth. With a strategic approach, a few common household tools, and a willingness to learn, you can successfully install crown molding without a nail gun, achieving a professional-looking finish that will impress everyone.
Imagine your dining room, living area, or bedroom transitioning from ordinary to elegant simply by adding this architectural detail. This method not only saves you money on tool rentals but also offers a satisfying sense of accomplishment. You’ll be surprised at how accessible and straightforward this project can be, even for those with limited DIY experience. So, roll up your sleeves, and let’s dive into creating beautiful, custom trim for your home.
Why Opt for Crown Molding Installation Without a Nail Gun?
While a nail gun certainly offers speed, installing crown molding without one has several compelling advantages:
- Cost-Effectiveness: A pneumatic nail gun and compressor can be a significant investment, often costing hundreds of dollars. For a single project, purchasing or renting one might not be justifiable. This manual method utilizes tools you likely already own or can acquire very affordably.
- Accessibility: Not everyone has immediate access to specialized power tools. This guide empowers anyone with basic hand tools to complete the project.
- Precision and Control: When working manually, you often have a greater feel for the material, allowing for more precise adjustments and minimizing the risk of over-driving nails or damaging delicate molding.
- Quiet Operation: Manual installation is significantly quieter than using a nail gun, making it ideal for working in occupied homes or at times when noise needs to be minimized.
- DIY Satisfaction: There’s immense pride in knowing you’ve completed a significant home improvement project with your own hands and ingenuity.
Planning Your Crown Molding Project
Proper planning is the cornerstone of any successful DIY project. Taking the time to measure accurately, select the right materials, and gather your tools will save you time and frustration in the long run.
1. Measuring Your Space Accurately
The first crucial step is to determine how much molding you’ll need. Measure the perimeter of each room where you plan to install the molding. It’s always a good practice to measure each wall individually, even if they appear to be the same length. Add these measurements together to get your total linear footage. A general rule of thumb is to purchase about 15-20% more molding than your calculated total. This accounts for mistakes, miscuts, and allows for better-looking seams by giving you more flexibility with your cuts. For instance, if your room perimeter is 100 feet, aim to buy 115-120 feet of molding. This extra material is invaluable for minimizing visible seams and accommodating any unforeseen challenges.
2. Choosing the Right Crown Molding
Crown molding comes in a variety of materials and profiles. Your choice will depend on your budget, desired look, and painting preferences:
- Material: Common options include solid wood (pine, oak, poplar), MDF (medium-density fiberboard), and polyurethane. Solid wood offers a classic, durable finish but is generally more expensive. MDF is a cost-effective alternative, easy to paint, but can be susceptible to moisture damage. Polyurethane is lightweight, moisture-resistant, and comes pre-primed, making it easy to install and paint.
- Profile: The profile refers to the shape and decorative details of the molding. Select a profile that complements your home’s architectural style. Wider, more intricate profiles create a grander statement, while simpler designs offer a more subtle elegance.
- Painted vs. Unpainted: You can often find crown molding pre-primed or even pre-painted. However, opting for unpainted molding can offer significant savings, sometimes as much as $5 per yard. Painting it yourself allows for a perfect color match to your existing trim or a custom hue for your room. In our project, choosing unpainted trim allowed us to use a custom white from Clark & Kensington, perfectly matching our home’s existing palette.
3. Essential Tools and Materials You’ll Need
Gathering all your tools and materials before you begin will ensure a smooth, uninterrupted workflow:
- Crown Molding: The star of the show, in your chosen material and profile.
- Miter Saw (or Hand Saw with Miter Box): Essential for making precise angled cuts for corners. If you don’t own one, a hardware store might offer cutting services, or you can use a hand saw with a miter box for smaller projects.
- Stud Finder: Crucial for locating wall studs, which provide the secure fastening points for your molding.
- Drill and Drill Bits: For pre-drilling pilot holes into the molding, preventing it from splitting.
- Long Finishing Nails: Choose a length appropriate for penetrating the molding and securely anchoring into the wall studs (e.g., 2-inch or 2.5-inch nails).
- Hammer: For driving the finishing nails.
- Nail Set (or Finishing Tool): An inexpensive, indispensable tool for sinking nail heads below the surface of the wood without damaging the molding.
- Wood Putty or Spackling Compound: To fill nail holes and minor imperfections.
- Caulk Gun and Paintable Caulk: For sealing gaps along the top and bottom of the molding, creating a seamless, professional finish.
- Measuring Tape, Pencil: For accurate measurements and marking cut lines.
- Fine-Grit Sanding Block or Sandpaper: For smoothing filled nail holes.
- Primer and Paint: To prepare and finish your molding.
- Painter’s Tape: For protecting adjacent surfaces during caulking and painting.
- Safety Glasses: Always protect your eyes when cutting and hammering.
- Helper: An extra set of hands is invaluable for holding long pieces of molding, especially if your walls or ceilings aren’t perfectly straight.
Step-by-Step Guide to Nail-Free Crown Molding Installation
Step 1: Prepare Your Crown Molding
Pre-priming and painting your crown molding before installation can save you a significant amount of time and effort. It’s much easier to paint long, flat strips of molding on sawhorses or a workbench than to paint them after they are installed on the wall, especially when dealing with ceilings and upper wall areas. Begin by applying a coat of quality primer, such as Kilz, to all surfaces of the molding. Once dry, apply your chosen paint color. For our project, we used Clark & Kensington’s “Antique White” to achieve a perfect match with our home’s existing trim. This pre-finishing step ensures even coverage and minimizes drips and splatters on your walls and ceiling.
Step 2: Precision Cutting Your Molding
Accurate cutting is perhaps the most critical part of crown molding installation. Crown molding typically sits at an angle between the wall and ceiling, meaning your cuts won’t be simple 45-degree angles on a flat board. Instead, you’ll need to use a miter saw to create compound angles or specialized settings for crown molding. Many miter saws have detents or guides specifically for crown molding cuts.
Measure each section of wall carefully, accounting for both inside and outside corners. Remember the age-old carpenter’s adage: “Measure twice, cut once.” In reality, for crown molding, it’s often “measure, cut, measure, cut” as you incrementally trim the piece to achieve a perfect fit. My dad, who assisted with the cutting, often took 3-4 cuts per piece to get it just right, emphasizing the importance of taking your time. It’s always better to cut a little short and take another small sliver off than to overcut and ruin a piece. If you’re unsure about the angles, many helpful resources, including online videos, can guide you through the process. We found this video particularly useful for understanding crown molding cuts: YouTube Crown Molding Cutting Guide. Don’t worry if you can’t find molding long enough for a single wall; seams blend in perfectly after proper caulking and painting. Ensure your seams are tight and clean for the best finish.
Step 3: Locate Wall Studs and Prepare for Fastening
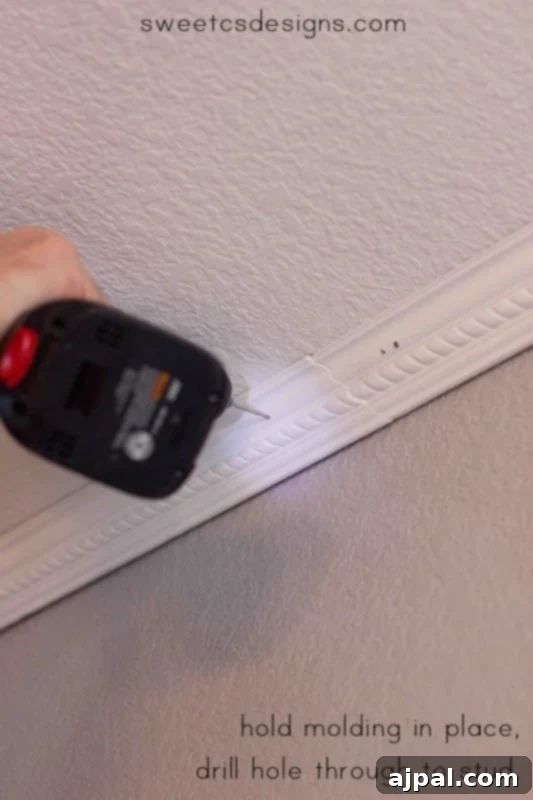
To ensure your crown molding is securely fastened, you’ll need to anchor it into the wall studs. Use a reliable stud finder to locate and mark the center of each stud along the top of your walls. It’s incredibly helpful if your home has a continuous stud running along the top plate of the wall, as this provides a consistent fastening point. Once you’ve marked the stud locations, hold your cut piece of molding in place against the wall where it will be installed. Using a drill with a bit slightly smaller than your finishing nails, carefully pre-drill pilot holes through the molding at each stud location. Pre-drilling is essential as it prevents the molding from splitting when you drive the nails, especially with softer wood or MDF.
Step 4: Secure the Molding with Finishing Nails
Now it’s time to attach the molding to the wall. This step is significantly easier with a helper. Have your assistant firmly hold the piece of crown molding in its final position, ensuring it’s flush against both the wall and the ceiling. This is particularly important if you have uneven walls or ceilings, as even slight discrepancies can lead to noticeable gaps. Carefully align your finishing nails with the pre-drilled pilot holes. Using your hammer, gently tap the nails just enough to penetrate the molding and secure it into the stud, but do not drive them all the way in. The goal is to allow the molding to hang unsupported while still leaving the nail heads slightly proud. Be mindful not to hit the molding directly with your hammer, as this can easily cause dents, nicks, or smash the delicate edges of your beautiful trim.

Step 5: Countersink Nails for a Seamless Finish
Once your molding is securely in place, you’ll use a nail set (also known as a finishing tool) to drive the nail heads just below the surface of the wood. These tools are typically under $5 at any hardware store. Select a nail set with a tip that is slightly larger than your nail heads for better control and to prevent accidentally pushing the tool through the molding. Hold the nail set firmly in one hand, positioning its tip directly over a nail head. With your other hand, gently but firmly tap the back of the nail set with your hammer. This action will countersink the nail, creating a small indentation above the nail head. This technique ensures a perfectly smooth surface, free of visible nail heads or hammer marks, preparing the molding for the next finishing steps.

Step 6: Fill Nail Holes and Imperfections
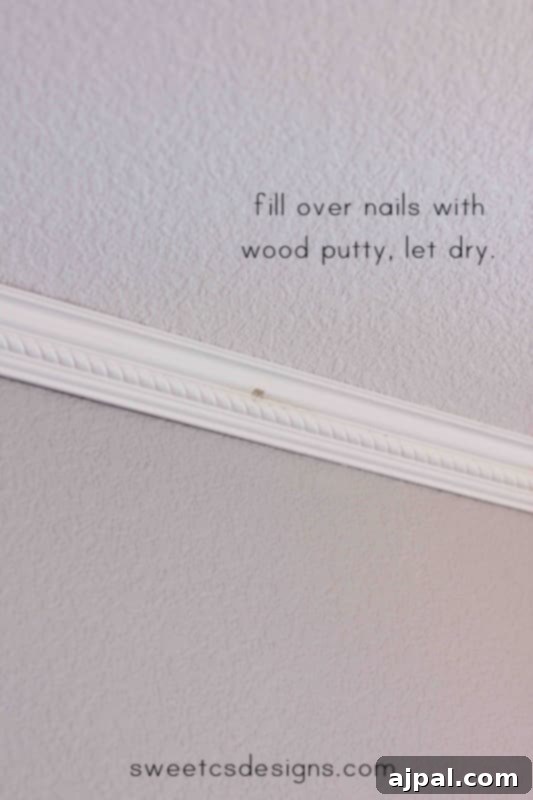
With the nails countersunk, the next step is to create a perfectly smooth surface ready for paint. Apply a small amount of wood putty or spackling compound to each nail hole. Use a putty knife or your finger to press the compound firmly into the hole, ensuring it’s slightly mounded above the surface. Allow the putty to dry completely according to the manufacturer’s instructions, which can take several hours or overnight. This step effectively conceals all evidence of fasteners, contributing significantly to the professional finish of your crown molding.
Step 7: Caulk Gaps for a Professional Look
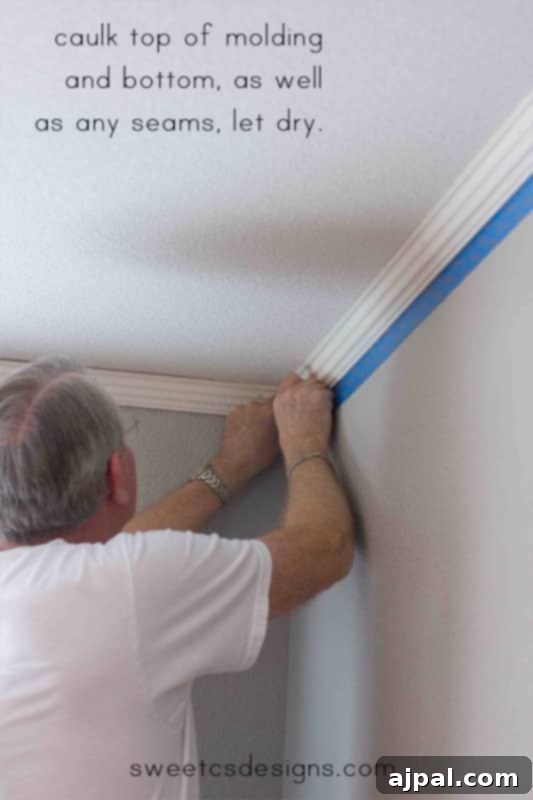
Even with careful installation, small gaps between the molding and the wall or ceiling are common, especially in older homes with imperfect surfaces. Caulking is your secret weapon for making these disappear, creating a truly seamless, built-in look. Load your caulk gun with paintable caulk and apply a thin, even bead along both the top edge (where the molding meets the ceiling) and the bottom edge (where it meets the wall). If you want to protect your freshly painted walls or ceiling, apply painter’s tape along the edges before caulking. Smooth the caulk with a wet finger or a damp sponge for a clean, professional line. For our project, as we were already planning ceiling repairs, we only taped off the wall area, knowing the ceiling would be repainted anyway. Allow the caulk to dry completely before proceeding.
Step 8: Sand and Final Paint
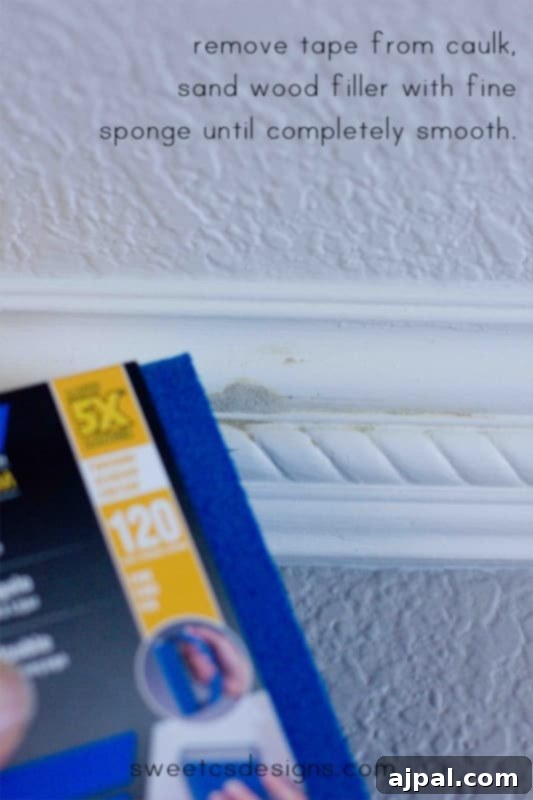
Once the wood putty and caulk are completely dry (typically overnight), carefully remove any painter’s tape. Use a fine-grit sanding block or sandpaper to gently smooth over the filled nail holes until they are perfectly flush with the molding’s surface. This step is crucial for an undetectable finish. After sanding, wipe away any dust with a damp cloth. Finally, apply a thin, even coat of paint over the sanded and caulked areas, blending it seamlessly with the pre-painted molding. This final touch will make your crown molding look like it was always part of the room, installed by a seasoned professional.
Tips for a Flawless Crown Molding Installation
To ensure your project goes as smoothly as possible, keep these expert tips in mind:
- Measure Twice, Cut Precisely: The importance of accurate measurements cannot be overstated. Even tiny errors can lead to noticeable gaps. Always double-check your measurements before making any cuts. Remember, you can always trim a little more, but you can’t add it back!
- Don’t Rush the Process: Crown molding installation is a detail-oriented task. Rushing can lead to mistakes, wasted material, and a less-than-perfect finish. Take your time with each step, especially cutting and fitting.
- Quality Materials Matter: Invest in good quality caulk and wood putty. A paintable acrylic latex caulk with silicone will offer flexibility and prevent cracking, while a good wood putty will provide a smooth, durable fill for nail holes.
- An Extra Set of Hands is Invaluable: For long or heavy pieces of molding, having a helper to hold the trim in place is extremely beneficial. It ensures the molding stays flush against the wall and ceiling, especially in older homes with uneven surfaces.
- Safety First: Always wear safety glasses when cutting wood or hammering. Wood dust and flying debris can cause serious eye injuries.
Common Crown Molding Challenges and Solutions
Even with careful planning, you might encounter a few hurdles. Here’s how to tackle common crown molding challenges:
- Uneven Walls/Ceilings: This is a frequent issue, especially in older homes. Caulk is your best friend here. Don’t be afraid to apply a slightly thicker bead of caulk to fill larger gaps along the top and bottom edges of the molding. Smooth it carefully with a wet finger for a seamless blend.
- Gaps at Seams and Corners: If your miter cuts aren’t perfectly tight, small gaps might appear at corners or where two pieces of molding meet. A bit of wood glue applied before fitting can help secure the joint. After installation, fill these gaps with wood putty or caulk and sand smooth before painting.
- Molding Splitting: This usually happens if pilot holes aren’t drilled or if the drill bit is too small. Always pre-drill with a bit that is slightly smaller than your nail diameter. If splitting occurs, apply wood glue, clamp if possible, and then fill with wood putty.
- Dented Molding: Accidental hammer marks can happen. If minor, they can often be filled with wood putty and sanded smooth. For deeper dents, you might need to carefully remove a section and recut, though this is usually a last resort.
Conclusion: Transform Your Space with DIY Crown Molding
As you can see, installing crown molding without a nail gun is not only achievable but also an incredibly rewarding DIY project. It might involve a few extra manual steps compared to using power tools, but the process is straightforward, cost-effective, and delivers a stunning, professional result. The satisfaction of transforming your living space with your own hands, adding that elegant finishing touch, is truly priceless. So, gather your tools, follow these steps, and get ready to enjoy the beautiful, elevated look of your newly crowned rooms. Where in your home will you begin your crown molding transformation?