
Effortless Elegance: Achieve Professional Cake Finishes with Pourable Faux Fondant Icing
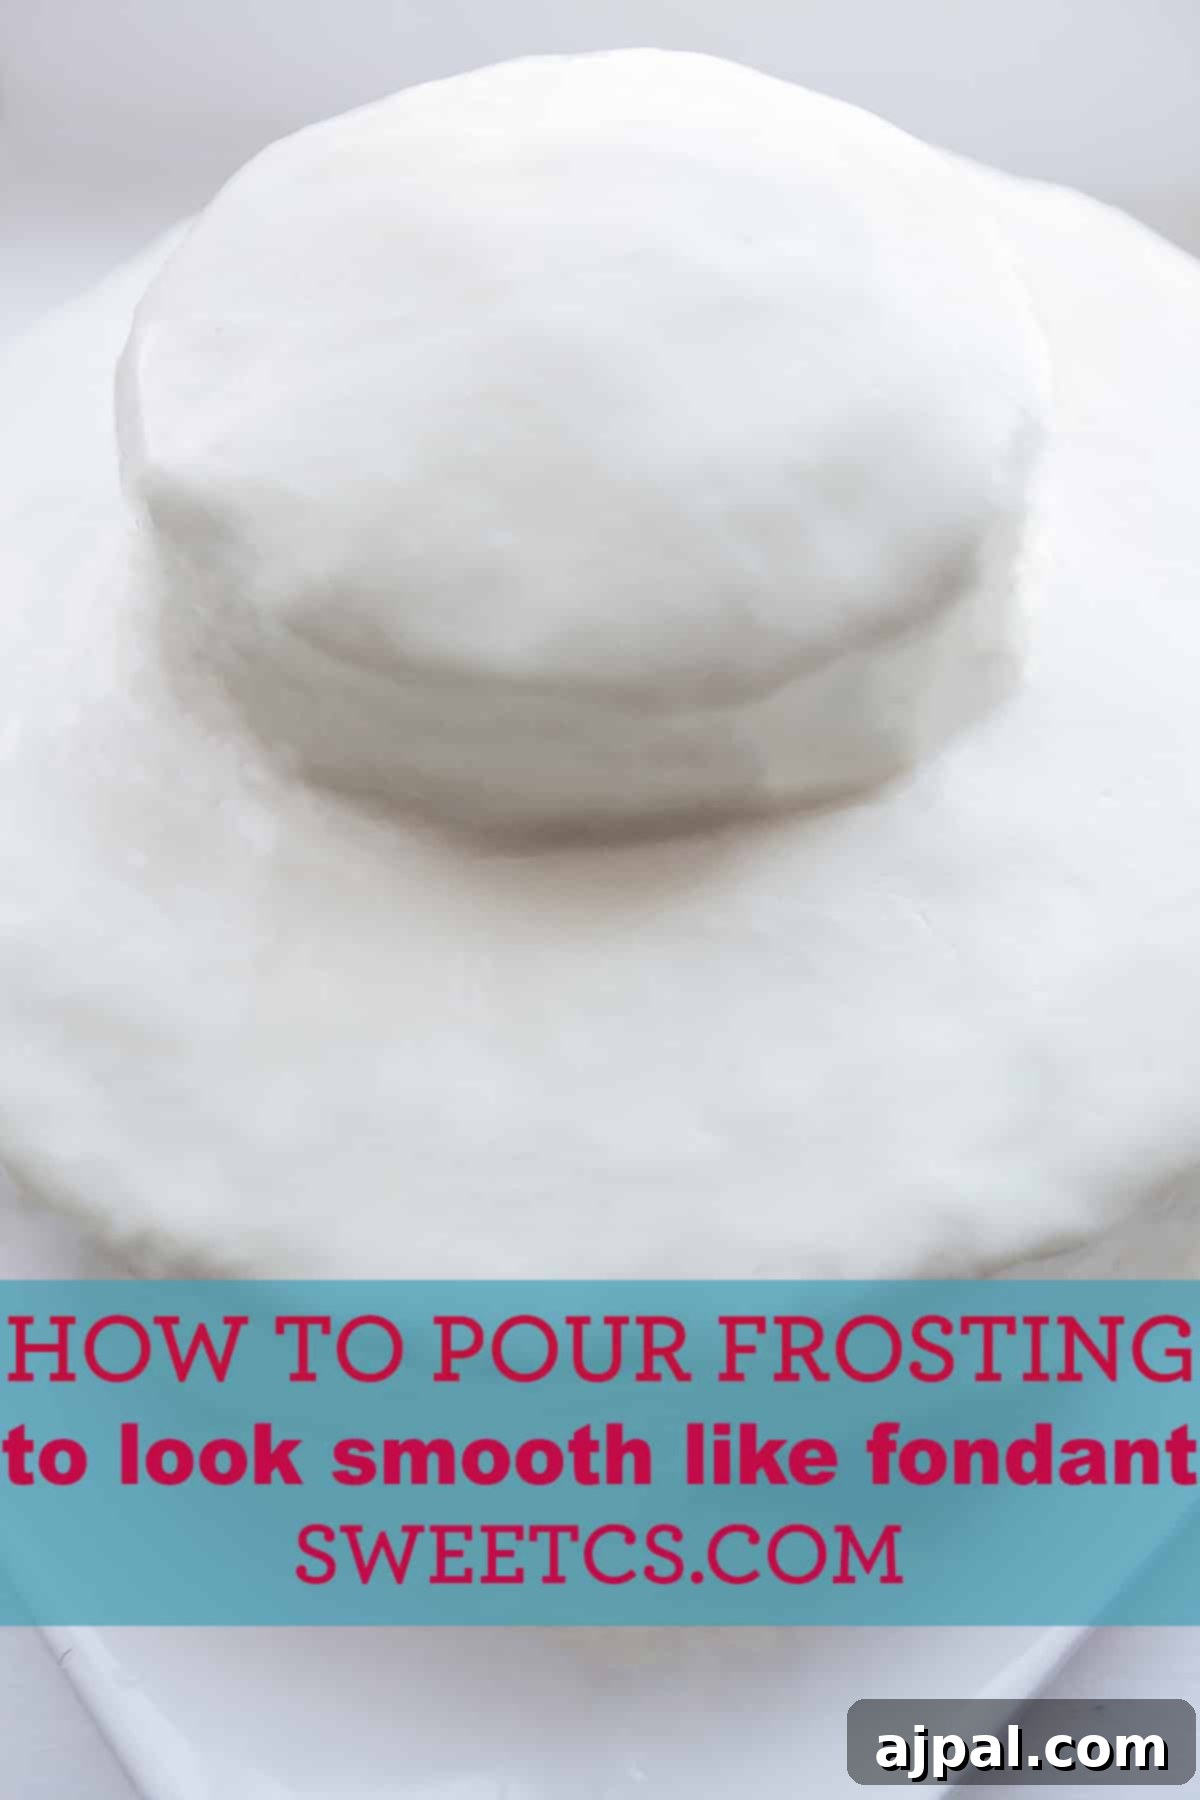
Transform your homemade cakes into bakery-quality masterpieces in mere minutes! This revolutionary hack utilizes readily available store-bought icing, expertly microwaved to perfection, to create a stunningly smooth, faux fondant finish. Say goodbye to intricate piping, hours of smoothing, or the daunting challenge of traditional fondant – achieve a flawless, professional look for any celebration. Whether it’s a vibrant birthday cake, an elegant wedding shower dessert, a charming baby shower centerpiece, or simple holiday treats, this method promises incredible ease and delicious results every time.
As a passionate home cook, I believe that everyone should feel confident and empowered in the kitchen, regardless of formal training. My journey has shown me that understanding the ‘why’ behind each step and ingredient makes all the difference. This philosophy is at the heart of every recipe and tip I share, aiming to make even the most intricate-looking dishes accessible to beginner bakers. This particular cake frosting hack embodies that perfectly, making professional-level results surprisingly simple to achieve.
Discover the Magic of Easy Pourable Faux Fondant
Have you ever dreamed of presenting a cake that looks like it came straight from a high-end bakery, but hesitated at the thought of spending hours on intricate fondant work or mastering complex smoothing techniques? Perhaps you’ve explored numerous cake decorating classes, only to feel overwhelmed by the sheer effort required for that picture-perfect finish. Or maybe you’ve read about pourable fondant or how to smooth icing to mimic fondant, but the timing never seems quite right before a big event. The constant pressure to produce stunning, flawless cakes can often deter even the most enthusiastic home bakers.
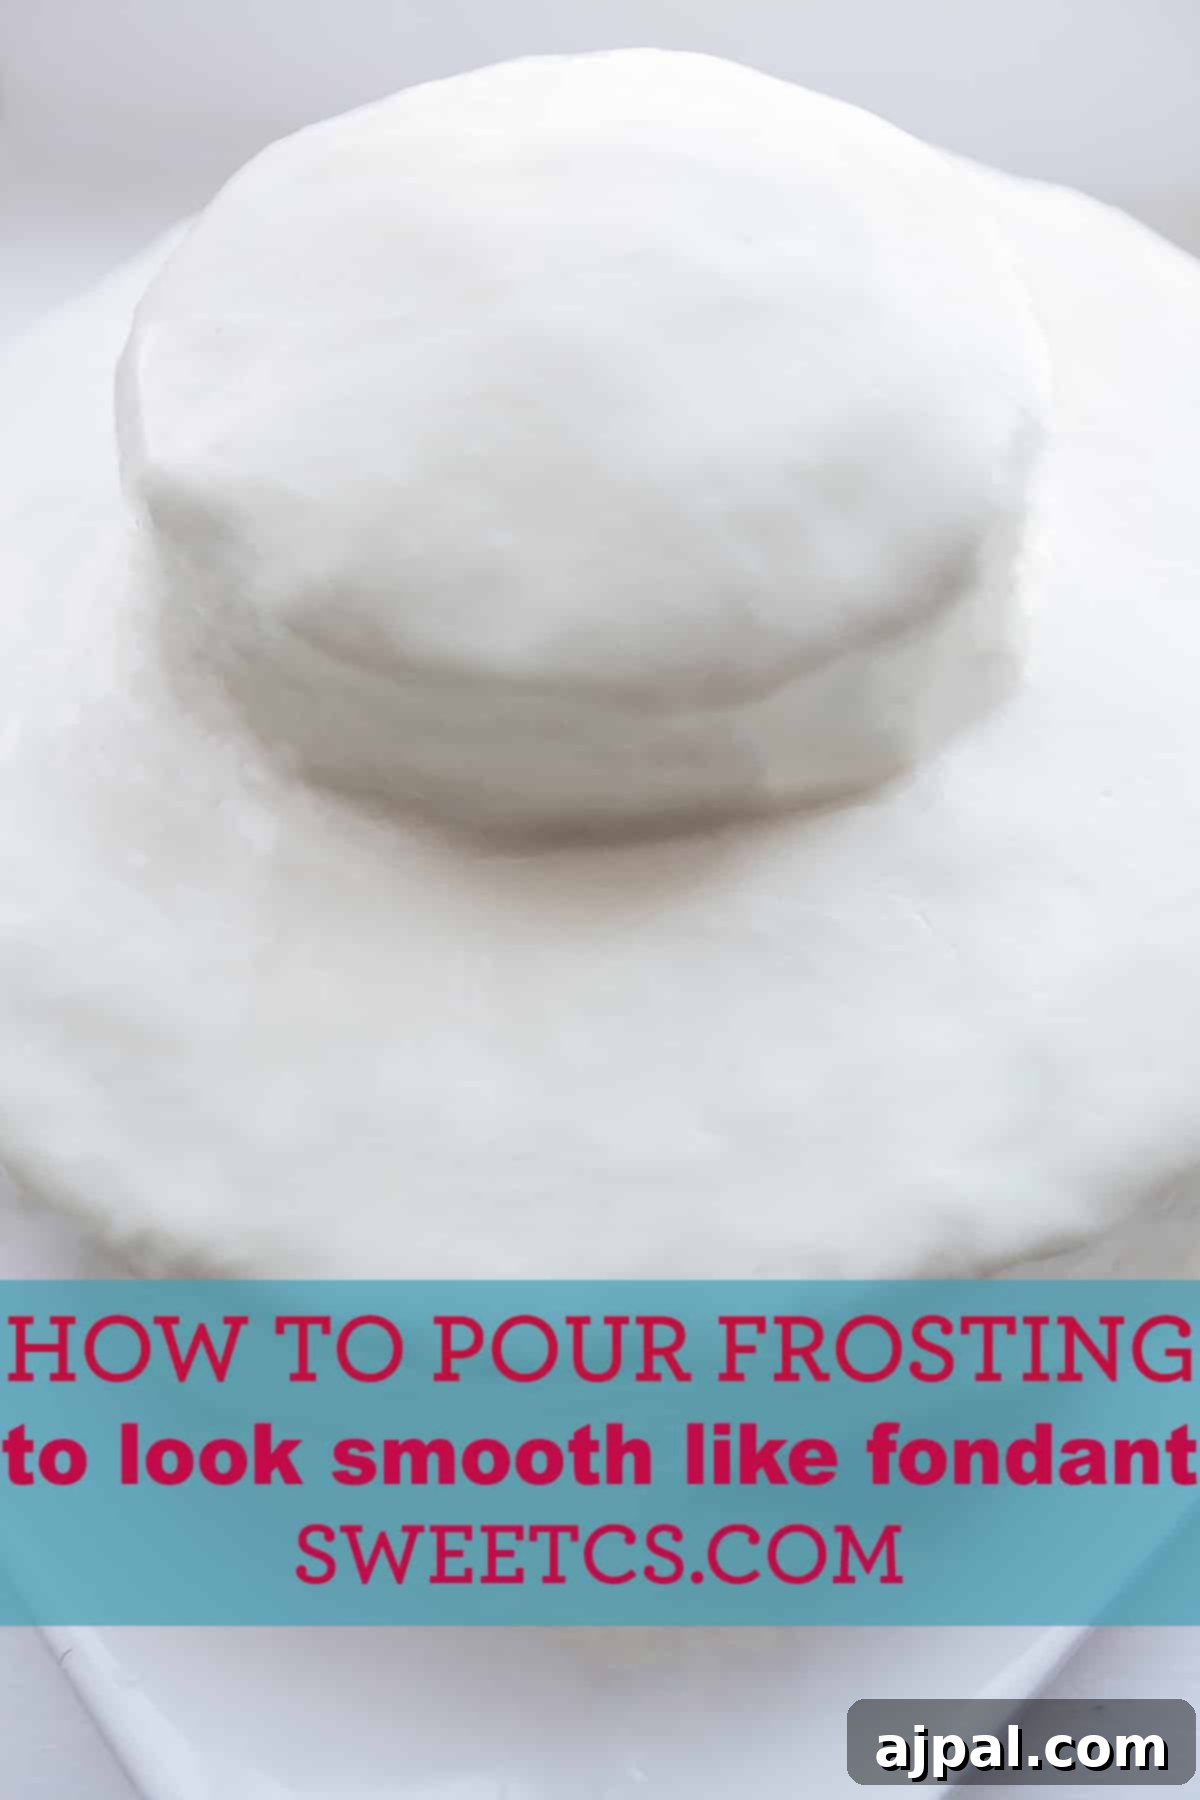
The good news is, your quest for delicious, beautifully decorated cakes with minimal stress ends here! This innovative method reveals how to frost a cake with a professional, faux fondant appearance in just minutes. It’s an incredibly clever trick that delivers a smooth, elegant cake surface quickly and efficiently, turning ordinary frosting into an extraordinary design element. You no longer need specialized tools, advanced skills, or countless hours to achieve that coveted polished look.
The truly remarkable part? You’ll be utilizing ordinary store-bought icing, which not only ensures convenience but also offers endless flavor possibilities and remarkably quick preparation. This budget-friendly and time-saving approach allows you to achieve stunning results without compromising on taste. You can effortlessly customize your pourable faux fondant with various elements:
- Vibrant Food Coloring: Easily tint your icing to match any party theme or color scheme.
- Flavor Extracts: Add a personalized touch with almond, peppermint, orange, or other extracts to complement your cake’s flavor profile.
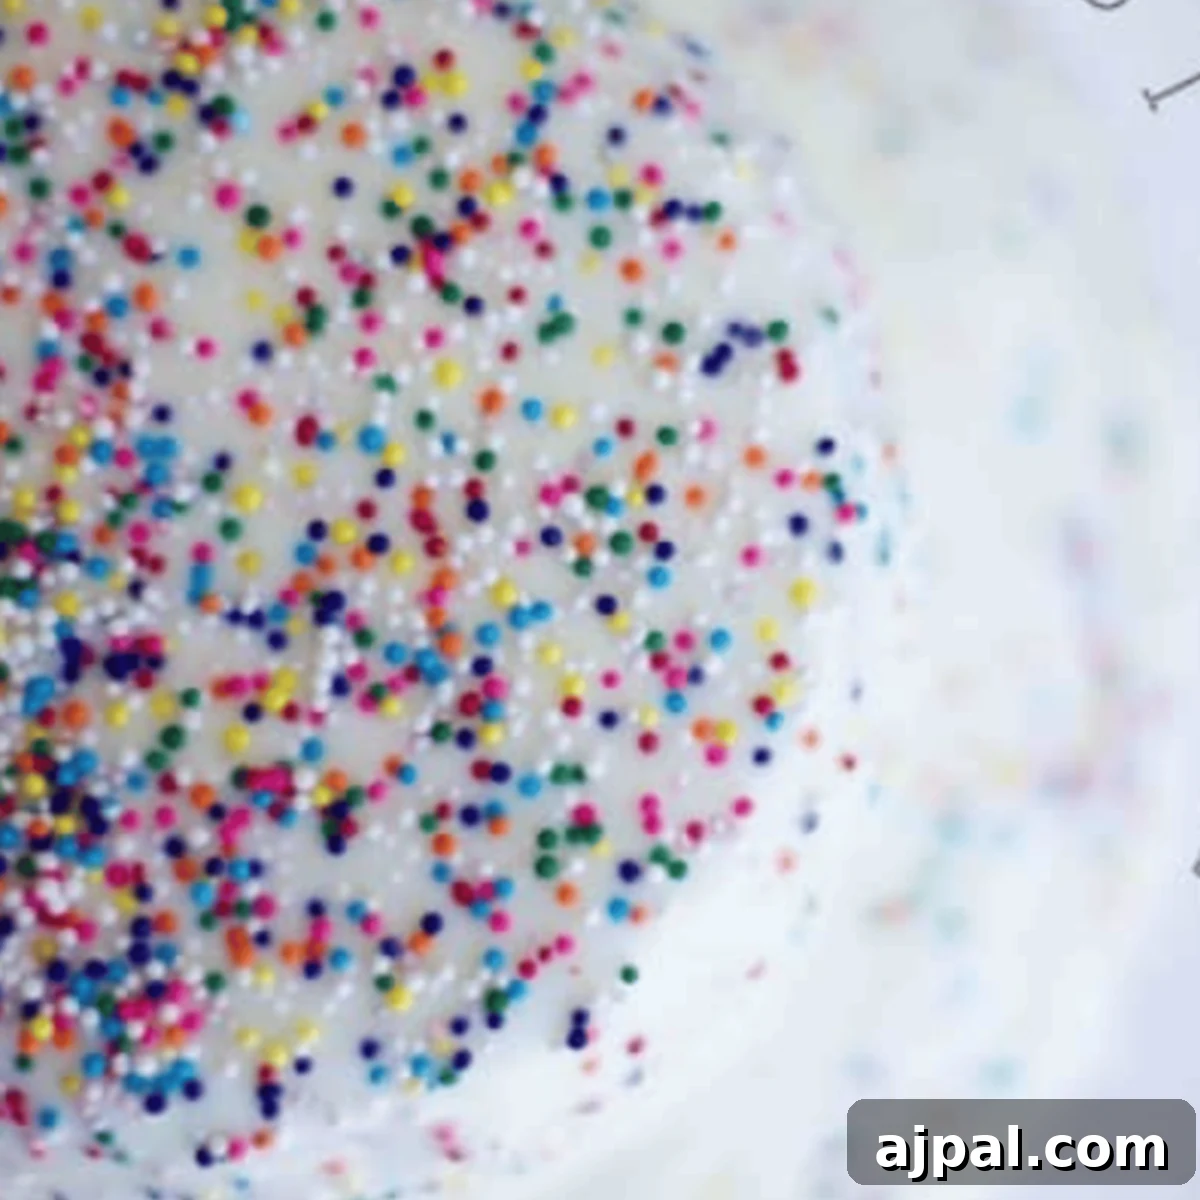
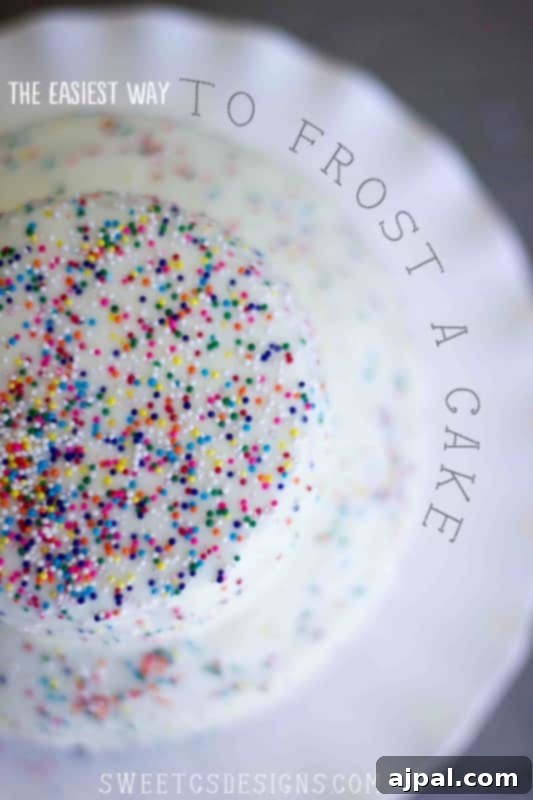
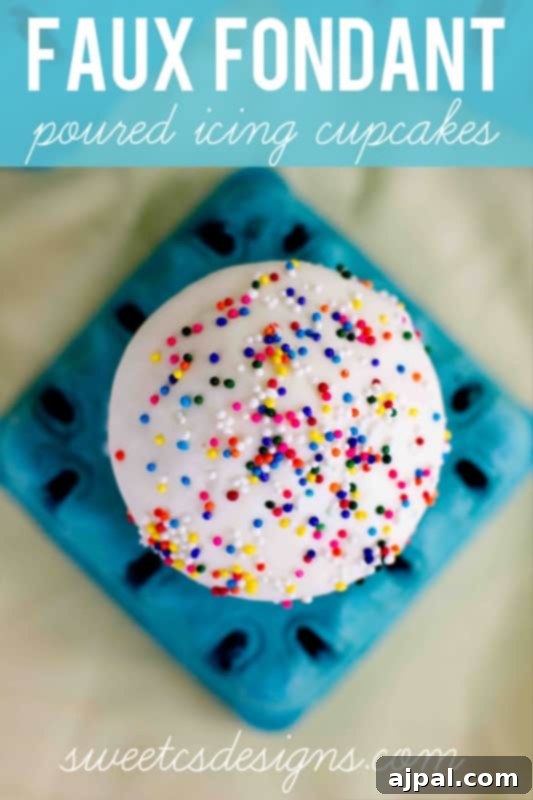
- Assorted Sprinkles: A classic and fun way to add texture and visual appeal, especially for celebratory cakes.
- Other Decorations: Think edible glitter, small candies, fresh berries, or even piped details after the pourable icing has set to cool.
This versatile technique is ideal for a wide array of celebratory treats and occasions. Imagine the compliments you’ll receive for your impeccably finished desserts, all without the stress or extensive time commitment. It’s perfect for:
- Classic Birthday Cakes for all ages
- Elegant Wedding Shower Cakes that impress
- Charming Baby Shower Cakes with a smooth finish
- Delicate Cake Pops and Brownie Pops for individual servings
- Creative Shaped Cakes that demand a flawless coating
- Sophisticated Petit Fours for gourmet gatherings
- Even Simple Yet Stunning Wedding Cakes that look professionally made
This is the ultimate hack for achieving that coveted smooth, fondant-like look with minimal fuss, maximum flavor, and an impressive presentation that will have everyone asking for your secret!
Step-by-Step Guide: Crafting Your Pourable Faux Fondant Icing
Creating this pourable faux fondant icing is incredibly straightforward and efficient. With just a few basic ingredients and simple steps, you’ll be well on your way to a beautifully finished cake that looks professionally made. This method simplifies cake decorating, allowing you to achieve stunning results without any specialized skills or tools. Here’s a detailed breakdown of what you’ll need and how to flawlessly execute this amazing trick:
Essential Ingredients:
- Cake: This method is incredibly versatile and works beautifully on almost any type of cake you wish to frost. Whether you’re decorating a classic layered cake, individual cupcakes, delightful cake pops, or even uniquely shaped novelty cakes, this pourable icing will provide a smooth, even coating. The most critical factor is ensuring your cake is completely cooled before you begin. A warm cake will cause the microwaved icing to melt and slide right off, leading to a messy rather than marvelous finish. For best results, chill your cake in the refrigerator for at least 30 minutes before frosting.
- Premade Frosting: This is your secret weapon for achieving speed and simplicity. I typically recommend starting with vanilla premade frosting from the store due to its neutral base, which makes it easy to color and flavor. However, don’t be afraid to experiment with other varieties! Cream cheese or chocolate frostings also work similarly well, offering distinct flavor profiles. When choosing, look for frostings that are naturally smooth and have a good consistency at room temperature, as these will melt and pour more consistently. Avoid any chunky, whipped, or heavily textured frostings, as they may not melt into the desired smooth consistency.
- Optional Decorations (e.g., Sprinkles): Adding decorations is where you can truly personalize your creation! Sprinkles are a fantastic choice for adding instant color, texture, and a touch of fun, making them especially popular for celebratory cakes. However, your options are limitless. Consider using edible glitter for a shimmering effect, small candies for a playful look, fresh berries for natural elegance, or even intricate piped details after your pourable icing has fully set. Think about the occasion and let your creativity guide your choices for a truly unique and appealing dessert.
The Pouring Method for a Flawless Finish:
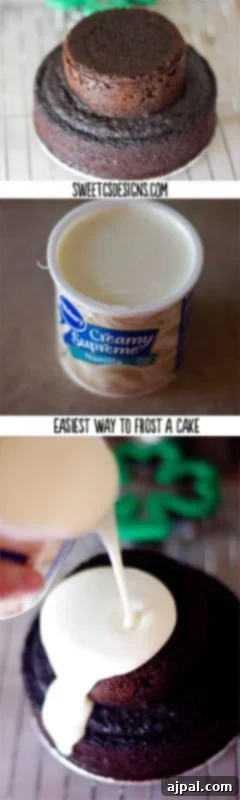
- Prepare Your Frosting Station: Begin by placing your completely cooled cake on a sturdy cookie rack. It’s essential that the cake is chilled, as this prevents the warm icing from melting it. Position this rack over a flexible cutting board or a baking sheet lined with parchment paper. This clever setup serves two crucial purposes: it allows any excess icing to drip off cleanly, preventing a messy base, and conveniently collects any leftover icing that you can scrape up and potentially re-use if needed, minimizing waste. This makes cleanup significantly easier.
- Microwave the Frosting to Perfection: Transfer your chosen premade frosting into a microwave-safe bowl. Heat it in the microwave using short, controlled bursts – typically two 15-second intervals are sufficient for a standard 16-ounce can. The goal is to achieve a fully melted, pourable consistency, but it’s crucial that the frosting is not hot. It should be warm enough to flow smoothly and evenly, but cool enough not to melt your cake or become excessively thin and oily. Stir briefly after each burst to check for consistency and ensure there are no lumps.
- Allow to Cool Slightly: Once melted, let the frosting sit undisturbed for a minute or two. This brief cooling period is vital; it ensures that the icing is still liquid and pourable, but without any significant warmth. Frosting that is too hot will simply run off your cake too quickly, creating transparent spots and failing to adhere properly to create that smooth, thick finish. It needs to be just warm enough to pour, but cool enough to start setting upon contact with the cold cake.
- The First Pour (Crumb Coat): Carefully pour about a quarter of the melted frosting over your cake. Begin pouring from the center and slowly move outwards in a continuous, circular motion, allowing the icing to gradually cover the top surface and cascade down the sides. Don’t worry about achieving perfect coverage or thickness with this initial layer; its primary purpose is to act as a crumb coat, sealing in any loose cake crumbs and providing a foundational layer for subsequent, smoother coats.
- Allow to Firm Up: After applying the initial pour, let the cake sit undisturbed on the cooling rack for approximately 10 minutes. This crucial resting period allows the first layer of pourable icing to firm up slightly. This creates a stable, slightly tacky surface, which is essential for the next layers to adhere properly and build up a thick, opaque, and smooth coating.
- Repeat for Thickness and Smoothness: Microwave the remaining icing again for another 15 seconds to ensure it’s still perfectly warm and pourable. Then, repeat the pouring step, covering the cake with a second, more generous layer. This second application helps build a significantly thicker, more even coating, achieving that desirable opaque and beautifully smooth faux fondant look. You may repeat this process one more time if you desire an even thicker or more flawlessly smooth finish, always ensuring each layer cools and sets slightly before applying the next.
- Transfer and Final Placement: Once the final layer of icing has fully set and the cake feels firm to the touch (this might take 20-30 minutes at room temperature, or less in the refrigerator), gently slide it off the cooling rack and onto your chosen clean cake plate or serving platter. A thin spatula or cake lifter can be helpful here.
- Smooth Minor Imperfections (Optional Touch-Up): If, upon close inspection, you notice any minor lumps, small drips, or imperfections in the frosting after it has set, you can subtly smooth them out. Dip your finger in a little warm water and gently, softly rub the affected areas. The warmth and moisture will help to slightly melt and blend the surface, correcting any small flaws without disturbing the entire finish. Work carefully and sparingly.
- Decorate and Savor: Now comes the most enjoyable part – decorating! Add your chosen sprinkles, edible fondant shapes, fresh fruit, piped buttercream borders, or any other garnishes that suit your theme or occasion. Your professional-looking, elegantly frosted cake is now ready to be admired, photographed, and, most importantly, thoroughly enjoyed!

Pro Tips & Troubleshooting for Flawless Faux Fondant Frosting
Even with the simplest techniques, a few insider tips can significantly elevate your results and help you troubleshoot common issues. Master the art of pourable faux fondant with these helpful hints and transform your cakes into truly professional-looking desserts:
- Addressing Lumps and Imperfections: If, after your final pour, you notice any small lumps, trapped air bubbles, or slightly uneven areas, don’t despair! Once the icing has partially set but is still pliable, you can gently use an offset spatula or the flat side of a clean knife to carefully smooth out the surface. For very minor imperfections after the icing has fully set, a clean finger dipped sparingly in warm water can work wonders, as detailed in the pouring method. This technique helps to gently melt and blend the surface for a seamless look.
- The Unnegotiable Rule: Cool Your Cake Thoroughly: This cannot be stressed enough – your cake MUST be completely cool, preferably chilled, before you begin frosting. If your icing appears to be running off the cake excessively, creating thin, transparent patches, or simply not adhering, it’s a clear sign your cake is too warm. Pop the cake back into the refrigerator or even the freezer for a short while until it is thoroughly chilled. A cold cake surface helps the warm, pourable frosting set quickly and adhere smoothly, creating that essential stable base.
- Strategic Timing for Sprinkles and Decorations: Sprinkles are a fantastic way to add instant visual appeal and a touch of whimsy to any cake, and kids absolutely adore them! For the best adhesion and to prevent them from sinking or bleeding into the frosting, wait a couple of minutes after applying your final layer of pourable icing before adding sprinkles or other small, lightweight decorations. This slight delay allows the icing to become tacky enough for the sprinkles to stick firmly to the surface.
- Setting the Frosting for Durability: To achieve the firmest and most professional finish, especially if you plan to transport the cake, stack multiple tiers, or add intricate piping details, it’s highly beneficial to refrigerate or even briefly freeze the iced cake after the final pour. This helps the frosting set quickly and firmly, preventing any accidental smudges or deformations. Allow at least 30 minutes in the refrigerator.
- Adding Color to Your Icing: For vibrant and customized cakes that perfectly match your theme, add gel food coloring to your frosting while it’s in the microwave-safe bowl, *before* you heat it. Stir thoroughly to ensure the color is evenly distributed and fully incorporated. Gel colors are highly concentrated and are ideal because they won’t significantly alter the consistency of the frosting as much as liquid food coloring might.
- Flavor Variations Beyond Vanilla: Don’t limit yourself to just the frosting’s original flavor! You can easily stir in a few drops of your favorite extract (such as almond, peppermint, lemon, or orange) into the melted frosting to complement your cake’s flavor profile. Remember, extracts are potent, so a little goes a long way to avoid overpowering the taste.
- Versatility for Cupcakes and Other Treats: While this method shines on full-sized cakes, it’s also fantastic for cupcakes, brownies, and even cookies! Instead of pouring, you can gently dip the top of a cooled cupcake into the melted frosting, allowing any excess to drip off before setting it upright. This creates a beautifully domed, smooth, and glossy finish on individual treats.
- Working with Multiple Cans for Larger Creations: For larger cakes or multiple batches of cupcakes, you might need more than one can of frosting. If so, it’s best to melt them separately or in smaller batches. This ensures that each batch is at the correct pourable temperature and consistency before application, preventing some from becoming too thin while others are still too thick.
- Clean Edges: For a super crisp bottom edge, you can use a hot, dry knife to carefully trim away any uneven drips after the icing has fully set.
Frequently Asked Questions About Pourable Frosting
- What should I do if the frosting becomes too runny?
- If the frosting becomes too runny after heating, simply let it cool for a few minutes at room temperature. As it cools, it will naturally thicken. For a quicker fix, you can place the bowl of frosting in the refrigerator for a very short period (1-2 minutes) to speed up the setting process. Just be sure to stir it thoroughly again before pouring to ensure a smooth, even consistency.
- How long should I wait before applying the heated frosting?
- After microwaving, allow the frosting to sit for just a minute or two. This brief pause is essential because it ensures the frosting is warm and perfectly smooth, but not so hot that it could melt the cake surface or become excessively thin and unable to coat properly. You want it liquid enough to pour easily, but with enough body to create a substantial, opaque layer.
- Can I dip cupcakes into heated frosting for a smooth top?
- Absolutely! Dipping cupcakes into heated frosting is a fantastic and efficient way to achieve a beautifully smooth and shiny top. To do this, hold the cooled cupcake upside down by its base, gently dip the top into the warm, pourable frosting, then lift and twist slightly to allow any excess to drip off. Place the cupcake upright on a cooling rack to set.
- How much frosting should I use for a cake or a batch of cupcakes?
- For a standard 8-9 inch round layer cake, one 16-ounce can of premade frosting is usually sufficient to achieve a good, smooth coating. If you’re frosting a batch of 12 standard-sized cupcakes, about half a can of frosting should be plenty, depending on how generously you like your cupcakes frosted. For larger or more elaborate cakes, you might need 1.5 to 2 cans.
- Can I add color or flavor to the heated frosting?
- Yes, you can easily customize your frosting to suit your taste and theme! Add gel food coloring (gel colors are recommended as they are highly concentrated and won’t thin the frosting as much as liquid colors) or flavor extracts to the frosting *after* it’s been heated and before pouring. Stir thoroughly to ensure the color or flavor is evenly distributed throughout the melted icing for consistent results.
- Will heating the frosting affect its taste or texture?
- Heating the frosting typically does not significantly alter its taste. The primary change will be in its texture, transforming it from a thick, spreadable consistency to a softer, smoother, and pourable state. To maintain the best possible taste and prevent it from becoming too oily or overly thin, it’s crucial to avoid overheating the frosting. Stick to short, controlled microwave bursts.
Delightful Pairings: What to Enjoy with Your Elegant Cake
A beautifully frosted cake is undoubtedly a treat in itself, but pairing it with the right accompaniments can elevate the entire dessert experience, creating a more memorable and balanced flavor profile. Here are some thoughtful suggestions to perfectly complement your delicious pourable faux fondant cake, ensuring every bite is a delightful symphony of tastes and textures:
- Fresh Berries: The vibrant freshness and slight tartness of fresh berries – such as succulent strawberries, tangy raspberries, or sweet blueberries – provide a wonderful contrast to the sweetness of the cake and its rich frosting. They add a burst of natural flavor, a beautiful pop of color, and a light, refreshing element that cleanses the palate between bites.
- Coffee: A classic and timeless pairing, a warm cup of coffee is the perfect companion for a sweet cake. Whether you prefer it black, with a splash of cream, or as a rich espresso, coffee’s subtle bitterness and robust flavor expertly cut through the sweetness of the cake. This creates a balanced and sophisticated taste experience, enhancing the overall enjoyment and making it an ideal counterpoint for a rich dessert.
- Whipped Cream: For those who adore creamy textures, a generous dollop of light and airy homemade whipped cream is an exquisite addition. It adds an extra layer of velvety smoothness without being overly heavy, complementing the pourable icing beautifully. You can even elevate the whipped cream by infusing it with a hint of vanilla bean paste, a touch of a complementary liqueur, or a dash of cinnamon for added depth of flavor.
- Lemon Curd: If you’re looking to introduce a bright, zesty dimension to your dessert, a side of tangy lemon curd is an excellent choice. Its sharp, citrusy notes provide a delightful and invigorating contrast to sweet frostings, adding a sophisticated depth and complexity to each bite. This pairing is particularly delightful with vanilla or almond-flavored cakes, where the lemon can truly shine.
- Champagne or Sparkling Wine: For truly celebratory occasions, consider pairing your elegant cake with a glass of crisp champagne or sparkling wine. The delicate effervescence and bright acidity of these beverages effectively cut through the richness of the cake, making each mouthful feel lighter, more refined, and inherently more festive. It’s an elegant and luxurious choice that perfectly enhances the specialness of any event.
Explore More Delicious Cake Recipes:
Easy Lemon Jello Poke Cake Recipe
Strawberry Shortcake
Chocolate Peppermint Cheesecake
Strawberries and Cream Cake
Microwaved Icing Recipe
Email Recipe
Print Recipe
This is a super simple way to make a professional looking cake!
Equipment
- 1 USA Pan Bakeware Half Sheet Baking Pan and Bakeable Nonstick and Cooling Rack Set, Metal
Ingredients
- 1 cake, you can use cupcakes, layer cake, or any kind of cake you want
- 1 can premade icing, you may need multiple depending how much cake you have
- 4 oz sprinkles, optional
Instructions
- Set your cool cake on a cookie rack over a flexible cutting board. This will help catch leftover icing that you can scoop up and re-use if needed.
- Microwave your frosting for two 15-second bursts; it should be completely melted but not hot.
- Let it sit for a minute or two to cool a bit (you want it still liquid, just no warmth).
- Pour the frosting over your cake in a circular motion.
- Once you have used about 1/4 the can of icing and it looks pretty covered, let it sit and firm up for about 10 minutes.
- Microwave the icing again for 15 seconds.
- Repeat the icing step to get a thicker, more even layer.
- Repeat once more if needed after cool.
- Once the cake has set, slide it off the cooling rack and onto a clean cake plate.
- If there are any large lumps or mistakes in the frosting, you can smooth them out after the icing is set by dipping your fingers in water and softly rubbing them out.
- Decorate with sprinkles, fondant shapes, etc. Enjoy!
Video Tutorial
For a visual guide, you can watch a video tutorial for this recipe here: Faux Fondant Cake Frosting Hack Video

Nutrition
Calories: 300kcal | Carbohydrates: 66g | Protein: 3g | Fat: 3g | Saturated Fat: 2g | Polyunsaturated Fat: 0.3g | Monounsaturated Fat: 1g | Trans Fat: 0.3g | Sodium: 448mg | Potassium: 40mg | Fiber: 1g | Sugar: 40g | Calcium: 142mg | Iron: 1mg
Nutrition information is automatically calculated and should only be used as an approximation. Actual values may vary based on ingredients and preparation.
Additional Info
Tried this recipe? We love to see your culinary creations! Share your beautifully frosted cakes on social media and mention @sweetcsdesigns or tag #sweetcsdesigns.