
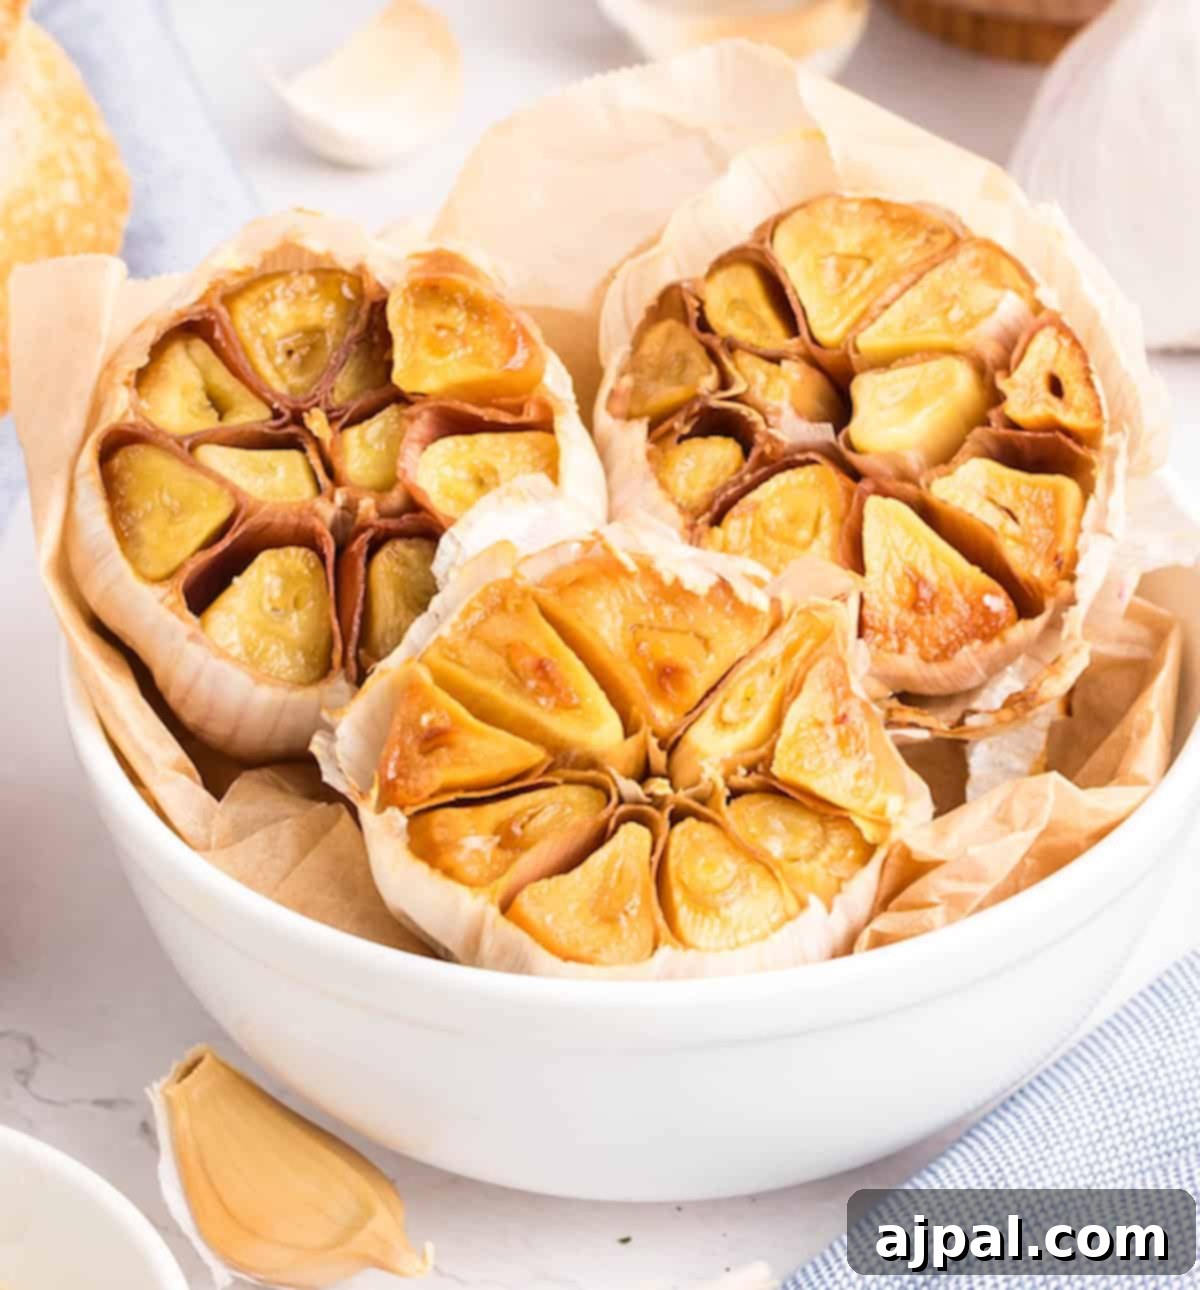
The Ultimate Guide to Perfectly Roasted Garlic: Sweet, Mellow, and Irresistibly Umami
Transform your cooking with one of the simplest yet most impactful flavor boosters: roasted garlic. Unlike its raw counterpart, roasted garlic offers a sublime sweetness and a buttery, creamy texture that melts into dishes, imparting an addictive, rich umami flavor. It’s an essential technique every home cook should master, easily prepared in bulk for use in countless recipes throughout the week, and can even be frozen for long-term enjoyment.
This comprehensive guide will show you the best and easiest way to roast whole garlic bulbs, ensuring perfect results every time. Whether you’re a seasoned chef or a beginner in the kitchen, understanding this method will empower you to elevate a wide variety of meals, from simple spreads to elaborate main courses. Imagine enhancing your Roasted Garlic Butter or complementing a succulent Pork Tenderloin with this golden delicacy.
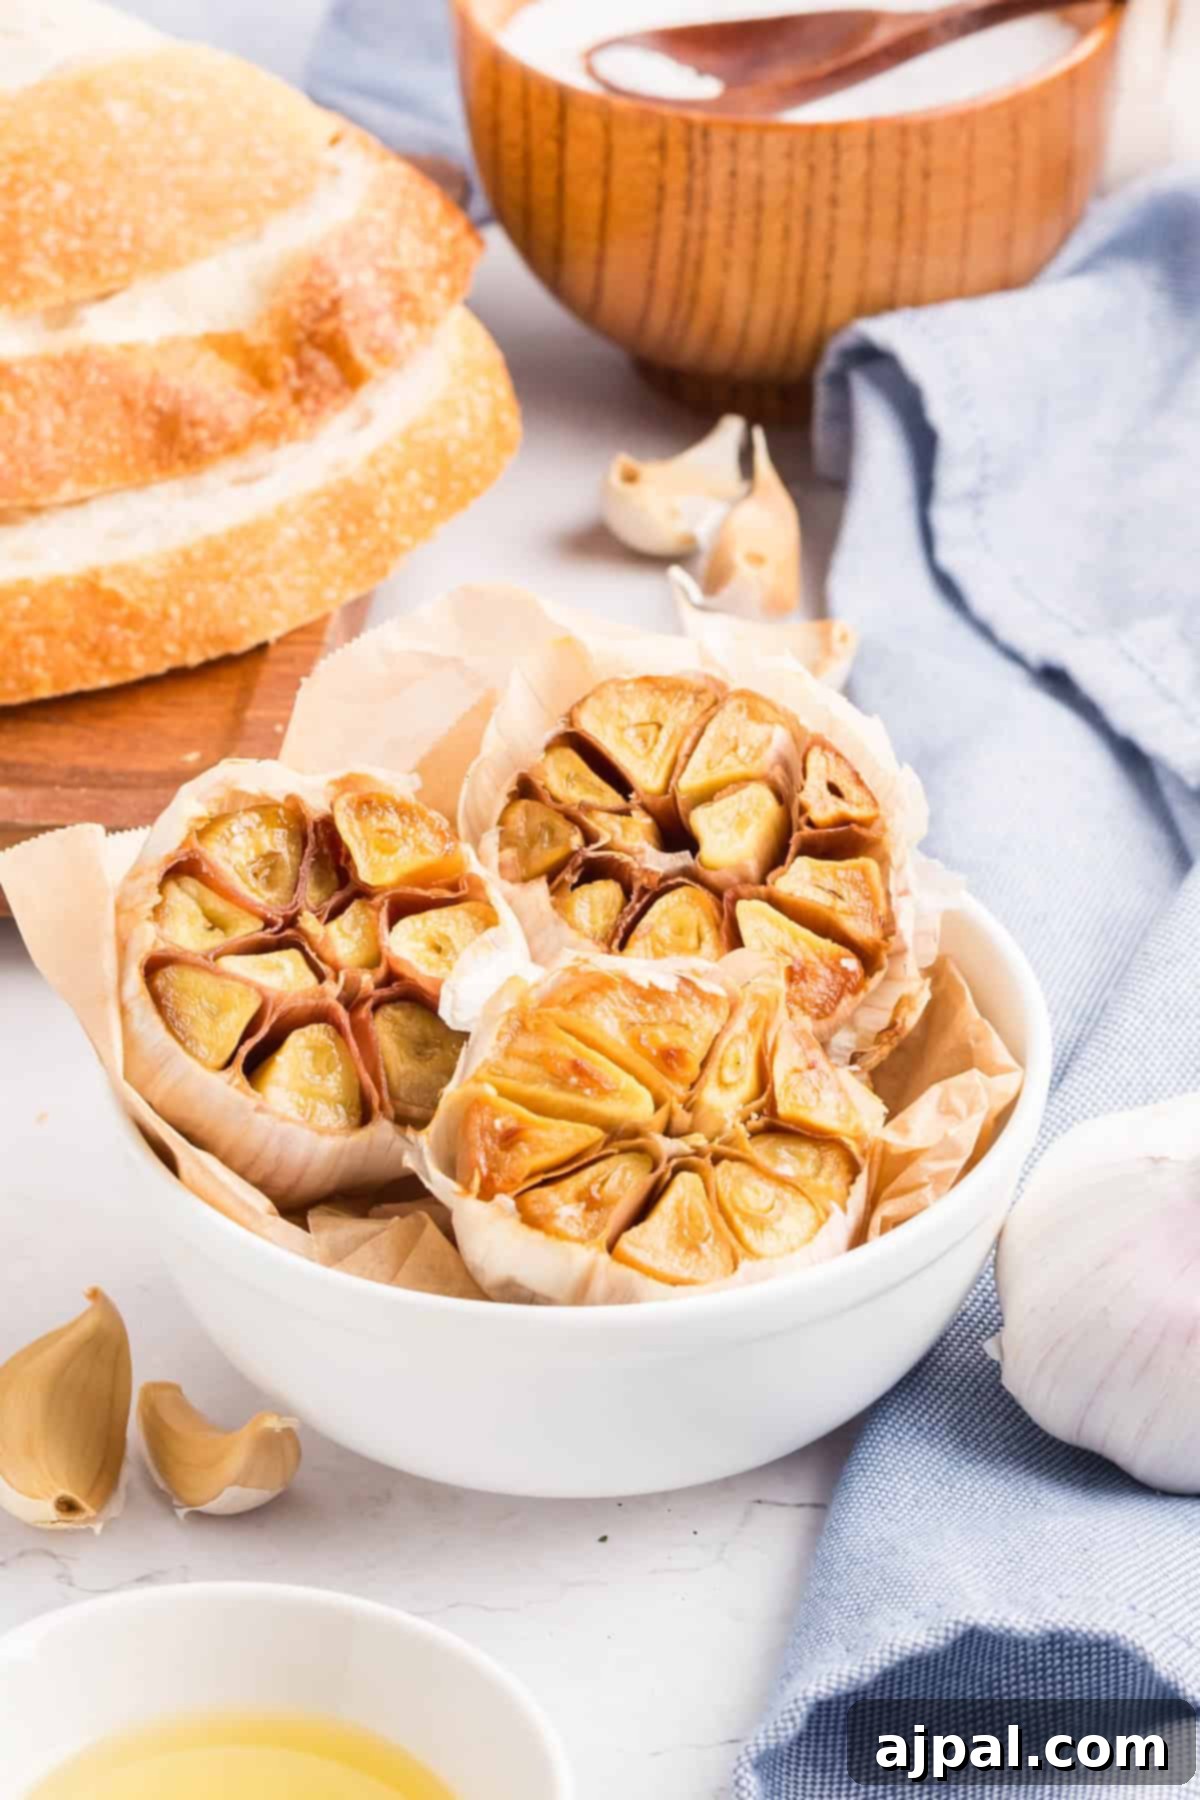
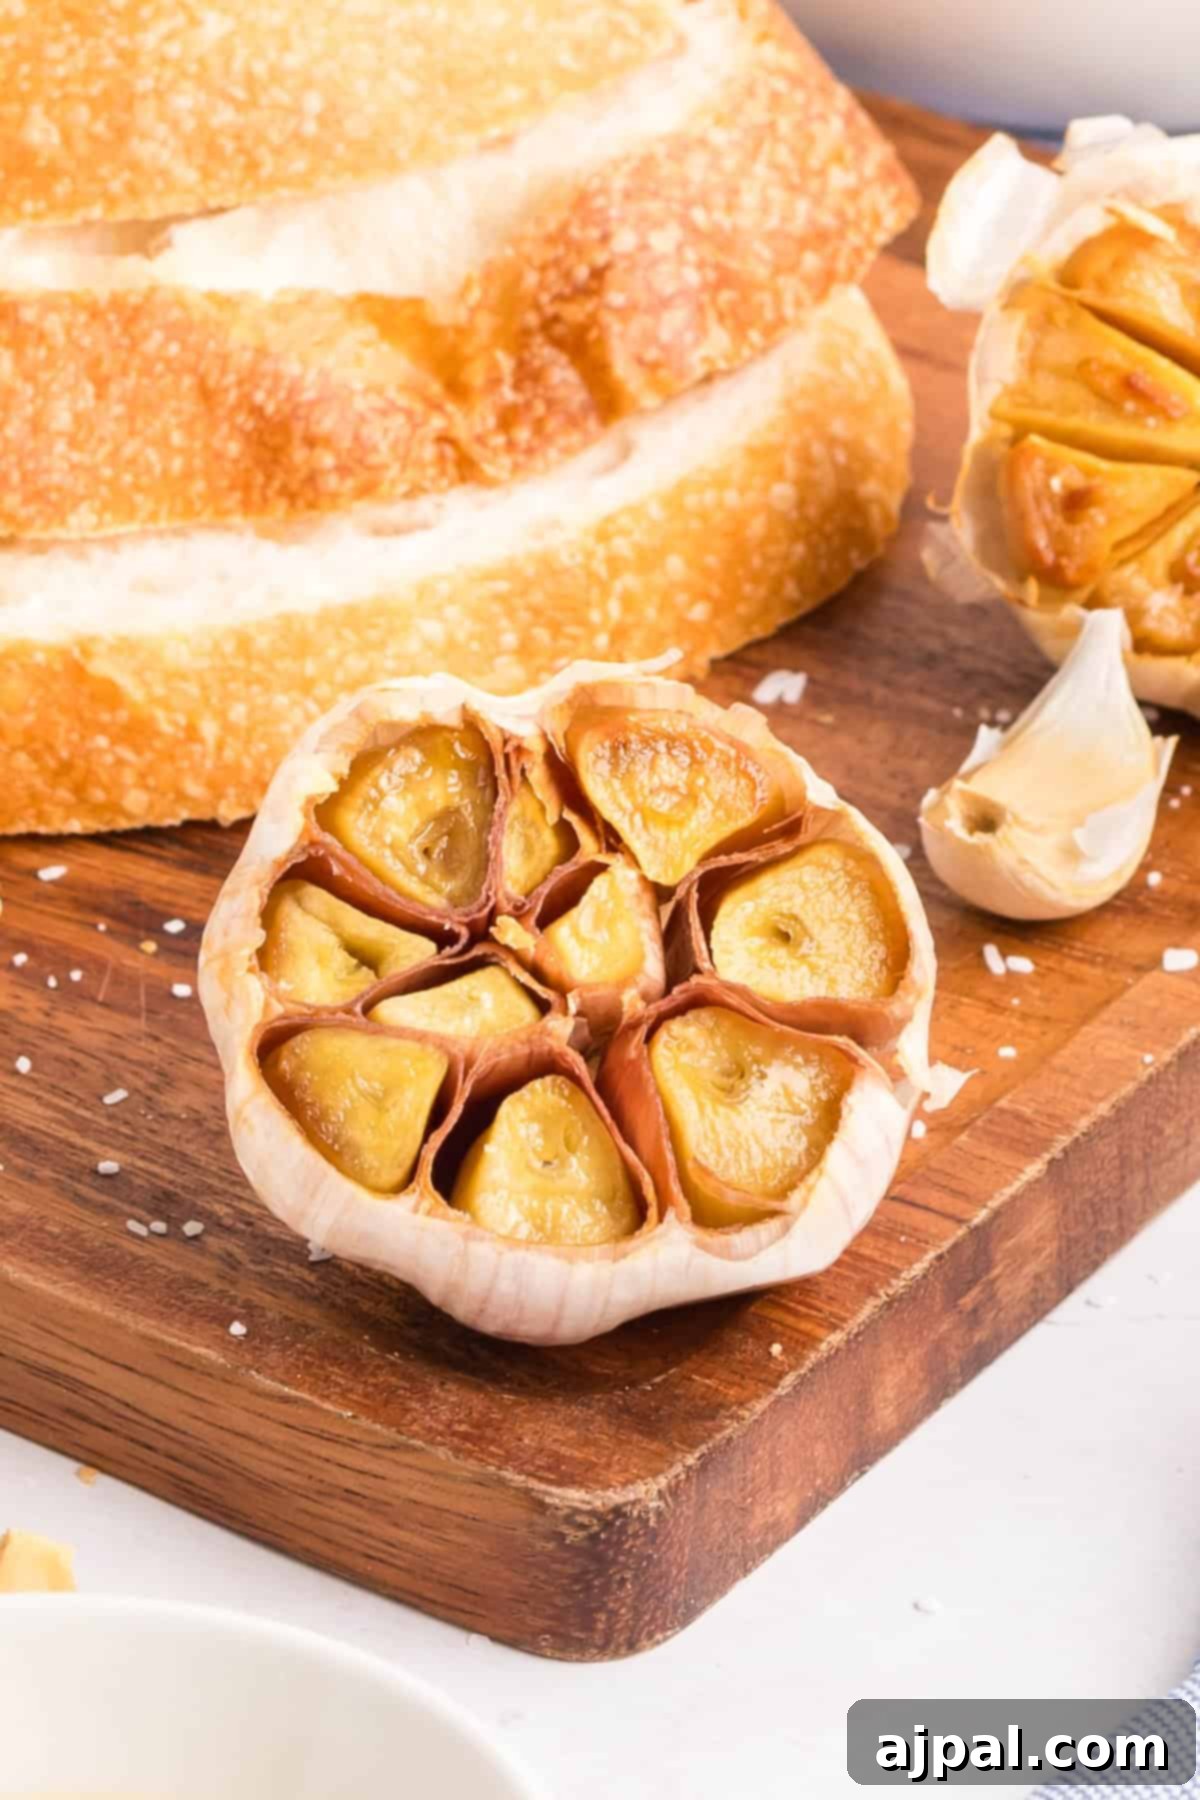
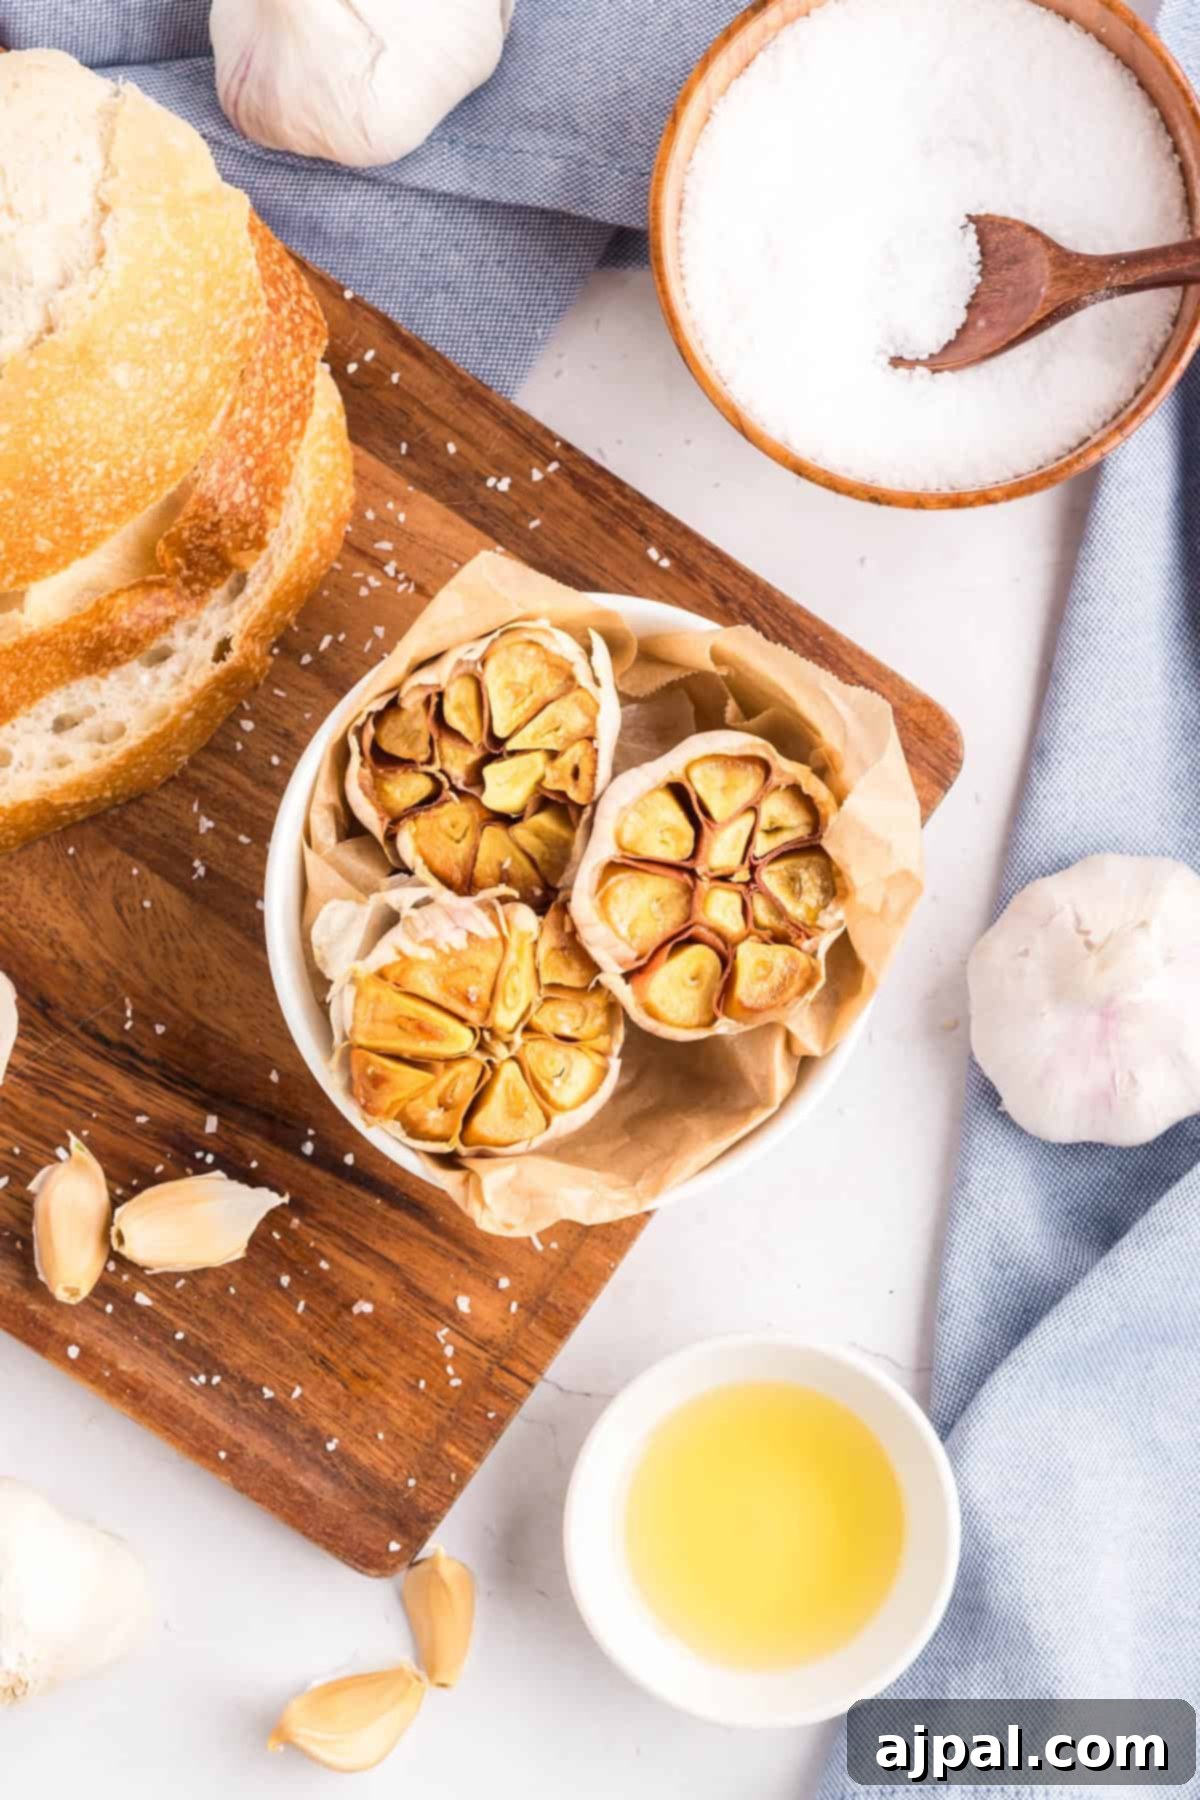
Why Roast Garlic? The Flavor Transformation
Raw garlic is known for its pungent, sharp, and sometimes overpowering bite. While essential for many cuisines, its raw intensity isn’t always desired. Roasting garlic completely transforms its character, mellowing its sharpness and bringing forth a natural sweetness and nutty depth that is simply irresistible. This transformation occurs due to the caramelization of its natural sugars and the Maillard reaction, a chemical process that creates rich, complex flavors and aromas.
The result is a soft, spreadable condiment that boasts a profound umami flavor – a savory, fifth taste that adds a layer of deliciousness to virtually any dish. When roasted, garlic cloves become tender enough to be easily squeezed from their papery skins, turning into a creamy, golden puree that can be incorporated into countless recipes.
Beyond Flavor: The Health Benefits of Roasted Garlic
Garlic is not just a culinary powerhouse; it’s also packed with health benefits. It’s a natural source of antioxidants, known for its anti-inflammatory properties, and has been traditionally used to support immune health. While roasting slightly alters its chemical composition, many of its beneficial compounds remain. Enjoying roasted garlic means indulging in deliciousness while still potentially contributing to your well-being. It’s a guilt-free way to add incredible flavor and depth to your meals.
Easy Roasted Garlic: Your New Kitchen Staple
This isn’t just a recipe; it’s a fundamental technique, a “base recipe” that every home cook should master. Once you experience the ease and versatility of roasted garlic, you’ll wonder how you ever cooked without it. It’s perfect for meal prepping because you can roast a large batch at once, store it, and have it ready to enhance your dishes all week long. This method is designed to be super simple, ensuring even beginner cooks can achieve professional-level results.
At Sweet C’s, we believe in empowering home cooks through understanding. We provide detailed tips in all our recipes because we know confidence in the kitchen comes from knowing *why* ingredients work and *how* techniques transform flavors. Our goal is to make cooking accessible and enjoyable for everyone, ensuring you feel confident and creative with every dish you prepare.
How to Roast Whole Garlic: A Step-by-Step Guide
Choosing the Best Garlic Bulbs
The secret to great roasted garlic begins with selecting the right bulbs. Look for whole garlic heads that are plump, firm, and heavy for their size. The skins should be intact, dry, and free from soft spots, sprouts, or mold. Fresh garlic will yield the sweetest, creamiest results, while older or shriveled bulbs might dry out during roasting instead of becoming tender and buttery.
Simple Ingredients You’ll Need
This easy recipe requires minimal ingredients, allowing the natural flavor of the garlic to shine:
- Garlic bulbs: The star of the show. When roasted, garlic transforms from sharp and pungent to wonderfully sweet, nutty, and buttery with a mellow, spreadable texture.
- Avocado oil or olive oil: Provides a high-smoke-point fat that helps the garlic caramelize evenly without burning. It also enhances the natural richness and silkiness of the roasted cloves. Extra virgin olive oil can be used for its flavor, but avocado oil is a great neutral option that withstands higher heat.
- Coarse kosher salt: A sprinkle of coarse salt before roasting helps to draw out moisture, intensifying the garlic’s flavor and promoting a desirable creamy texture. It also balances the emerging sweetness, preventing the garlic from tasting flat.
The Roasting Method: Achieving Golden Perfection
Follow these simple steps to create perfectly roasted garlic:
1. Preheat Your Oven
Preheat the oven to 350° F (175°C). This moderate temperature ensures slow, even roasting, allowing the garlic to soften and caramelize without burning.
2. Prepare the Garlic Bulbs
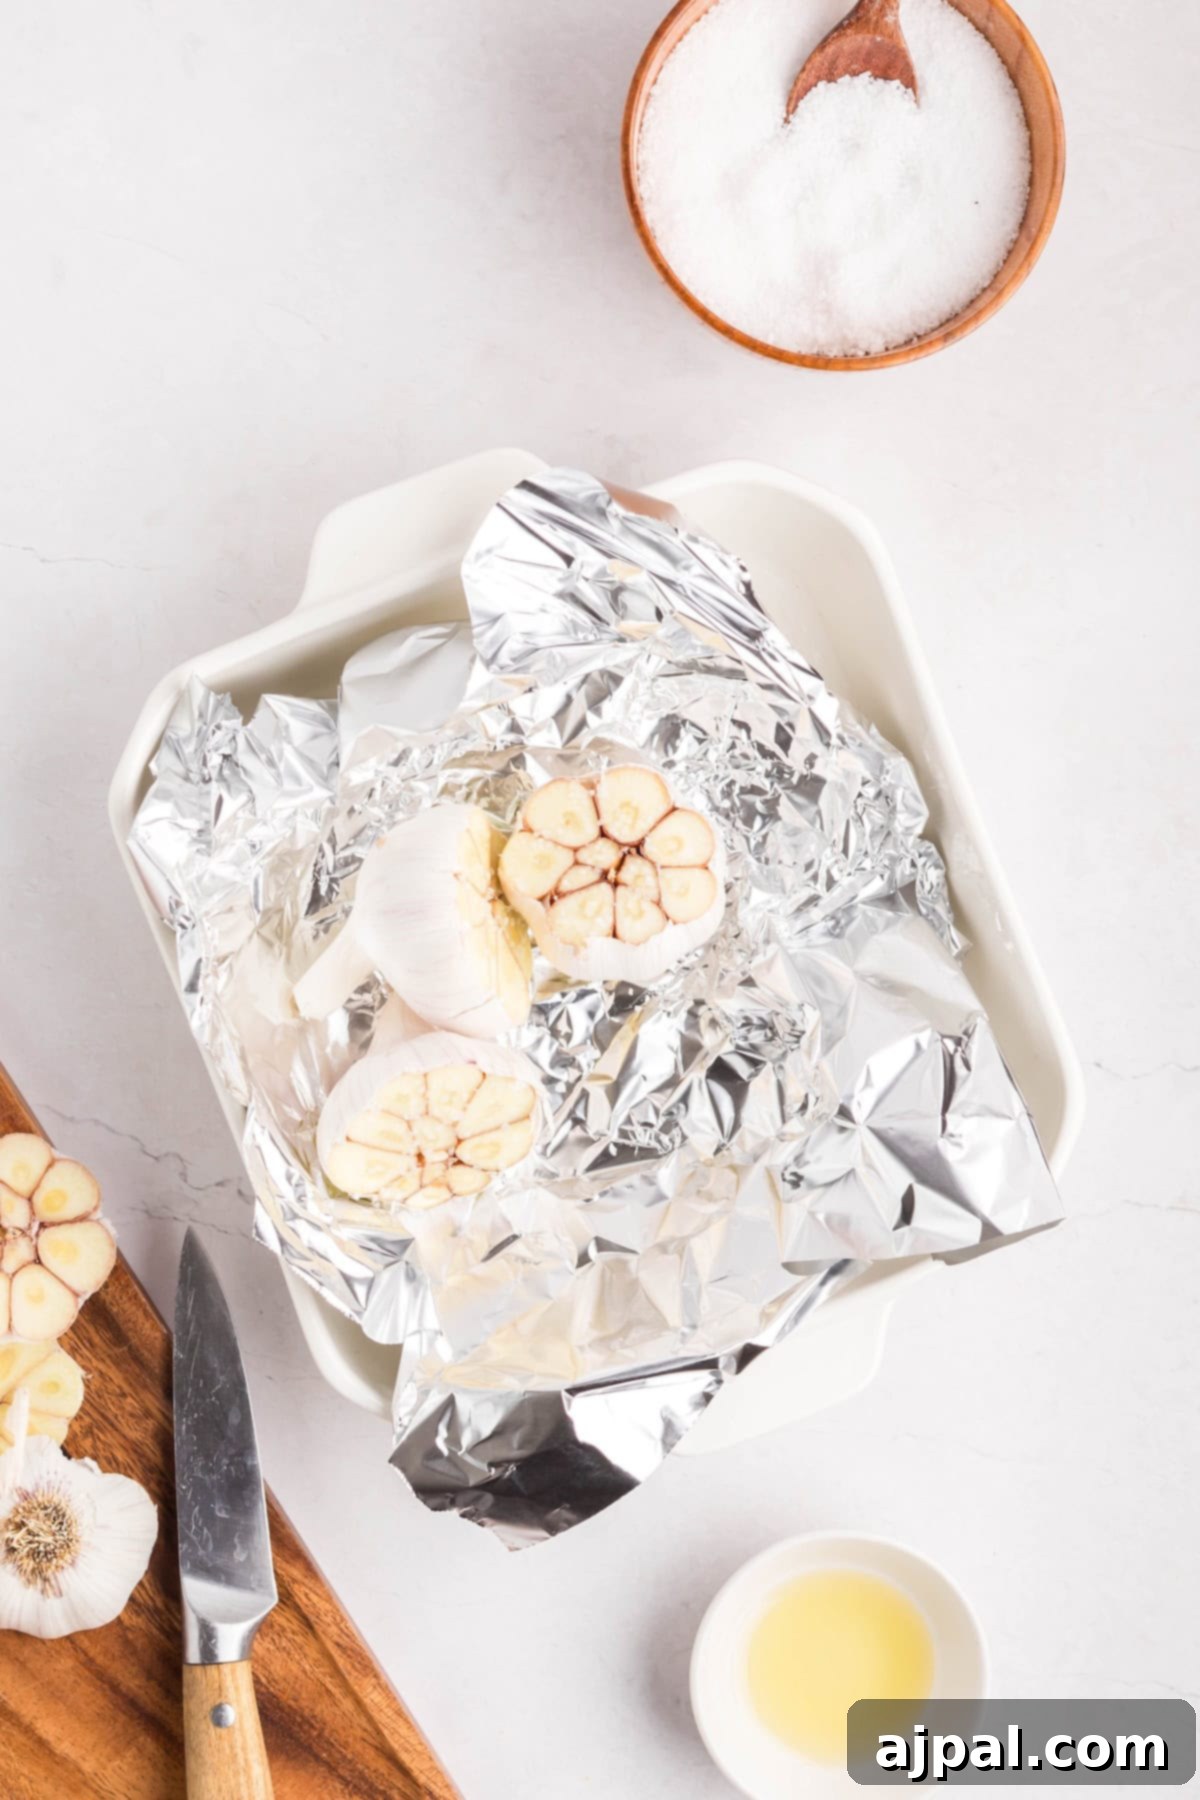
Using a sharp knife, carefully slice about ¼ to ½ inch off the very top of each garlic bulb, exposing the tops of the individual cloves. This allows the oil and seasoning to penetrate and helps the cloves cook evenly. Discard the trimmed tops.
3. Season and Oil
Place the trimmed garlic bulbs in a small baking dish or on a piece of aluminum foil. Drizzle approximately 1 teaspoon of avocado or olive oil over the cut side of each bulb, ensuring all exposed cloves are lightly coated. A light sprinkle of coarse kosher salt over the oiled tops will further enhance the flavor.
4. Wrap Tightly
If using foil, gather the edges and wrap the garlic bulbs tightly to create a sealed packet. If using a baking dish, cover it with a lid or another piece of foil. The goal is to trap the steam, which helps the garlic cook thoroughly and become wonderfully soft and tender.
5. Roast to Perfection
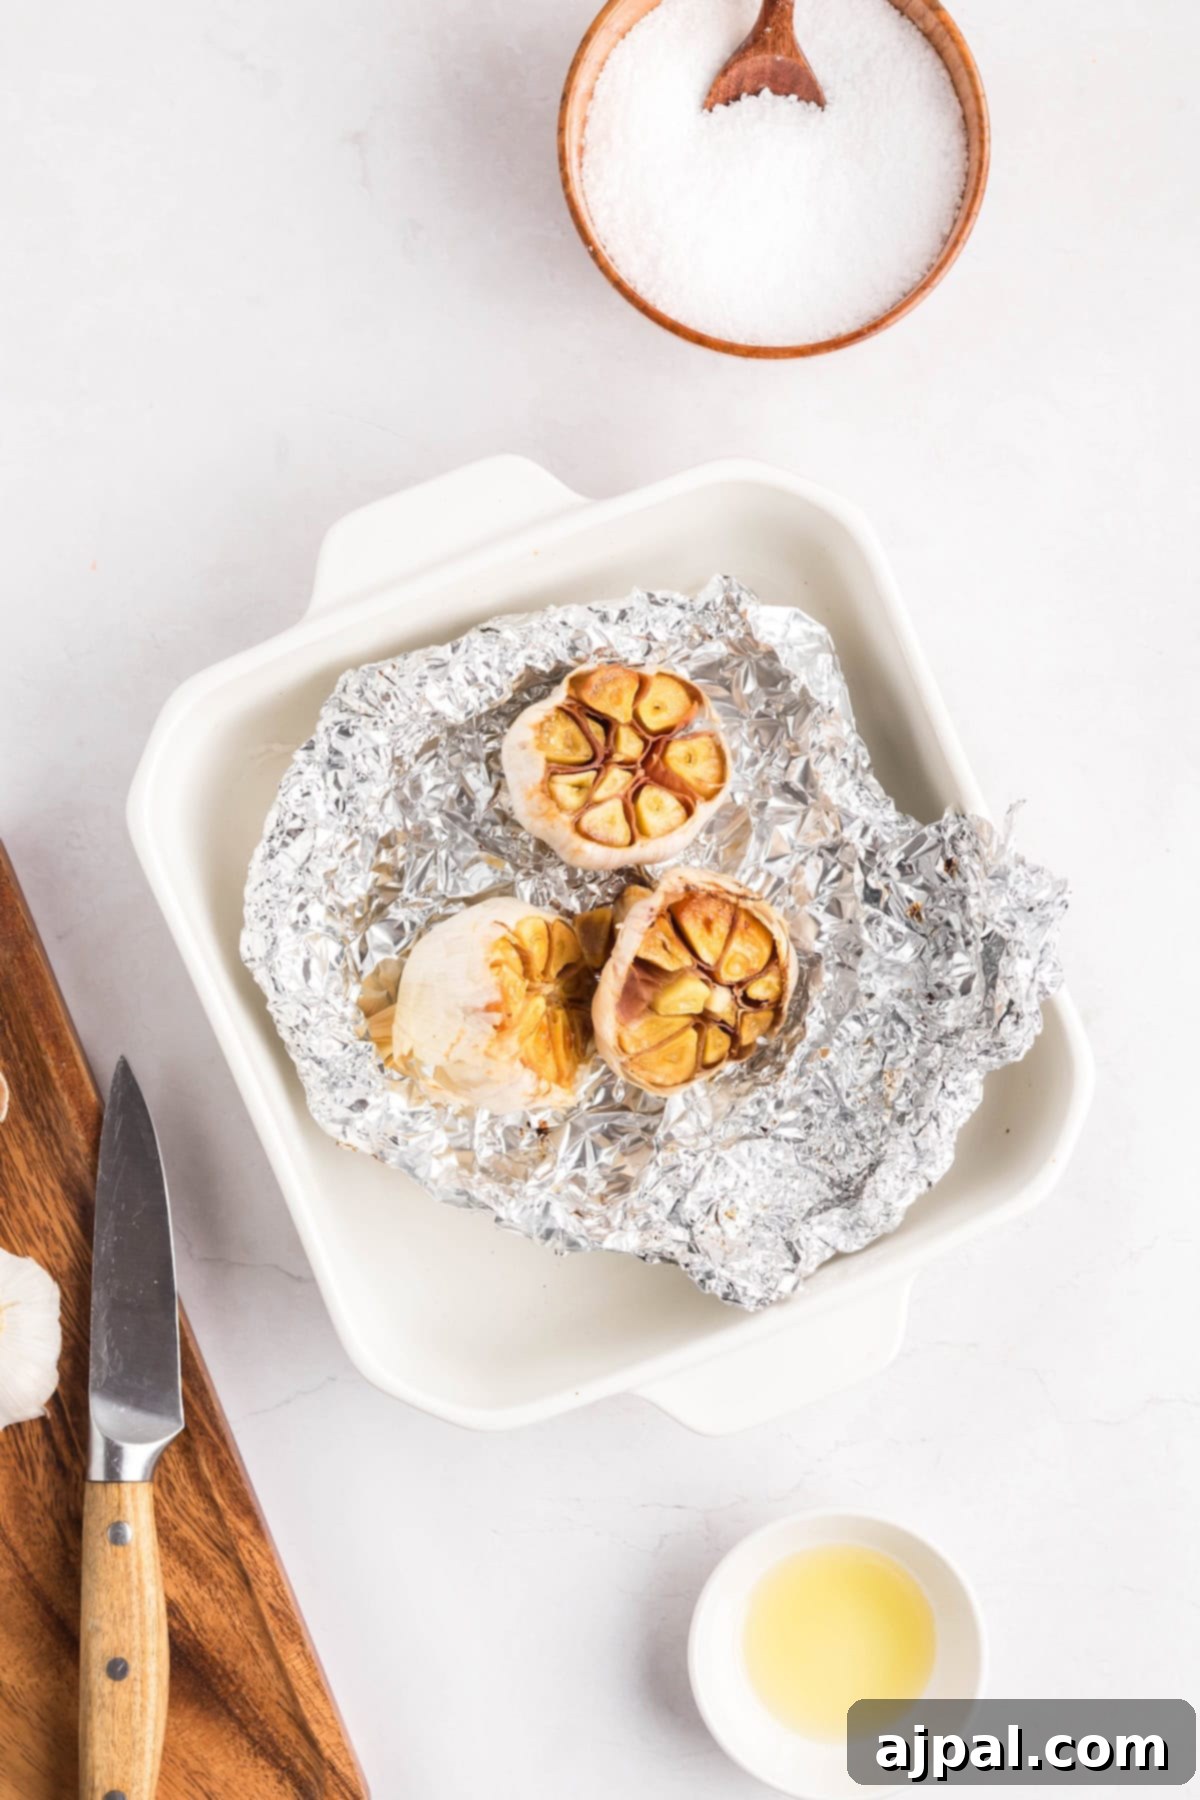
Place the wrapped garlic in the preheated oven. Bake for 40-60 minutes, or until the cloves are deeply golden brown and incredibly soft when gently squeezed. The exact time may vary depending on the size and freshness of your garlic bulbs.
6. Cool and Serve
Once roasted, carefully remove the garlic from the oven and allow it to cool for at least 20-30 minutes. This cooling period makes it easier to handle and allows the flavors to settle. Once cool enough, simply squeeze the softened cloves from their skins. They should slide out easily, ready to be enjoyed.
Tips For Achieving Perfectly Roasted Garlic Every Time
Even though roasting garlic is straightforward, a few key tips can ensure outstanding results:
- Use Fresh, Firm Bulbs: Always start with the best ingredients. Choose whole garlic heads that are plump, heavy, and have tight, unbroken skins. Older or shriveled bulbs tend to dry out instead of becoming wonderfully creamy.
- Slice the Top Off Evenly: Cut about ¼ to ½ inch off the top of the garlic bulb. This exposes all the cloves to the oil and heat, promoting uniform roasting. Don’t cut too deep, or the cloves might fall out.
- Leave the Skins On: The papery skins act as a natural protective barrier, trapping moisture and steam around the cloves. This helps them soften beautifully while caramelizing, preventing them from drying out.
- Oil Generously: A good drizzle of high-quality oil (like olive oil or avocado oil) over the exposed cloves is crucial. It prevents burning, aids in caramelization, and contributes to the garlic’s rich, buttery texture.
- Season Lightly: A small sprinkle of coarse kosher salt on the cut side before roasting not only enhances the garlic’s natural flavor but also helps draw out a little moisture, contributing to that desirable creamy consistency.
- Wrap in Foil or Use a Covered Dish: Covering the garlic tightly in foil or using a small, covered baking dish is essential. This creates a steamy environment that gently cooks the cloves until they are fork-tender and prevents the outer layers from becoming dry or crispy.
- Low and Slow Wins (Mostly): Roasting at 350-375°F (175-190°C) for 40-60 minutes is the sweet spot for a deeply mellow, soft texture. For a slightly more caramelized, darker roast, you can go up to 400°F (200°C), but keep a close eye on it after 30-35 minutes to prevent burning.
- Test for Doneness: To check if your garlic is ready, gently squeeze the bulb. The cloves should feel completely soft and easily yield. They should also have a beautiful deep golden-brown color. If they are still firm or pale, continue roasting for another 5-10 minutes.
- Cool Before Handling: Resist the urge to immediately squeeze out the cloves. Allowing the roasted garlic to cool for at least 10-15 minutes makes them much easier to handle and extract, as they’ll slide out effortlessly.
Creative Ways to Use Your Roasted Garlic
Once you have a batch of this golden goodness, the culinary possibilities are endless. Its versatility makes it an indispensable ingredient:
- Spreads & Dips: Mash it into a spread for crusty bread or toast, mix it into hummus for a richer, more complex flavor, or fold it into a creamy dip.
- Sauces & Dressings: Whisk roasted garlic into salad dressings for a mellow, garlicky kick without the raw pungency. Stir it into any pasta sauce—tomato-based, cream, or simple butter sauces—for incredible depth.
- Mains & Sides: Mash it into your favorite mashed potatoes for extra depth and sweetness, or add it to roasted vegetables for a sweet, caramelized taste. It’s fantastic in risottos, like an Easy Chicken Risotto, or as a flavor boost for Easy Lobster Pasta.
- Breakfast & Brunch: Mix roasted garlic into softened butter to create a compound garlic butter, perfect for spreading on pancakes or waffles for a savory twist, or for folding into scrambled eggs or omelets for subtle, aromatic notes.
- Unique Applications: Spread it on pizza crust before adding toppings, blend it into aioli or mayonnaise for a gourmet sandwich spread, or even mash it into avocado for a roasted garlic guacamole.
Storing Roasted Garlic Safely
Proper storage is key to enjoying your roasted garlic and maintaining food safety.
- Short-Term Storage: For immediate use, roasted garlic can be kept in an airtight container in the refrigerator for up to 1 week.
- Long-Term Storage: For extended freshness, there are two primary methods:
- In Oil (Refrigerated): Cover the roasted garlic cloves completely with olive oil in a clean, airtight jar. Store this in the refrigerator for up to 2-3 weeks. Ensure the garlic is always fully submerged in oil.
- Frozen: You can freeze individual cloves or a paste. Place peeled roasted cloves on a parchment-lined baking sheet and freeze until solid. Transfer to a freezer-safe bag or container and freeze for up to 3 months. Alternatively, mash the roasted garlic into a paste, portion it into ice cube trays, freeze, then transfer the cubes to a freezer bag. This makes it easy to add a “cube” of roasted garlic to your cooking whenever needed.
Important: Botulism Risk with Garlic in Oil
When storing garlic in oil, it is critically important to understand the risk of botulism. Clostridium botulinum spores can thrive in anaerobic (oxygen-free) environments, like oil, at room temperature. These spores produce a dangerous toxin. Therefore, never store garlic in oil at room temperature. Always refrigerate garlic in oil and use it within 2-3 weeks. For longer storage, freezing is the safest method.
Troubleshooting Common Roasted Garlic Issues
While typically forgiving, you might encounter a few minor issues when roasting garlic. Here’s how to address them:
- Garlic Too Dry or Leathery: If your roasted garlic isn’t creamy, it likely didn’t have enough moisture during roasting. Ensure it’s tightly wrapped in foil or in a covered dish, and consider adding a tiny splash of water or more oil before wrapping next time. This creates more steam, preventing dryness.
- Garlic Burned or Bitter: This usually happens if the oven temperature is too high, or it’s roasted for too long without being covered properly. The exposed tops can burn quickly. Reduce the temperature slightly or ensure the garlic is fully enclosed in foil or a lid to prevent direct heat exposure.
- Garlic Not Soft Enough: If your cloves are still firm, they simply need more time in the oven. Return them, re-covered, and roast for another 10-15 minutes, checking periodically. Larger bulbs naturally require a longer roasting time.
Frequently Asked Questions About Roasted Garlic
Roasted garlic can be stored in an airtight container in the refrigerator for up to 1 week. For longer storage, cover the cloves completely in olive oil and refrigerate for up to 2-3 weeks, or freeze for up to 3 months. Remember to always refrigerate garlic stored in oil immediately.
Yes! You can use a small covered baking dish, a ceramic garlic roaster designed specifically for this purpose, or even parchment paper to wrap the bulbs. The key is to keep the garlic covered to trap steam, allowing it to soften while roasting.
The sweet spot for beautifully tender and mellow roasted garlic is 350-375°F (175-190°C) for 40–60 minutes. Lower temperatures result in a softer, more subtle flavor, while higher temperatures (e.g., 400°F/200°C) will caramelize the garlic faster but require closer monitoring to prevent burning.
The cloves should be deep golden-brown, feel completely soft when pressed, and easily squeeze out of their skins. If they’re still firm or pale, continue roasting and check every 5–10 minutes until they reach the desired tenderness.
While possible, it’s generally not recommended. Roasting peeled cloves can lead to them drying out or burning easily, as the protective skin is removed. If you choose to roast peeled cloves, toss them generously in oil and enclose them very tightly in foil or a small, covered oven-safe dish.
Any common variety of garlic (like hardneck or softneck) works well. The most important factor is freshness. Opt for large, firm bulbs with intact skins for the best results.
Recipes to Use Roasted Garlic In
Easy Chicken Risotto
Easy Lobster Pasta Recipe
Spicy Garlicky Beans
Easy Burrata Farro Salad Recipe
If you love this easy recipe, please share your thoughts and help spread the word! Rate it with five stars below and leave a comment. We’d also be thrilled if you shared your creations on Instagram, Facebook, and Pinterest!
Share on Facebook
Share
Pin this now to find it later
Pin It
Follow on Instagram
Follow
Roasted Garlic
4 people

Ingredients
- 1 whole garlic bulb
- 1 teaspoon avocado oil
- ¼ teaspoon coarse kosher salt
Instructions
-
Preheat the oven to 350° F (175°C).
-
Cut approximately ¼ to ½ inch off the top of the garlic bulb, exposing the tops of the cloves. Discard the trimmed bottom.
-
Drizzle avocado oil and sprinkle salt on the cut side of the garlic bulb.
-
Place the garlic cut side up in a small baking dish or on a sheet of aluminum foil.
-
Wrap tightly in foil or cover the baking dish with a lid.
-
Bake for 40-60 minutes or until the garlic is soft and golden brown.
-
Once the garlic is cooked, allow it to cool for 20-30 minutes before squeezing out the cloves.
Nutrition
Serving: 1 clove | Calories: 11kcal | Carbohydrates: 0.2g | Protein: 0.05g | Fat: 1g | Saturated Fat: 0.1g | Polyunsaturated Fat: 0.2g | Monounsaturated Fat: 1g | Sodium: 145mg | Potassium: 3mg | Fiber: 0.01g | Sugar: 0.01g | Vitamin A: 0.1IU | Vitamin C: 0.2mg | Calcium: 1mg | Iron: 0.01mg
Nutrition information is automatically calculated, so should only be used as an approximation.
Additional Info
Tried this recipe?
Mention @sweetcsdesigns or tag #sweetcsdesigns!