
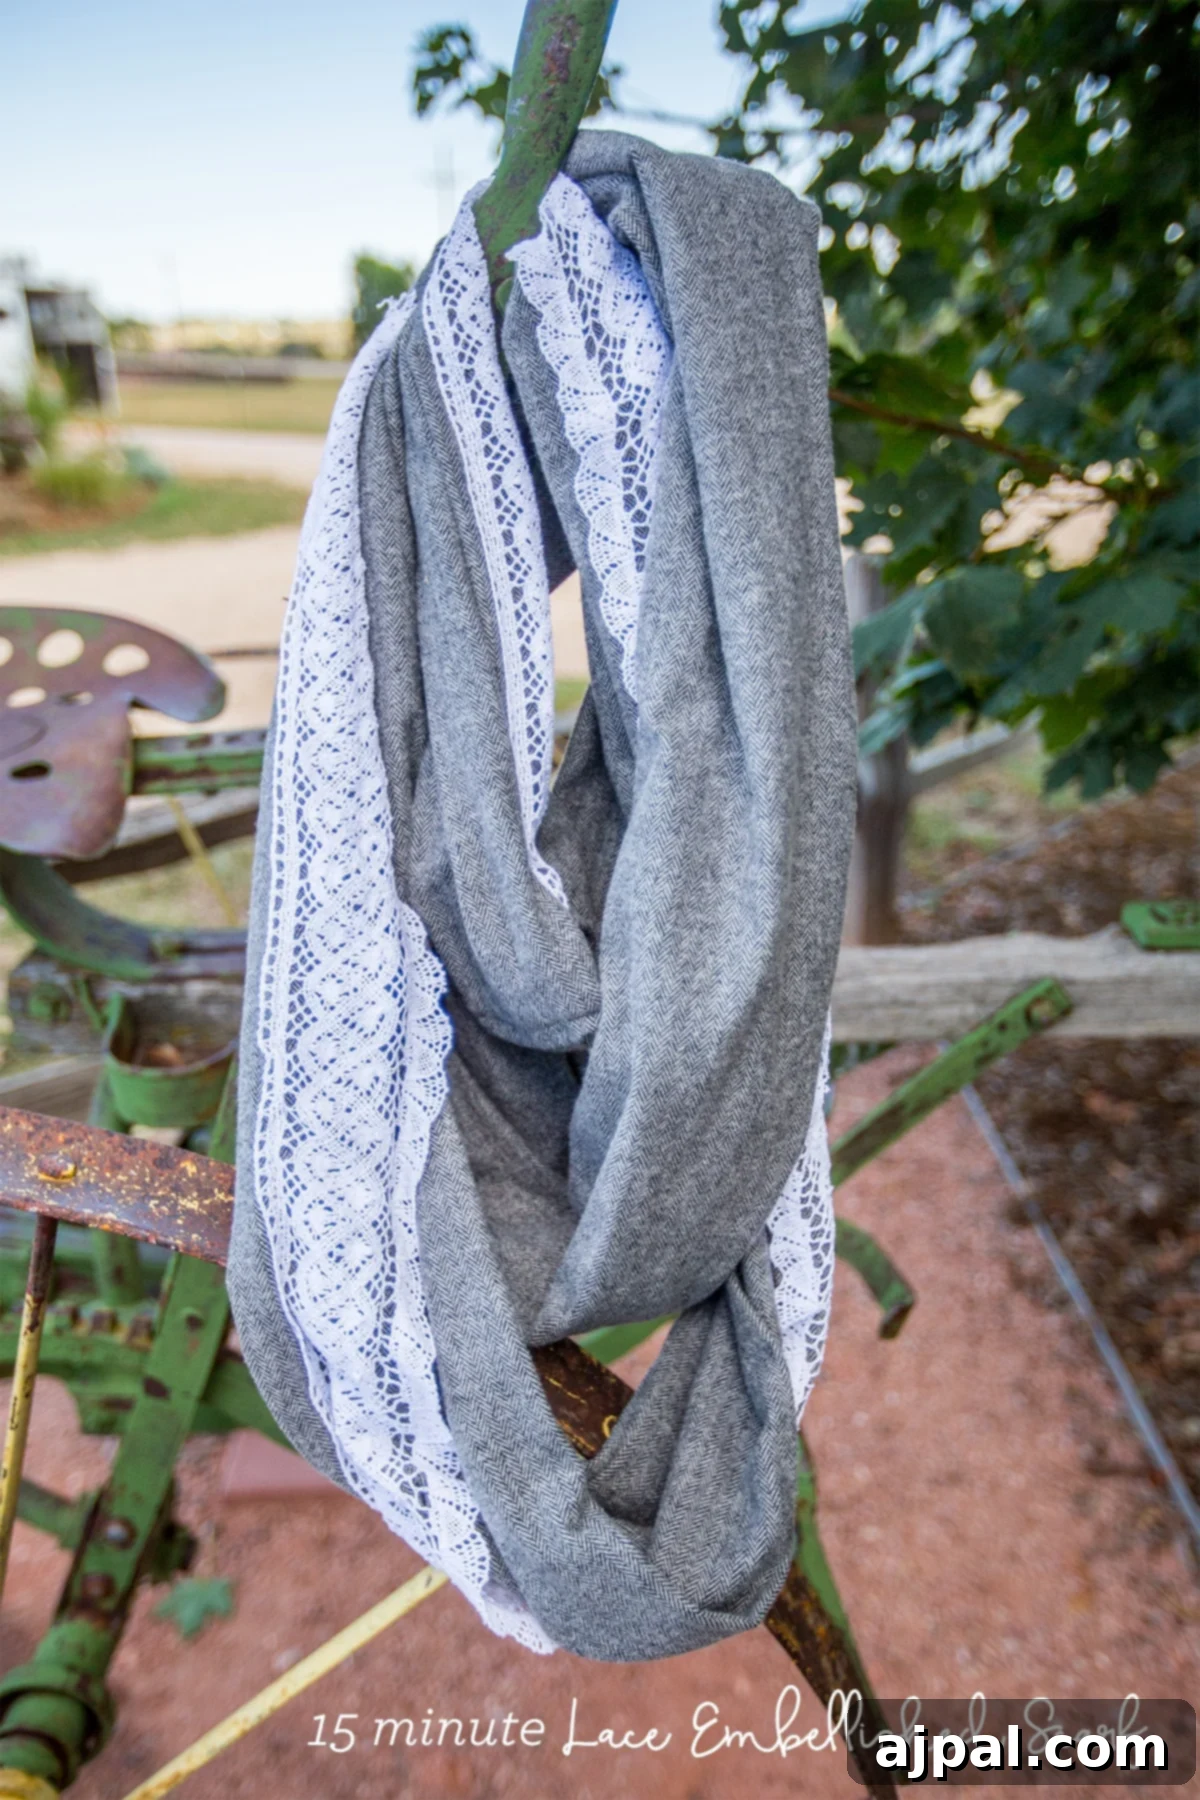
Craft a Beautiful Lace Embellished Infinity Scarf in Just 15 Minutes: A Beginner’s Sewing Guide
Discover the joy of creating your own stylish accessories with this simple yet elegant project! This **15-Minute Lace Embellished Cotton Infinity Scarf** is not only a gorgeous fall accessory but also an absolutely fantastic sewing project for beginners. Imagine wrapping yourself in a cozy, custom-made scarf, adorned with delicate lace, all crafted in less time than it takes to brew a pot of coffee.
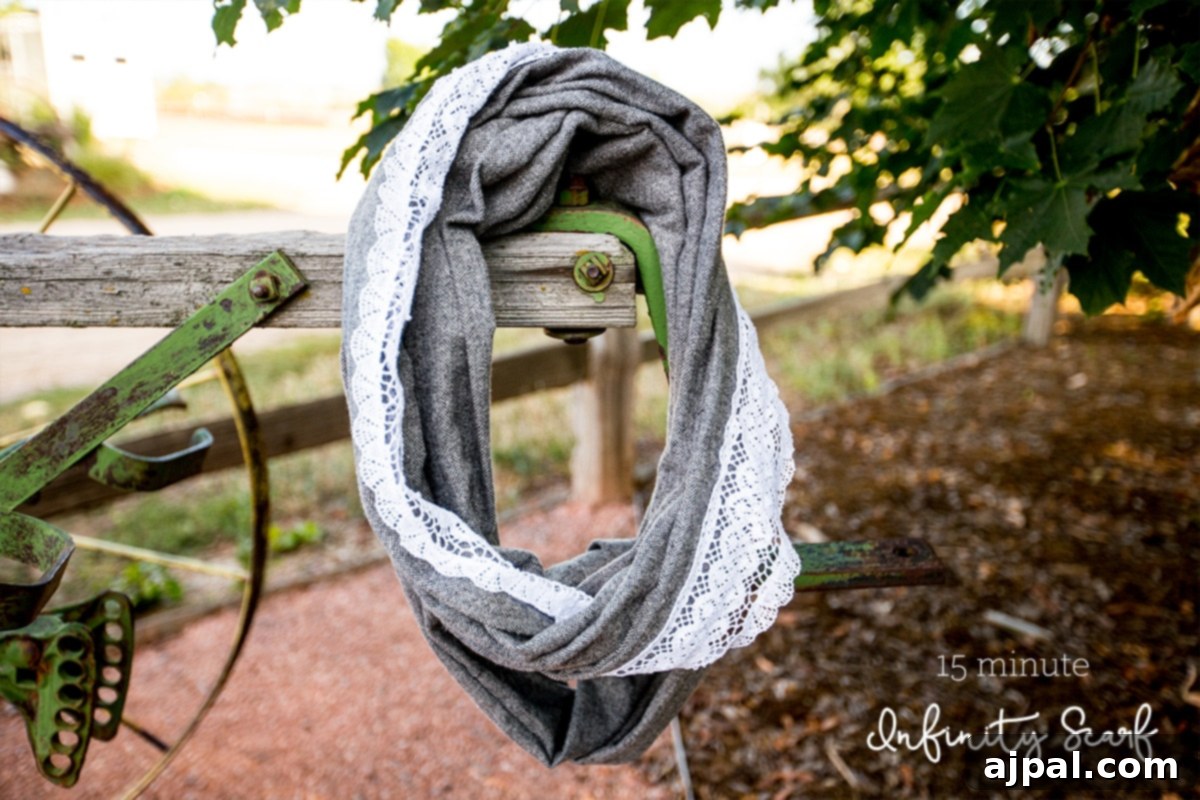
This tutorial was inspired by an article originally featured on the Jo-Ann Fabric and Craft Stores Blog, The Creative Spark. We’ve expanded upon it to bring you an even more comprehensive and delightful crafting experience.
The autumn season, with its vibrant colors and crisp air, is truly a magical time of year. For many, it signifies the return of cozy sweaters, warm drinks, and, of course, the beloved scarf! As an ardent scarf enthusiast, I understand the desire for a versatile and fashionable accessory that can instantly elevate any outfit. While advanced sewing skills aren’t my forte, I’ve always cherished the process of creating beautiful, easy-to-make infinity scarves. In fact, simple five-minute infinity scarves were among the very first projects I ever shared!
Why Choose a DIY Lace Embellished Infinity Scarf?
Embarking on a DIY project like this lace-embellished infinity scarf offers a multitude of benefits. Beyond the obvious cost savings compared to store-bought alternatives, you gain the immense satisfaction of wearing something truly unique that you created with your own hands. It’s an opportunity to express your personal style, choosing fabrics and lace that perfectly match your taste and wardrobe.
The Allure of Cotton Lace
A few years ago, I shared a simple ten-minute infinity scarf secret, but today we’re elevating the glamour with a charming and feminine touch: cotton lace detailing. Cotton lace is an absolute dream to work with. It’s incredibly forgiving and easy to sew over, making it ideal for beginners. For those who prefer no-sew options, it can even be glued onto projects with fabric adhesive! Furthermore, cotton lace is simple to clean and an excellent choice for individuals who prefer to avoid synthetic fabrics, offering a natural and breathable alternative. When paired with a luxurious cotton fabric, the result is a beautifully textured and elegant accessory that feels as good as it looks.
Perfect for Beginners: Build Your Sewing Confidence
This project is specifically designed to be wonderfully easy, making it perfect for both novice sewists and seasoned crafters looking for a quick win. I personally honed my initial sewing skills by making infinity scarves because they primarily involve sewing just a few straight lines. It’s a fantastic way to get comfortable with your sewing machine, learn basic fabric handling, and gain confidence without the pressure of complex patterns or intricate techniques. By the end of this tutorial, you’ll not only have a beautiful scarf but also a valuable new skill under your belt!
Materials You’ll Need
Gathering your materials is the first exciting step in any craft project. For this beautiful lace-embellished infinity scarf, you’ll need just a few key items:
- 2 yards of Cotton Fabric: I recommend flannel wardrobe fabrics for their softness and warmth, perfect for cooler weather. Cotton is also an excellent choice because it’s breathable, durable, and easy to work with. Choose a print or solid color that speaks to your personal style.
- 2 yards of Cotton Lace Ribbon: Select a lace that complements your fabric. Consider the width and pattern of the lace – a delicate, intricate design can add a touch of vintage elegance, while a bolder lace can make a chic statement.
- Sewing Machine: Any basic sewing machine will do!
- Sharp Scissors: Essential for clean, precise cuts.
- Coordinating Thread: Choose a thread color that matches both your fabric and your lace, especially if you’re sewing the lace on.
- Optional – Iron-on Hemming Tape or Fabric Mod Podge: If you prefer a no-sew method for attaching your lace or finishing the final seam.
- Optional – Sewing Pins: Useful for holding fabric layers together, especially if you’re a beginner or working with slippery fabrics. While not strictly necessary for this project, they can help ensure straighter seams.
- Optional – Iron and Ironing Board: For pressing seams, which always results in a more professional-looking finish.
Step-by-Step Guide: Crafting Your Infinity Scarf
Follow these simple steps to create your stunning lace-embellished infinity scarf. Remember, the key is to take your time and enjoy the process!
Step 1: Prepare Your Fabric
First, we need to prepare the fabric. To achieve the long, flowy shape characteristic of an infinity scarf, you’ll begin by folding your 2-yard cotton fabric in half lengthwise. Most apparel fabrics already come folded this way when purchased, which simplifies this initial step. Once folded, you’ll have a long rectangle of fabric. Next, carefully cut the fabric down the middle along the folded edge to create two equally long strips. This ensures your scarf will have ample length for comfortable looping.
Step 2: Determine Fabric Sides and Join Strips
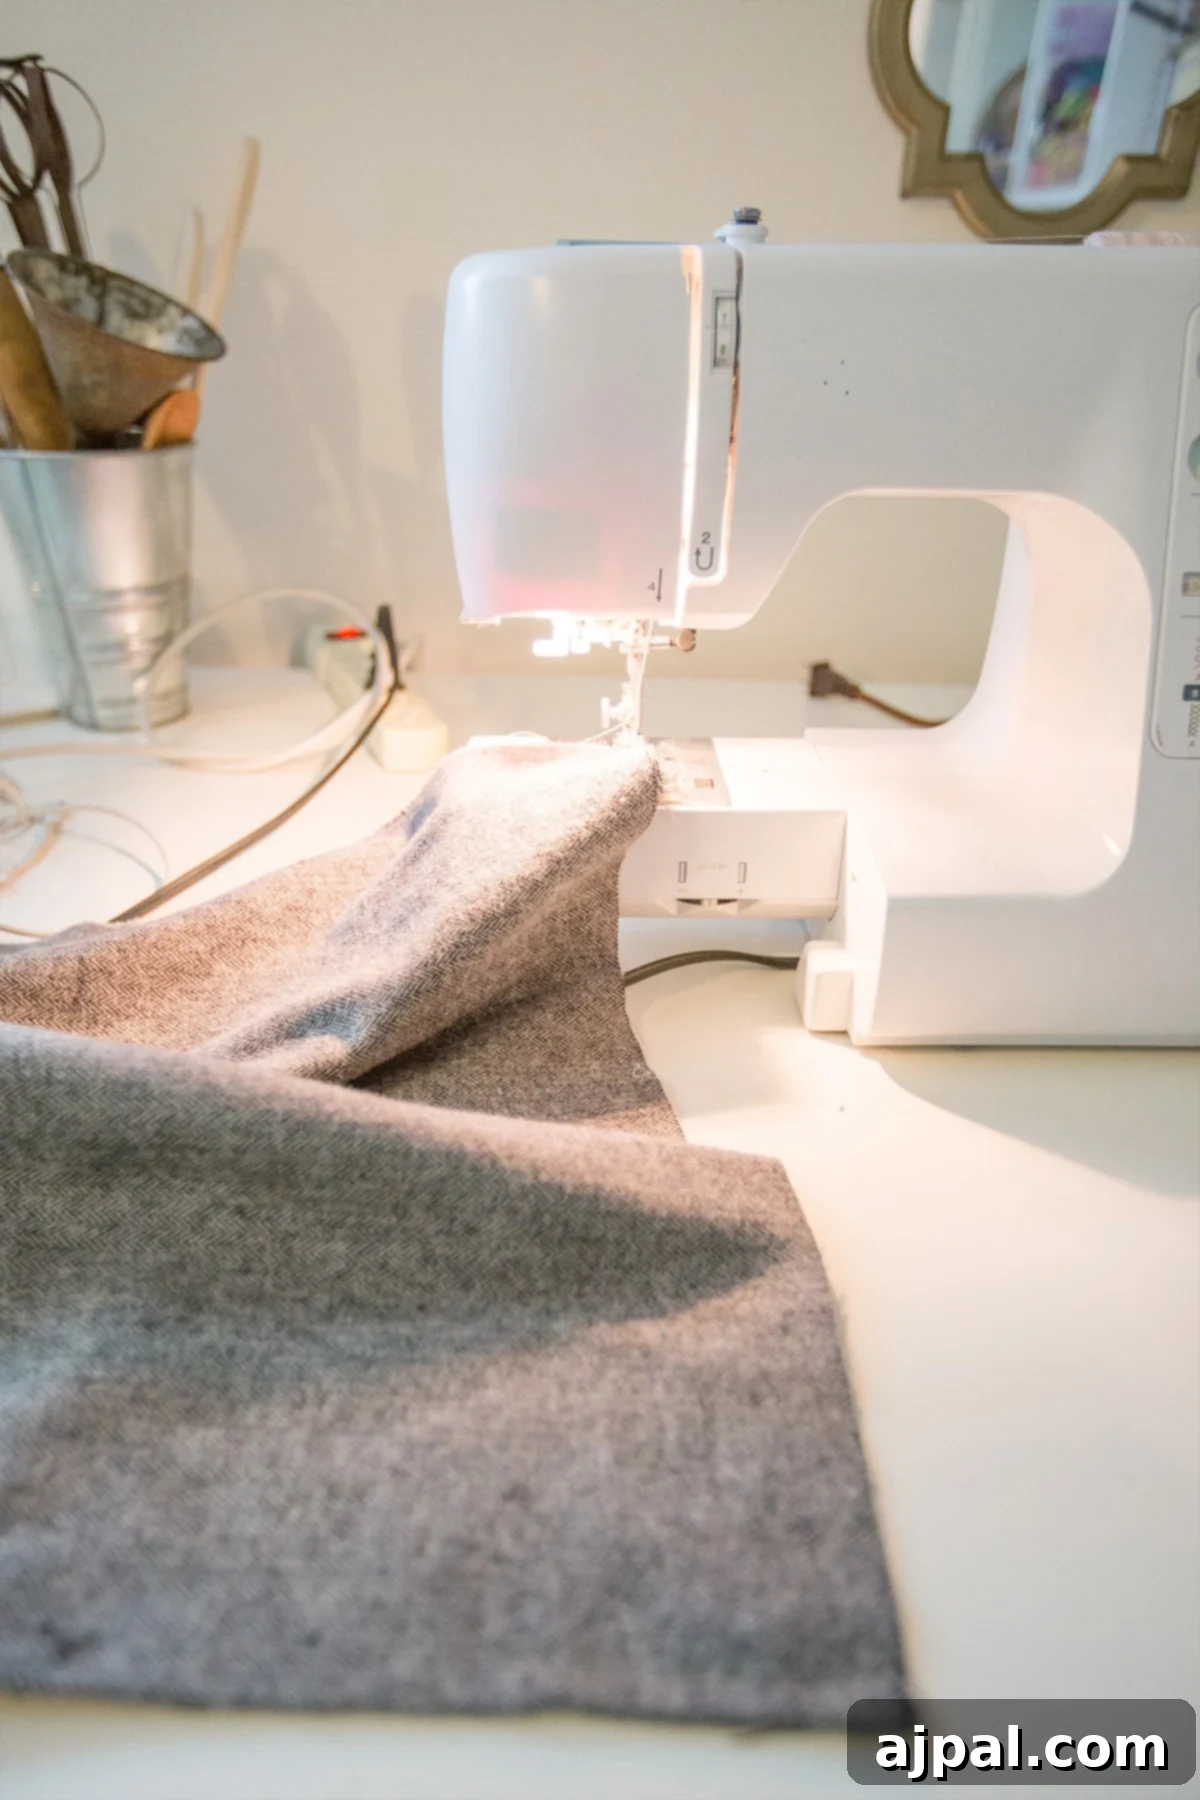
Before proceeding, identify which sides of your fabric you’d like to be the ‘inside’ and ‘outside’ of your finished scarf. If you’ve chosen a fabric that looks the same on both sides, like many flannels or solid-colored cottons, this step is less critical. However, if you’re using a printed fabric, decide which side you want to be visible. Now, fold each fabric strip so that the ‘outside’ (the side you wish to show) is facing inwards. Align the short ends of the two fabric strips. Using your sewing machine, sew a quick straight line across the top ends to create a seam, joining them together into one very long strip. This seam will eventually be hidden inside your scarf, so don’t worry too much about its perfection if you’re new to sewing.
Step 3: Attach the Lace Embellishment
At this point, you have a critical choice for adding your beautiful lace trim. You can either sew the lace ribbon onto the finished side of your fabric strip or use a no-sew method.
Option A (Sewn): Choose a coordinating thread and carefully run a straight stitch along the sides of the lace, especially through areas with more detail. This method offers the most secure attachment and is recommended if you plan on washing your scarf frequently.
Option B (No-Sew): Alternatively, you can iron on the cotton lace ribbon using hemming tape or glue it on with fabric Mod Podge. This is a great option for those who prefer not to sew or are looking for an even quicker finish.
Both methods work wonderfully; just ensure the lace is applied to the side of the fabric that will be visible on the finished scarf. If sewing, remember that machine-washing your scarf with lace requires a delicates bag and a cold wash cycle, followed by hanging to dry. I often put mine in a no-heat dryer cycle for a quick fluff after line drying. Don’t worry about visible stitches – with a matching thread and careful stitching, they’re barely noticeable!
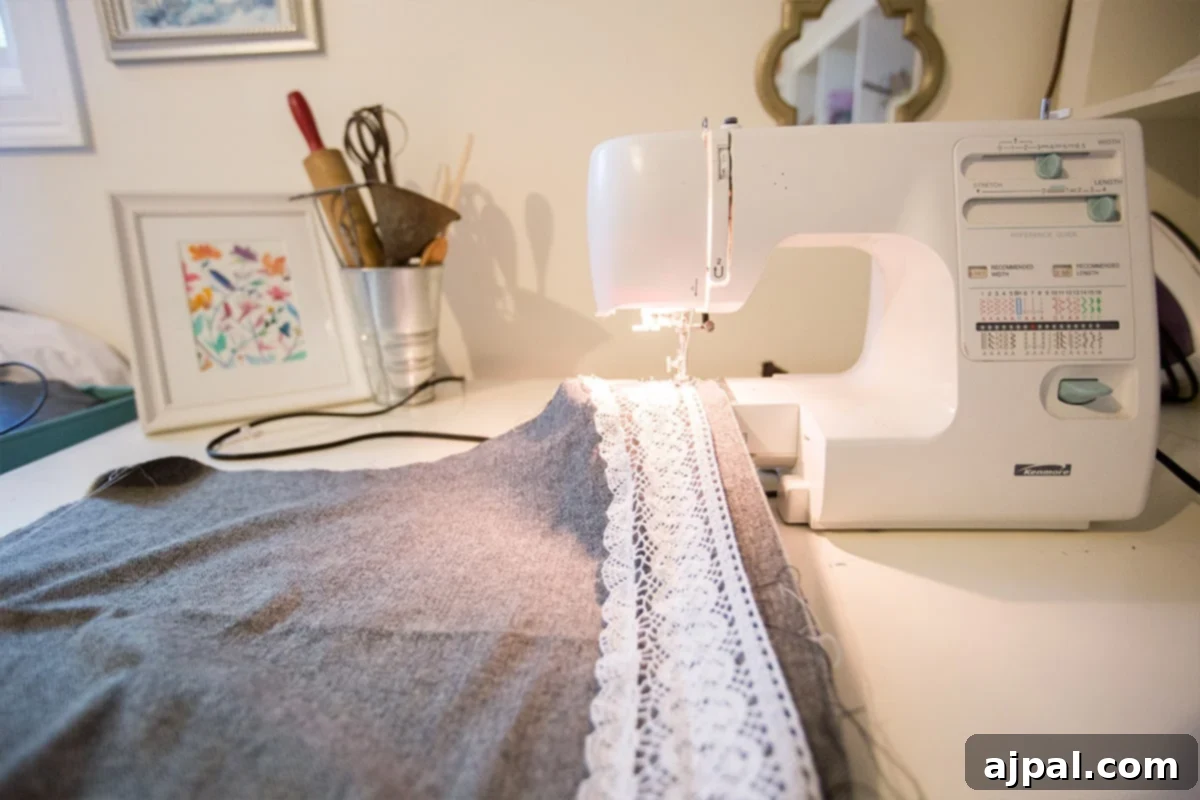
Step 4: Form the Scarf Tube
Once your lace detail is securely attached, fold the entire long fabric strip in half lengthwise. This time, make sure the lace now sits inside the folded fabric, and the seam you created in Step 2 will be facing outwards. This creates a long, narrow tube with the ‘right’ sides of the fabric (and the lace) facing each other.
Step 5: Sew the Main Scarf Seam
Starting at one end of your folded fabric strip, sew a long straight line with a ½-inch seam allowance. This seam will run the entire length of your scarf, closing the tube. While perfection isn’t strictly necessary for this beginner-friendly project, try to keep your line as straight as possible to avoid giving your scarf an odd shape. Small variances are fine, but a significant deviation might be noticeable. If you’re committed to a perfectly straight line, you can use sewing pins to hold the material in place before stitching, though I often skip this step to save time.
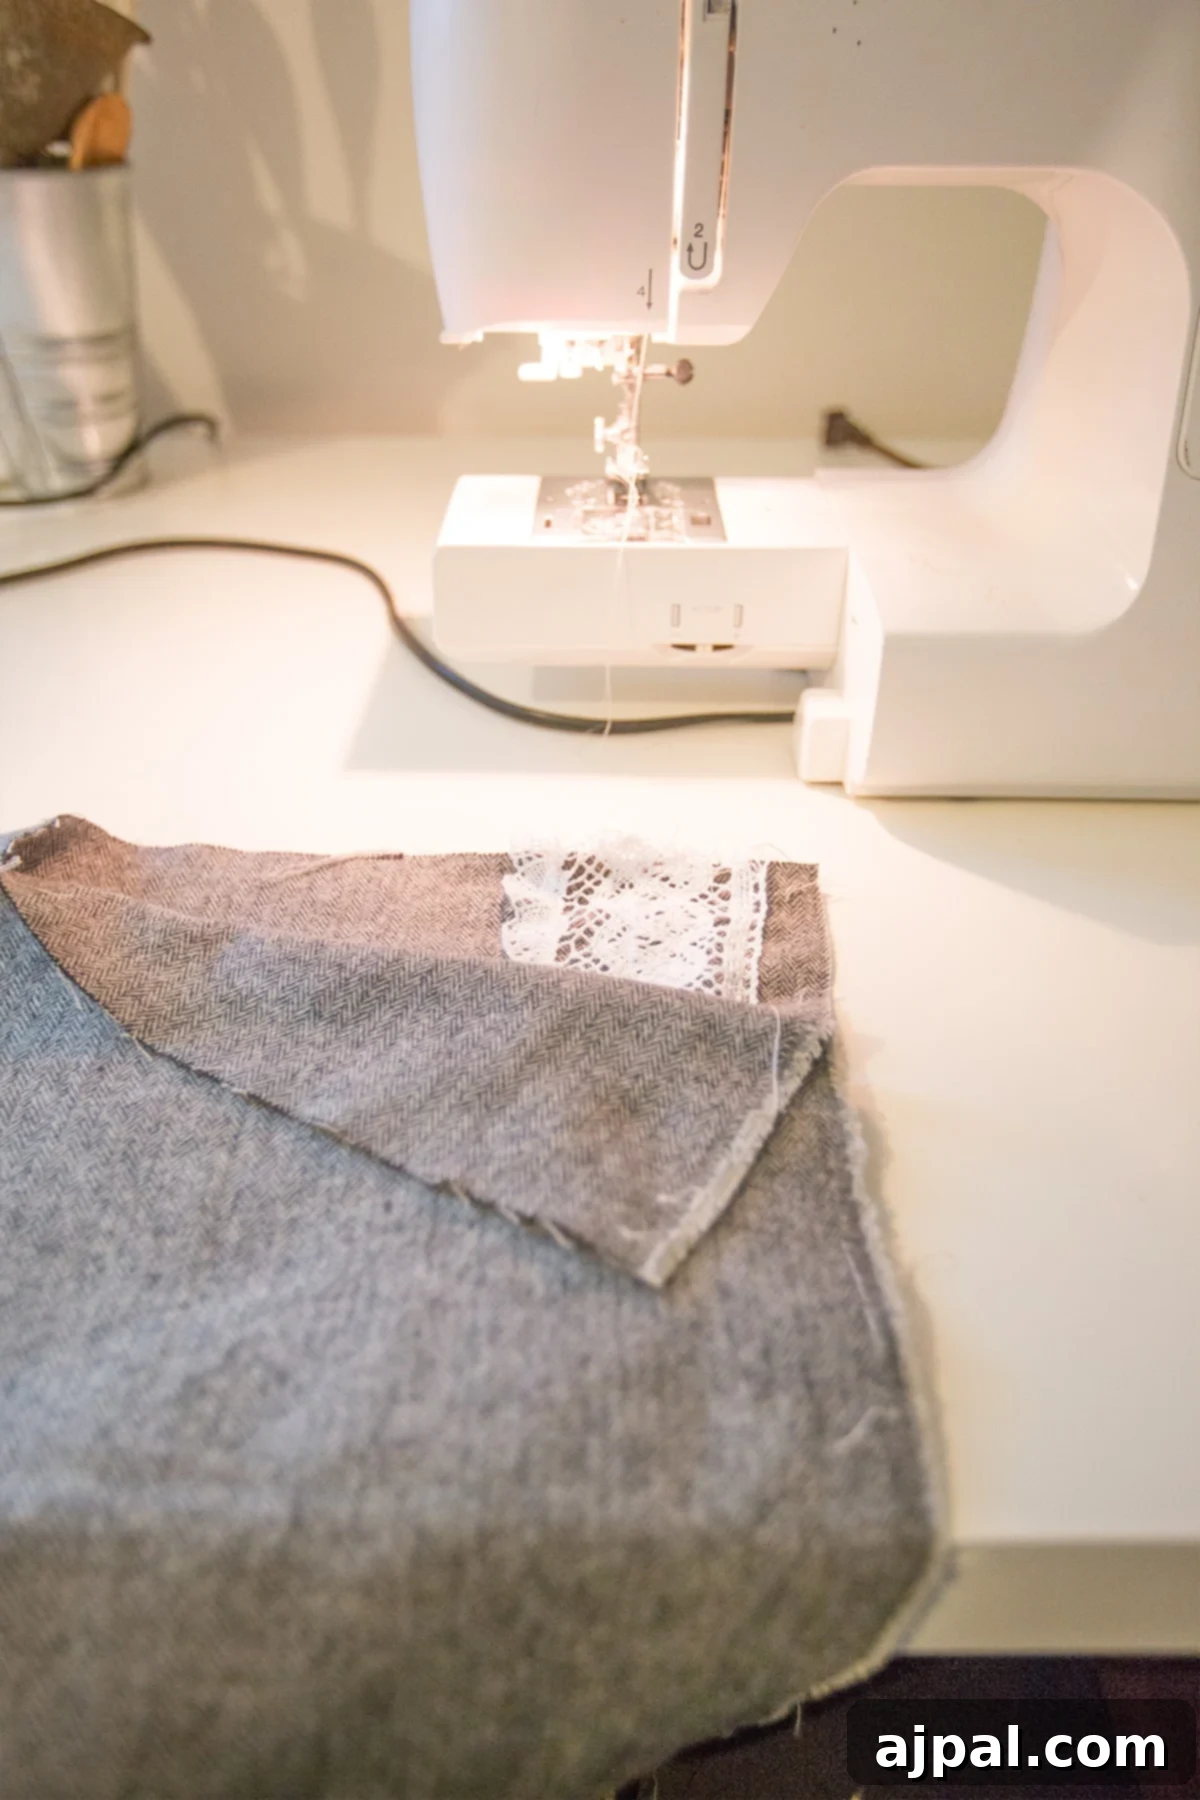
This seam, like the first, will be entirely hidden when the scarf is finished, making this an ideal project for practicing your straight stitching.
Step 6: Turn the Scarf Right-Side Out
When you’ve finished sewing the long seam, you will have a long, inside-out fabric tube. Carefully turn the entire scarf right-side out. Be gentle, especially if you’ve sewn on the lace, to avoid pulling or snagging it. Take your time to push out all the corners and edges for a neat finish.
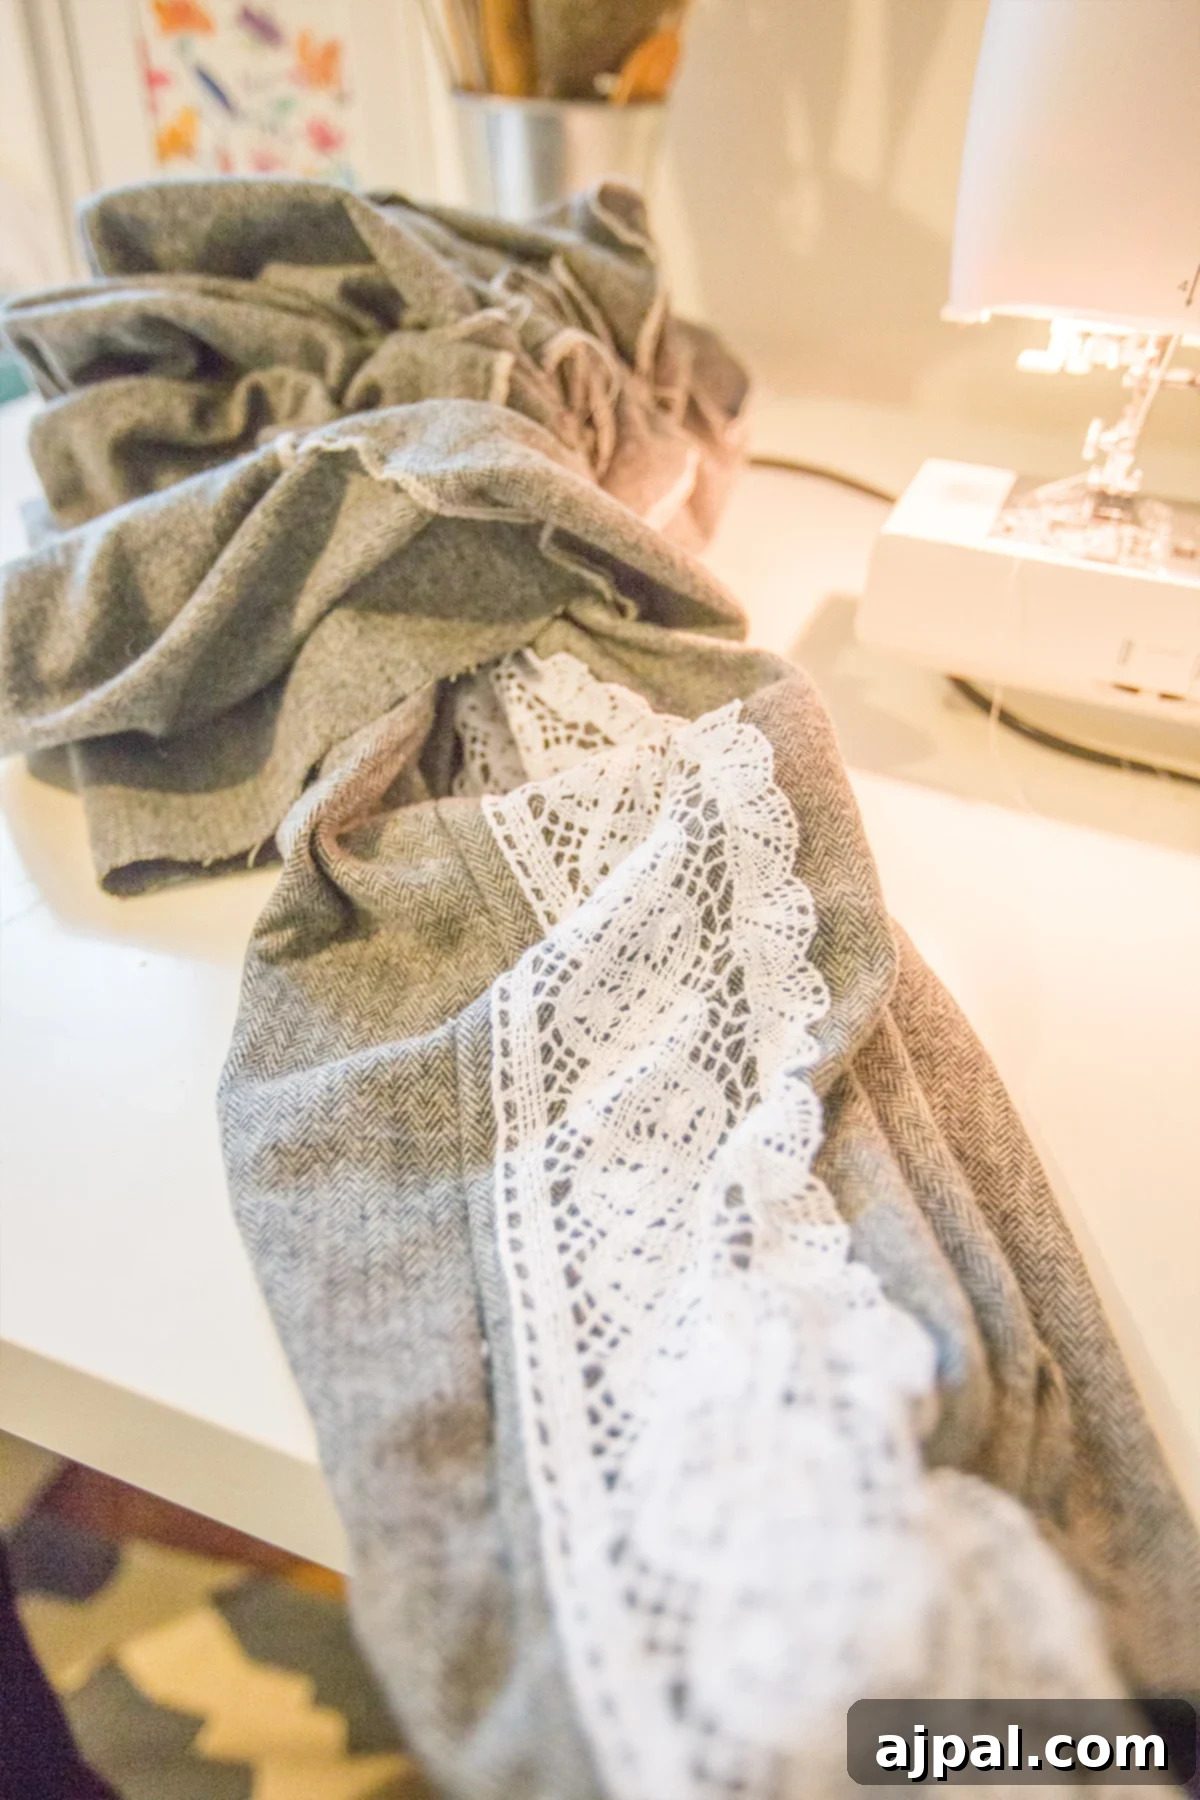
Step 7: Join the Ends for the Infinity Loop
Now it’s time to connect the two open ends of your scarf to create the continuous loop. Tuck the raw edges of one side of the scarf inwards by about 1 inch, creating a clean hem. Then, take the other open end of the scarf and slide it into the side you just folded down, aligning the raw edges neatly inside the tucked-in section. If you have them, use pins to hold these two ends securely in place, ensuring they are evenly aligned. Finally, make a straight stitch on top of the folded and inserted ends to join them together. This final seam will be very minimal and can be kept to the back of your scarf when worn. The lace detail, if positioned correctly, can also help to discreetly hide this last seam.
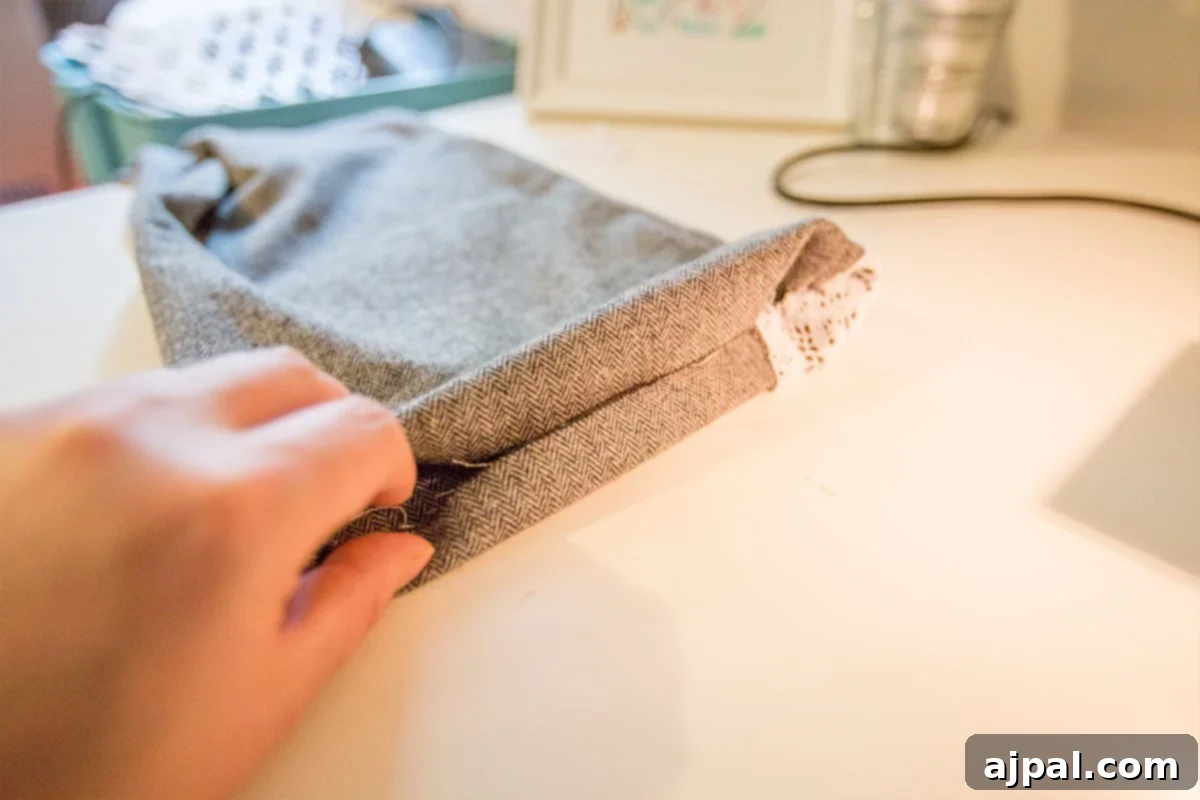
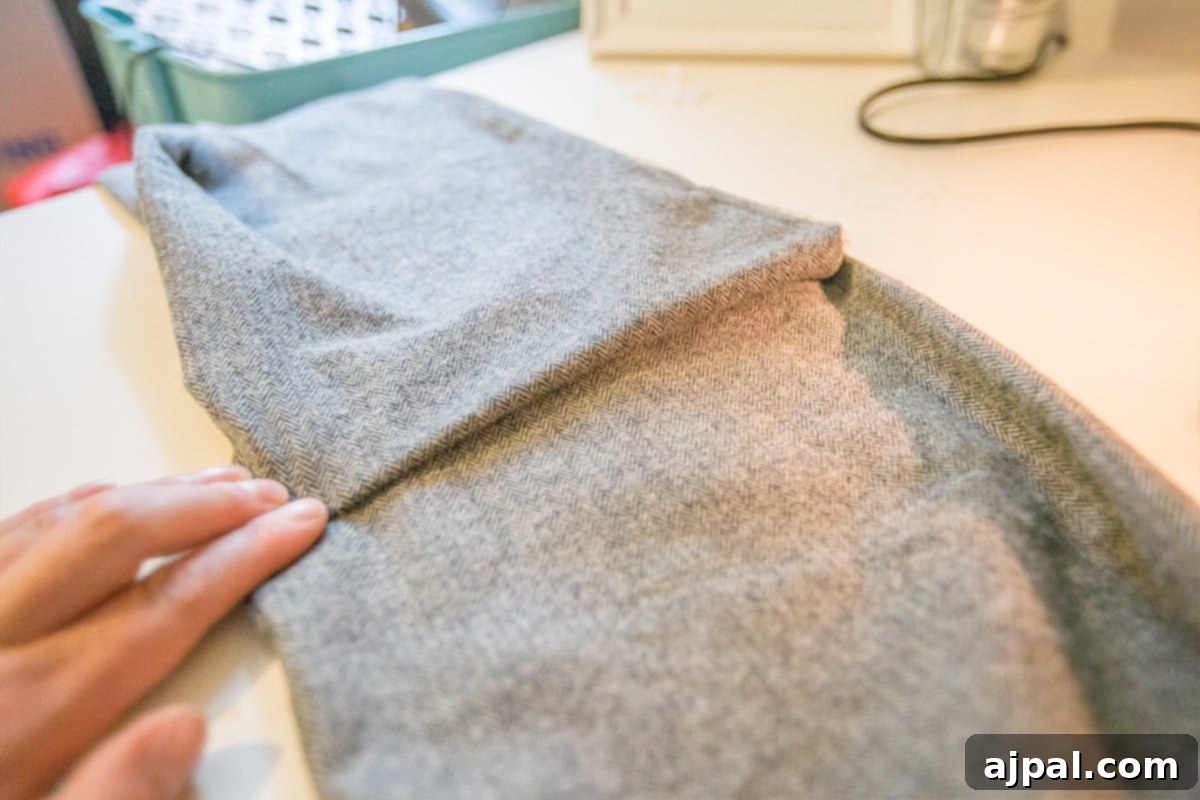
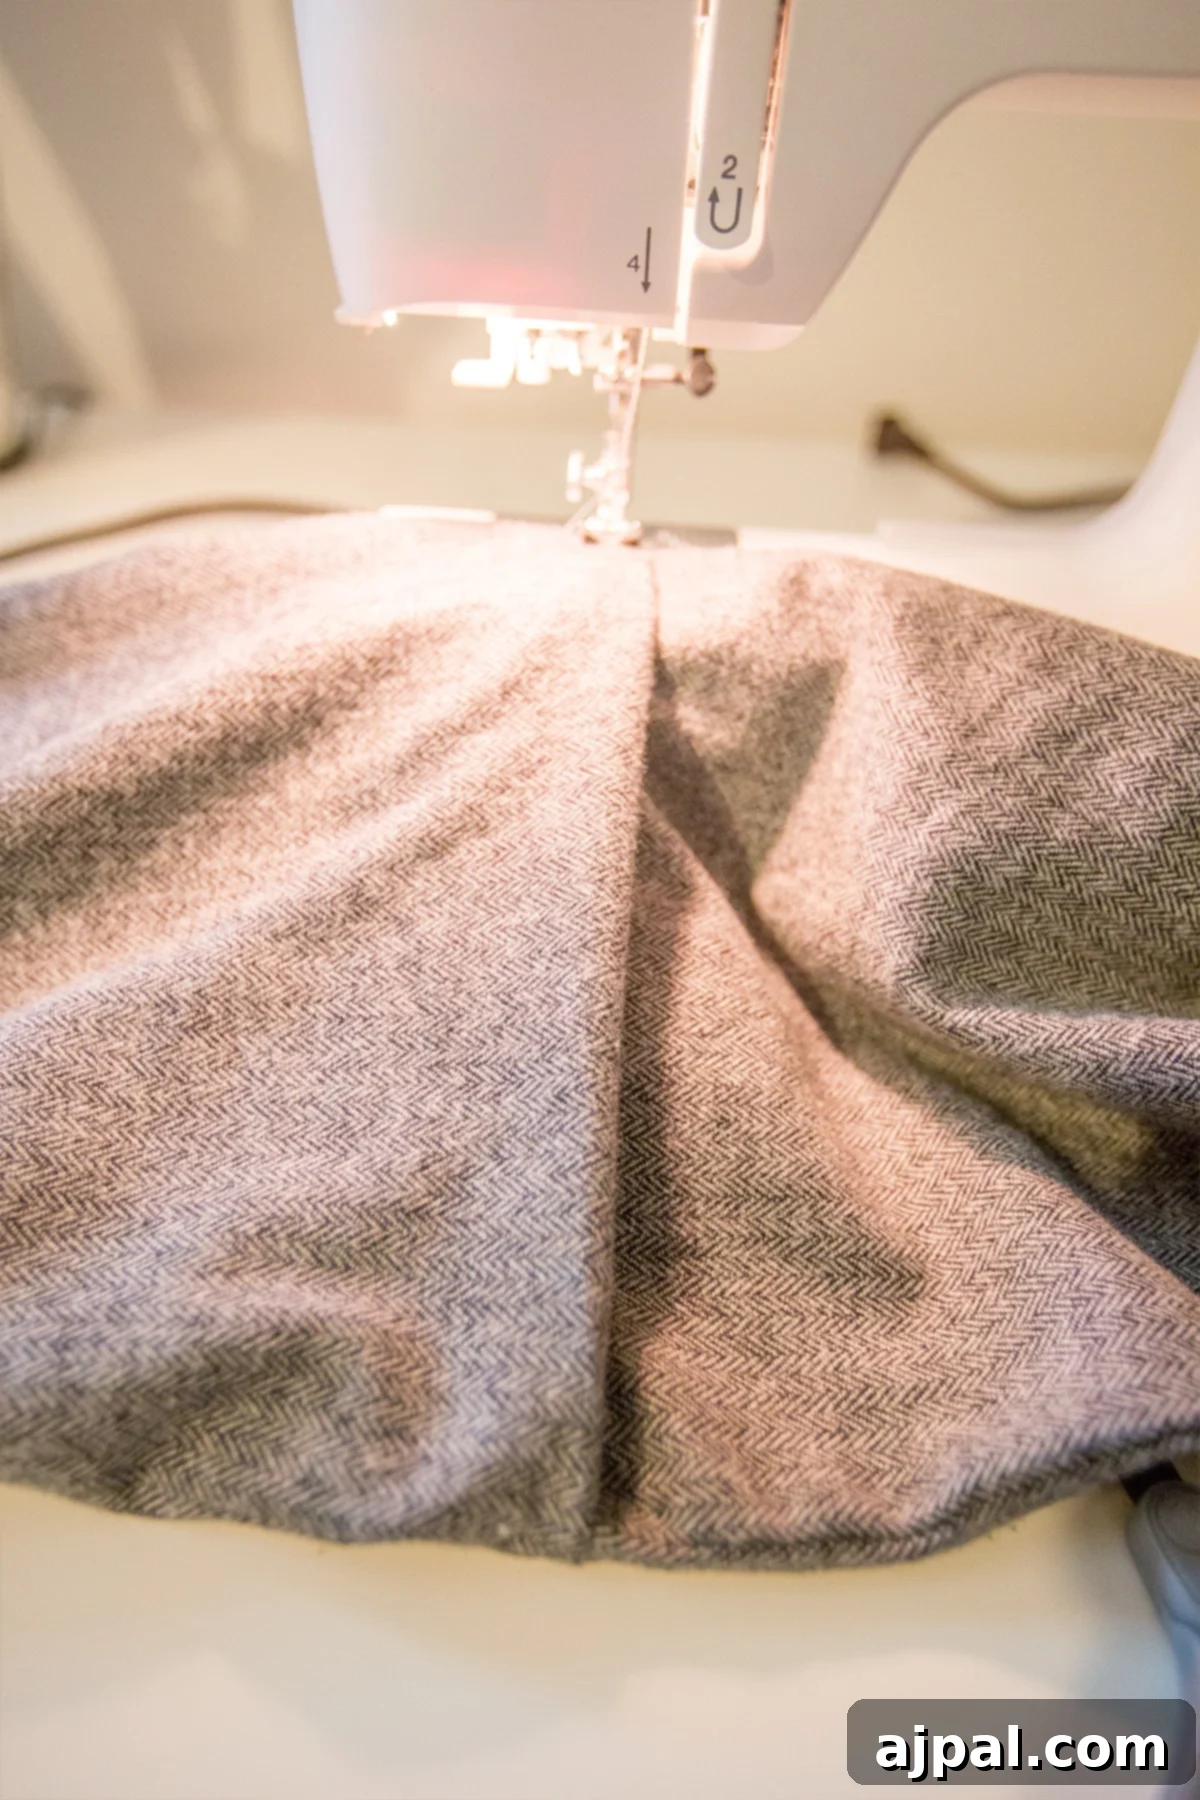
Congratulations! You now have a beautiful, custom-made lace embellished infinity scarf. These scarves are perfect for looping two or three times around your neck, creating a chic and voluminous look. The generous length ensures they are suitable for everyone, including taller individuals, who often find many infinity scarves comically short. This design offers plenty of fabric to create a substantial and stylish statement.
Essential Tips for a Flawless Finish
Even the simplest projects can benefit from a few expert tips. Here’s how to ensure your infinity scarf turns out perfectly and lasts for seasons to come:
- Keep a Seam Ripper Handy: Mistakes are a natural part of the learning process, especially for beginners. Don’t be afraid to use a seam ripper if a stitch goes awry. Since most seams on this scarf are hidden, minor imperfections aren’t a big deal, but you want to ensure all connections are secured well. Always double-check your work for any gaps before finishing to avoid having to unravel everything later.
- Opt for High-Quality Cotton Fabric: The quality of your fabric significantly impacts the final look and feel of your scarf. High-quality cotton lasts longer, is incredibly comfortable against the skin, effectively wicks moisture, and helps retain warmth – essentially everything you want in a perfect scarf. Cotton is also a dream to work with for beginners; it’s forgiving, slides smoothly through your sewing machine, and isn’t temperamental like some other fabrics.
- Pre-Wash Your Fabric: Always pre-wash and dry your cotton fabric before cutting and sewing. This prevents any potential shrinkage after your scarf is made, ensuring it retains its shape and size. It also helps remove any manufacturing chemicals.
- Practice Your Stitches: If you’re new to sewing, consider practicing a few straight lines on scrap fabric before working on your actual scarf. This helps you get a feel for your machine’s speed and tension.
- Consider Pressing Seams: While optional, pressing your seams open or to one side with an iron after each sewing step can make a huge difference in the professional appearance of your finished scarf. It creates crisp, flat edges and helps the fabric lie beautifully.
- Care Instructions: To keep your lace-embellished scarf looking its best, especially if you’ve sewn on the lace, wash it gently. Use a delicates bag and cold water on a gentle cycle, then hang it to air dry. Avoid high heat in the dryer, which can damage the lace or shrink the cotton.
Styling Your Handmade Infinity Scarf
One of the best things about an infinity scarf is its versatility. There are countless ways to wear and style your new creation, allowing you to adapt it to various outfits and occasions:
- The Classic Loop: Simply loop the scarf once around your neck for a relaxed, long look. This works well with sweaters or long-sleeved tops.
- Double Wrap: For added warmth and a fuller appearance, loop the scarf twice around your neck. This creates a cozy bundle that’s perfect for colder days.
- The Hooded Scarf: If your scarf is long enough, you can loop it twice and pull one of the loops over your head to create a stylish, impromptu hood for extra warmth and a chic look.
- The Vest Look: Some infinity scarves can be styled as a light vest. Drape it around your shoulders, open, or belted at the waist for a unique layering piece.
- Accessorize with a Belt: Cinch your scarf at the waist with a stylish belt over a dress or tunic for a fashionable and flattering silhouette.
Your handmade lace infinity scarf will quickly become a cherished accessory, ready to add a touch of elegance and warmth to any ensemble.
Customization & Further Inspiration
While this tutorial focuses on a beautiful lace-embellished cotton infinity scarf, the possibilities for customization are endless. Once you master this basic technique, you can easily adapt it to create unique scarves for every season and style:
- Vary the Lace: Experiment with different widths, patterns, or colors of lace. Consider embroidered lace, eyelet lace, or even a bolder macrame style for a different look.
- Fabric Choices: Switch up your fabric! Try a lightweight rayon or chiffon for a breezy summer scarf, a soft knit for extra stretch and comfort, or even a luxurious silk for a truly opulent accessory.
- Add Other Embellishments: Beyond lace, think about adding small pom-pom trim, fringe, tassels, or even a few decorative buttons to personalize your scarf further.
- Layering Laces: Use two different types or widths of lace, overlapping them slightly for a rich, textured effect.
- Hand-Dyeing: For a truly unique piece, consider hand-dyeing your cotton fabric before you begin sewing. This allows for custom colors and gradients.
- Gift Ideas: These quick and easy scarves make fantastic handmade gifts for friends and family. Tailor the fabric and lace choices to their individual styles for a truly personal present.
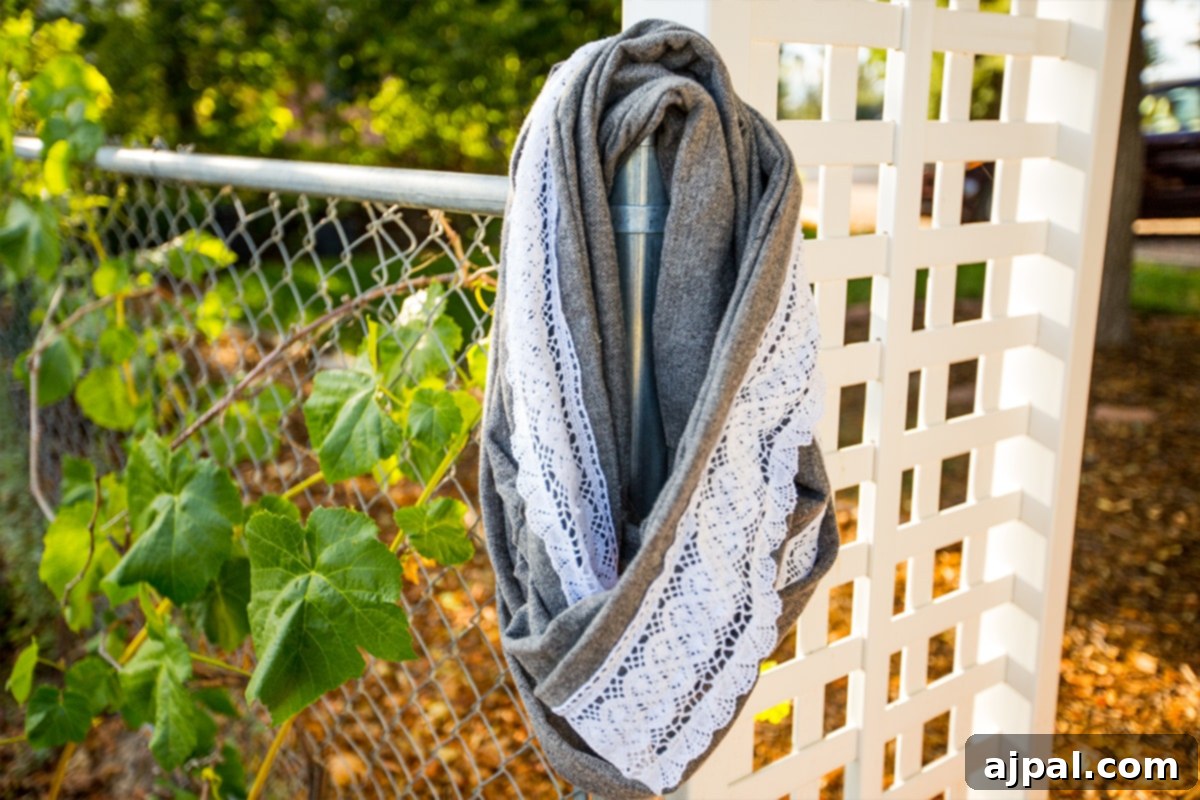
Conclusion: Your New Favorite DIY Project
Creating this lace-embellished infinity scarf is a rewarding project that combines simplicity with sophisticated style. Whether you’re a seasoned crafter or just picking up a needle and thread for the first time, this tutorial provides a clear path to a beautiful, handmade accessory. The satisfaction of wearing something you’ve made yourself, infused with your personal touch, is unmatched. So grab your materials, set aside a few minutes, and get ready to add a touch of handmade charm to your wardrobe this season. Happy sewing!