Illuminate Your Space: The Ultimate Rustic Wine Barrel Ring Light DIY Guide
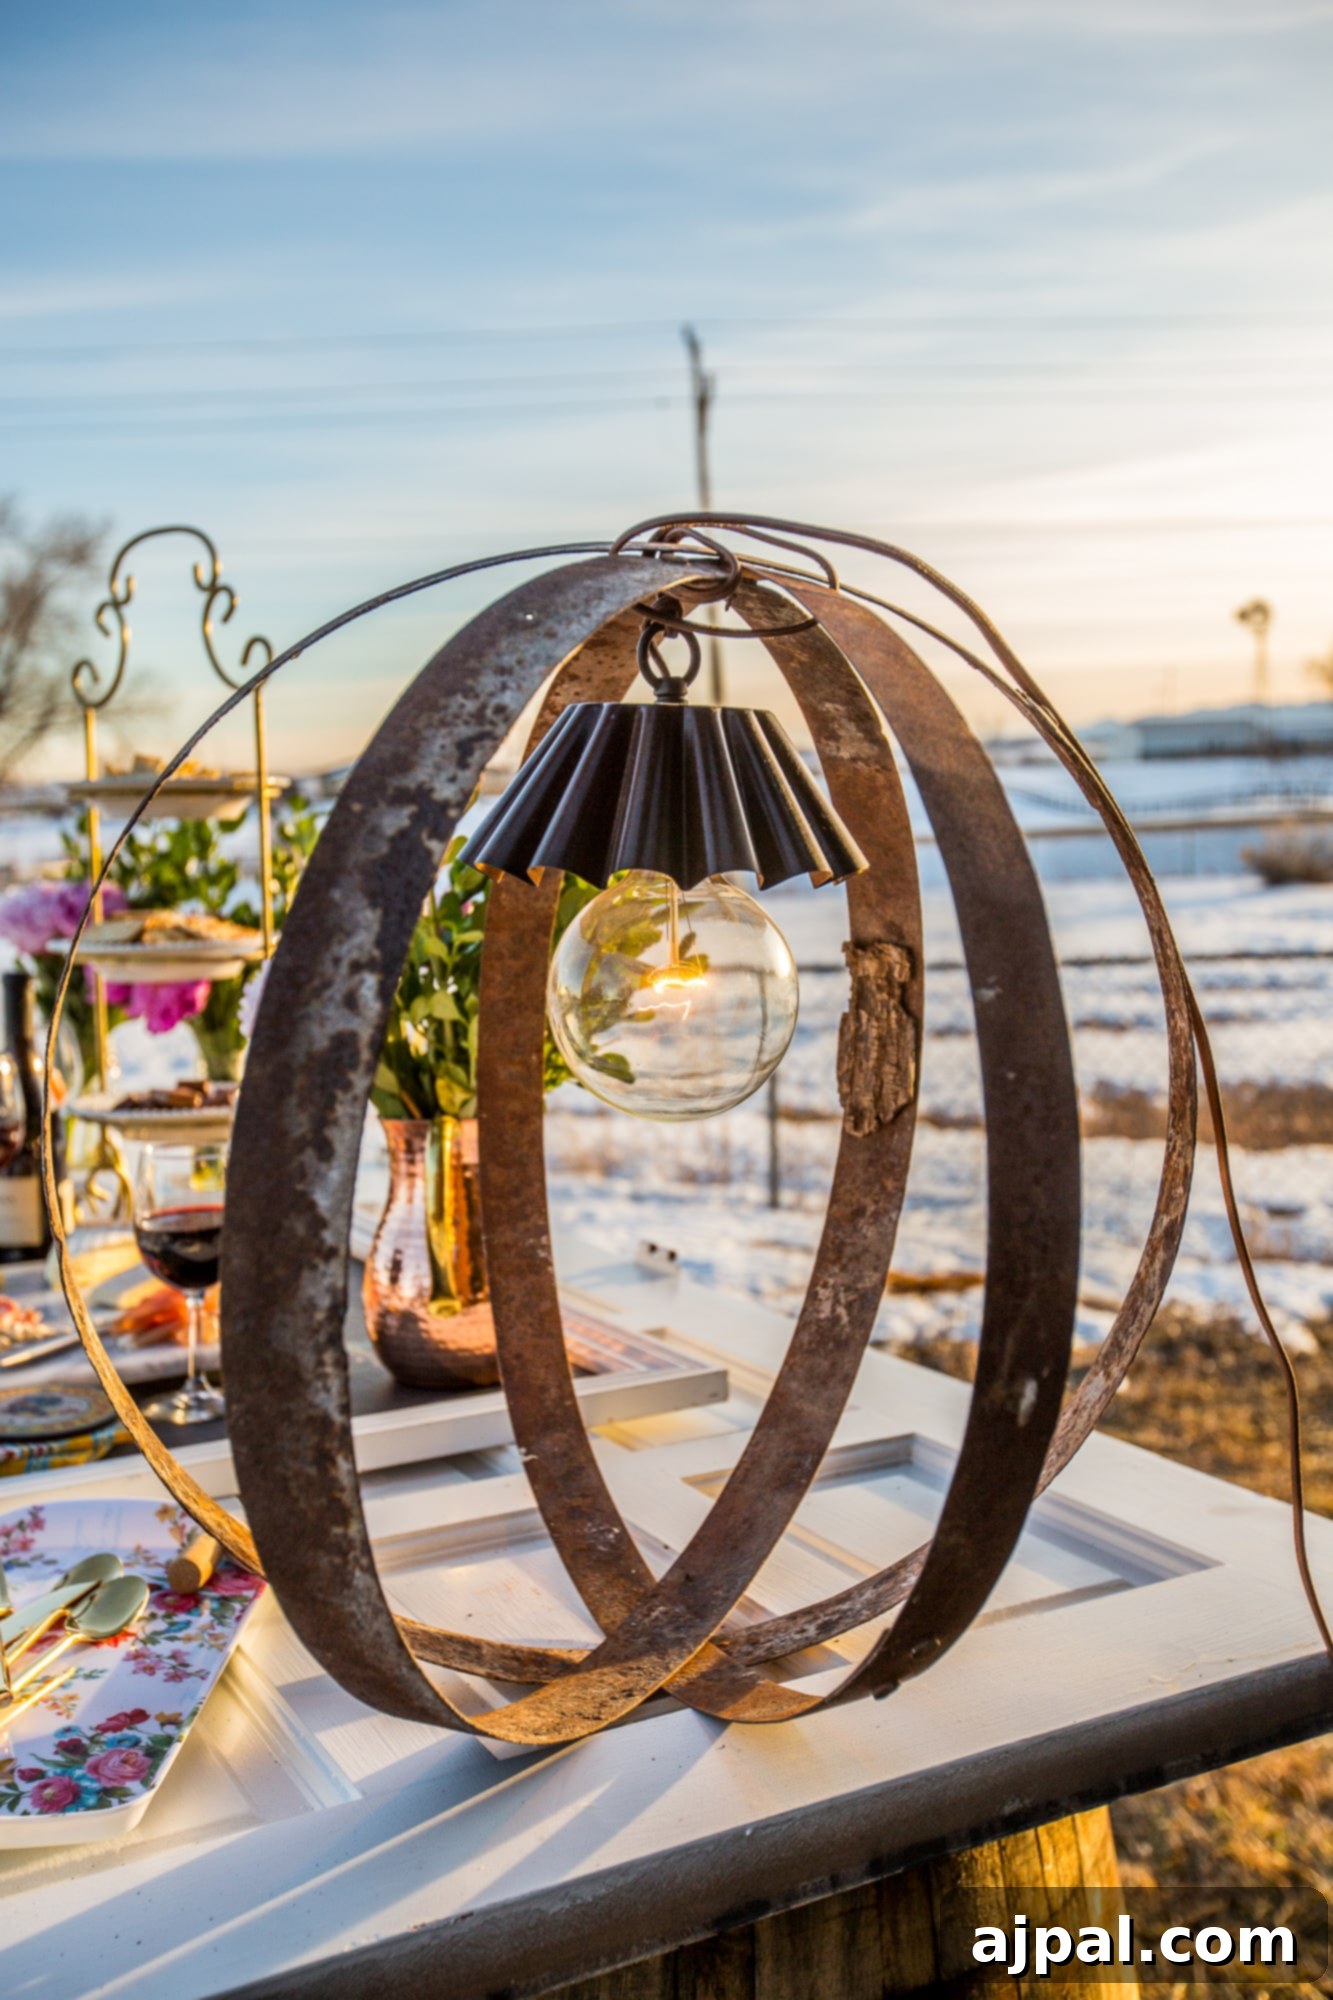
Are you searching for a unique, charming, and eco-friendly way to light up your home or next gathering? Look no further than this delightful rustic wine barrel ring light DIY. This project seamlessly blends industrial character with farmhouse warmth, offering a versatile lighting solution that can transform any space. Whether you need a captivating centerpiece for an outdoor party or a permanent fixture to add a touch of vintage elegance, this guide will walk you through creating a stunning light using repurposed wine barrel rings. The best part? It can be made entirely without tools for a temporary display, or with just a few quick drill holes for a more enduring design.
The Inspiration Behind This Unique Upcycled Project
Every creative project often springs from a moment of inspiration, and for this rustic wine barrel ring light, it was the perfect storm of a new home, a housewarming party, and a treasure trove of reclaimed materials. After moving into our new (to us) house, a charming farm property, it was time to put some of the wonderful antiques and collected odds and ends to good use. With a housewarming party on the horizon, complete with delicious food and some of my favorite La Crema Wines, I sought to create decor that was both functional and aesthetically aligned with our new, rustic surroundings.
The move itself involved significant organizing and downsizing as we merged our possessions with family antiques and countless intriguing items from my husband’s grandpa’s old barn. Among these discoveries were old wine barrels we’d kept, dreaming of someday crafting a cool outdoor table. Even more exciting were the piles and piles of random wine barrel rings – their origins a mystery, but their potential undeniable. These forgotten relics, with their beautiful patina and sturdy form, became the muse for a truly special lighting fixture.
I envisioned something truly cool and captivating, a light that could serve as either a lasting fixture or a simple, no-tools-required solution for a festive event. This DIY wine barrel ring light concept was born from that vision, offering a blend of rustic charm, effortless style, and a wonderful story of repurposing.
Why Create Your Own Wine Barrel Ring Light?
Beyond its striking appearance, a DIY wine barrel ring light offers numerous advantages for homeowners and decor enthusiasts alike:
- Unique Aesthetic: Each light is truly one-of-a-kind, boasting an authentic rustic, industrial, or farmhouse charm that mass-produced items simply can’t replicate. The natural patina and character of the wine barrel rings tell a story.
- Cost-Effective Decor: By repurposing salvaged materials, you save significantly on buying new light fixtures. This project proves that stunning decor doesn’t have to come with a hefty price tag.
- Eco-Friendly Upcycling: Give old materials a new lease on life. Upcycling wine barrel rings reduces waste and promotes sustainable living, adding an environmentally conscious touch to your home.
- Versatile Application: This light can serve multiple purposes. Use it as a captivating centerpiece for outdoor dinner parties, a unique desk lamp, a cozy reading light, or even a statement piece hanging in a entryway or patio.
- Conversation Starter: Prepare for compliments and questions! This distinctive light is sure to spark interest and conversations among your guests, highlighting your creativity and unique style.
- Customizable Design: Whether you prefer a temporary, tool-free setup for events or a permanent, robust fixture, this DIY project offers the flexibility to adapt to your specific needs and skill level.
Materials and Tools You’ll Need
Gathering your supplies is the first step toward creating your stunning rustic wine barrel ring light. Most items are readily available, and for the temporary version, you might already have them on hand!
Core Components:
- Pendant Light Kit: Look for a plug-in style pendant light. These are incredibly versatile as they don’t require electrical wiring into your ceiling. Many home decor stores, like Urban Outfitters (where mine was sourced), or online retailers offer stylish options. Choose one with a fabric-covered cord for added aesthetic appeal.
- Three Wine Barrel Rings: The star of our show! Aim for rings of roughly the same size, though slight variations can add to the rustic charm. If your rings are severely rusted or dirty, consider cleaning them thoroughly and perhaps applying a clear sealant to prevent rust transfer and preserve their character.
- Large Edison Bulb: An oversized, vintage-style Edison bulb (or a modern LED filament bulb that mimics its warm glow) is crucial for achieving that classic rustic industrial look. These bulbs cast a beautiful, inviting light that perfectly complements the wine barrel rings.
Optional, for a Permanent Fixture:
If you’re looking for a more robust and lasting light fixture, these tools and hardware will be necessary:
- A Drill: A standard electric drill will suffice.
- Metal Drill Bit: Ensure you have a drill bit specifically designed for drilling through metal. The size should be slightly larger than your threaded screw.
- Long Threaded Screw: This will secure the rings together at one point. Choose a length that can pass through all three nested rings.
- Locking Washer: Essential for firmly securing the screw and preventing it from loosening over time.
- Clamps: Two or three small clamps will help hold the rings steady while you drill, ensuring precision and safety.
- Safety Gear: Always wear safety glasses and gloves when drilling or handling potentially sharp metal.
Step-by-Step Instructions: Crafting Your Wine Barrel Ring Light
Now, let’s get down to the exciting part – assembling your rustic masterpiece! We’ll cover two methods: a quick, tool-free temporary light perfect for parties, and a more permanent, sturdy fixture.
Preparation: Nesting the Rings
- Clean Your Rings: If your wine barrel rings are rusty or dirty, give them a good clean. A wire brush can remove loose rust, and a damp cloth can wipe away grime. You can opt to leave their natural patina or seal them with a clear coat if desired.
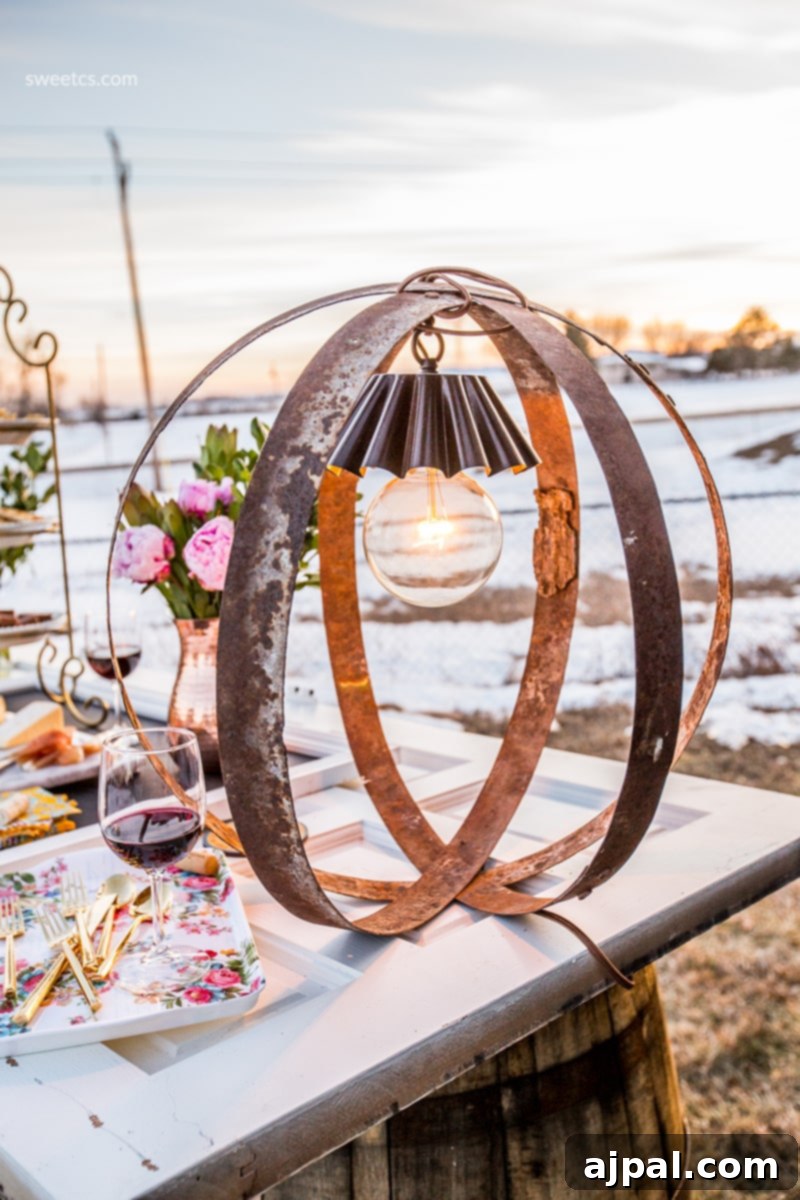
- Nest the Rings: Begin by carefully nesting the three wine barrel rings inside each other. Start by placing the smallest ring into the next smallest, and then into the largest. Experiment with their arrangement. Gently twist and rotate them until you find a pleasing, organic shape that you like. The goal is to create an aesthetically balanced, three-dimensional form.
Option 1: The Temporary, Tool-Free Party Light
This method is ideal for events, parties, or if you simply want a unique accent light without making permanent modifications.
- Position the Pendant: With the bulb removed from the pendant light, hold the socket portion of the pendant firmly in one hand, positioning it within the center of your nested rings.
- Secure with the Cord: With your other hand, begin wrapping the pendant light cord tightly around the various metal rings. Weave the lamp cord around the light in different patterns, ensuring it crisscrosses and creates enough friction to secure the rings together. The cord itself will act as the primary structural element holding the rings in place.
- Test and Place: Once the lamp cord is wrapped securely and the rings feel stable, plug in the cord and carefully screw in your Edison bulb. Place your finished light on a sturdy surface like a table or a repurposed wine barrel.
Important Note for Temporary Lights: Do not attempt to hang this version of the light from its lamp cord alone. The cord is not designed to bear the weight of the metal rings and could cause damage or pose a safety hazard. If hanging is desired, ensure the light is supported directly by chains or wires attached to the metal rings, not the electrical cord.
Option 2: The Permanent, Sturdy Fixture
For a lasting addition to your home or outdoor space, follow these steps to create a robust and secure light fixture.
- Secure the Rings with Clamps: After nesting the rings and finding your desired arrangement (as in step 2 above), use several clamps to firmly hold the rings together. This prevents movement while you drill, ensuring accuracy and safety.
- Drill the Bottom Hole: Select a side of your nested rings that will become the bottom of your light fixture. Using your drill fitted with a metal drill bit, carefully drill a small hole through all three rings at this designated spot.
- Insert Threaded Screw and Washer: Thread the long threaded screw through the hole you just drilled. On the other side, secure it firmly with the locking washer and a nut (if your screw requires one). This connection point will provide significant stability.
- Drill the Top Holes (for Cord Management): Now, select a side that will be the top of your light. Drill another series of holes, one through each ring, aligned to allow the pendant lamp cord to pass through smoothly. Unlike the bottom, you won’t need a washer here; these holes are purely for guiding the cord.
- Thread the Lamp Cord: Carefully thread the pendant light cord through the holes you just drilled at the top. This method neatly manages the cord and helps center the light within the rings.
- Final Assembly: Secure the pendant light socket within the rings, ensuring it’s centered. Screw in your large Edison bulb.
Important Note for Permanent Lights: If you plan to hardwire this fixture into your ceiling, it is strongly recommended to consult a qualified electrician. They can ensure safe installation and compliance with local electrical codes. If hanging from the ceiling, always ensure the weight is supported directly by the metal rings using robust chains or mounting hardware, not just the pendant cord, unless your pendant kit is specifically rated for heavy loads.
Styling Your Rustic Wine Barrel Ring Light
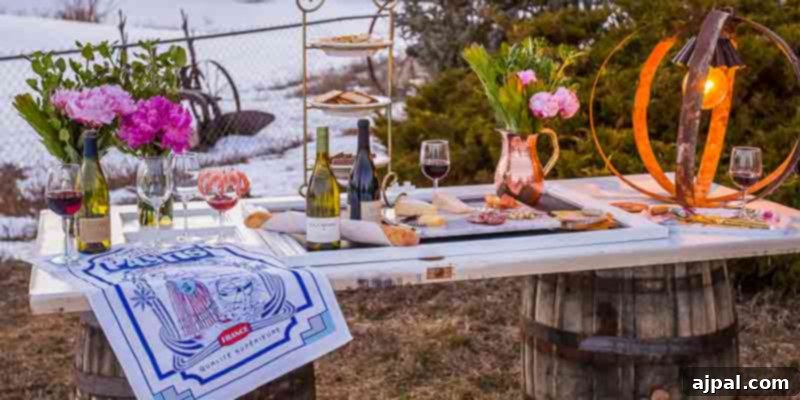
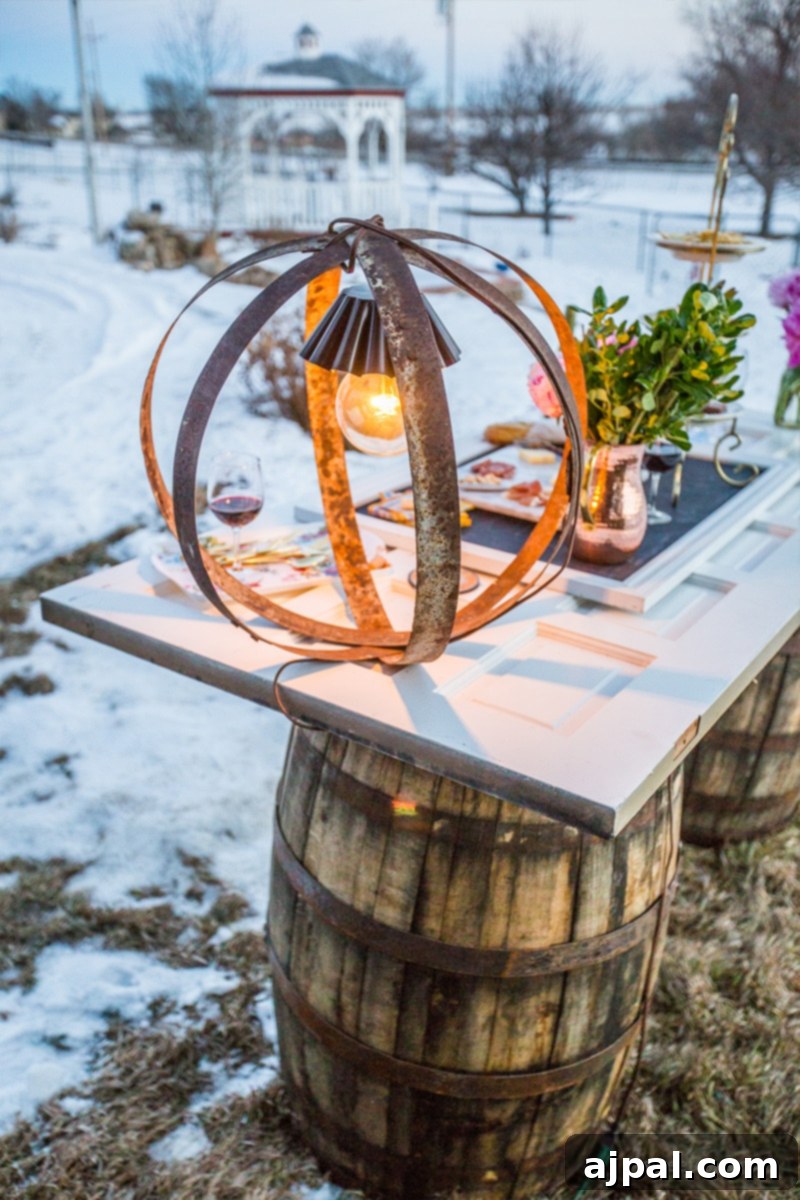
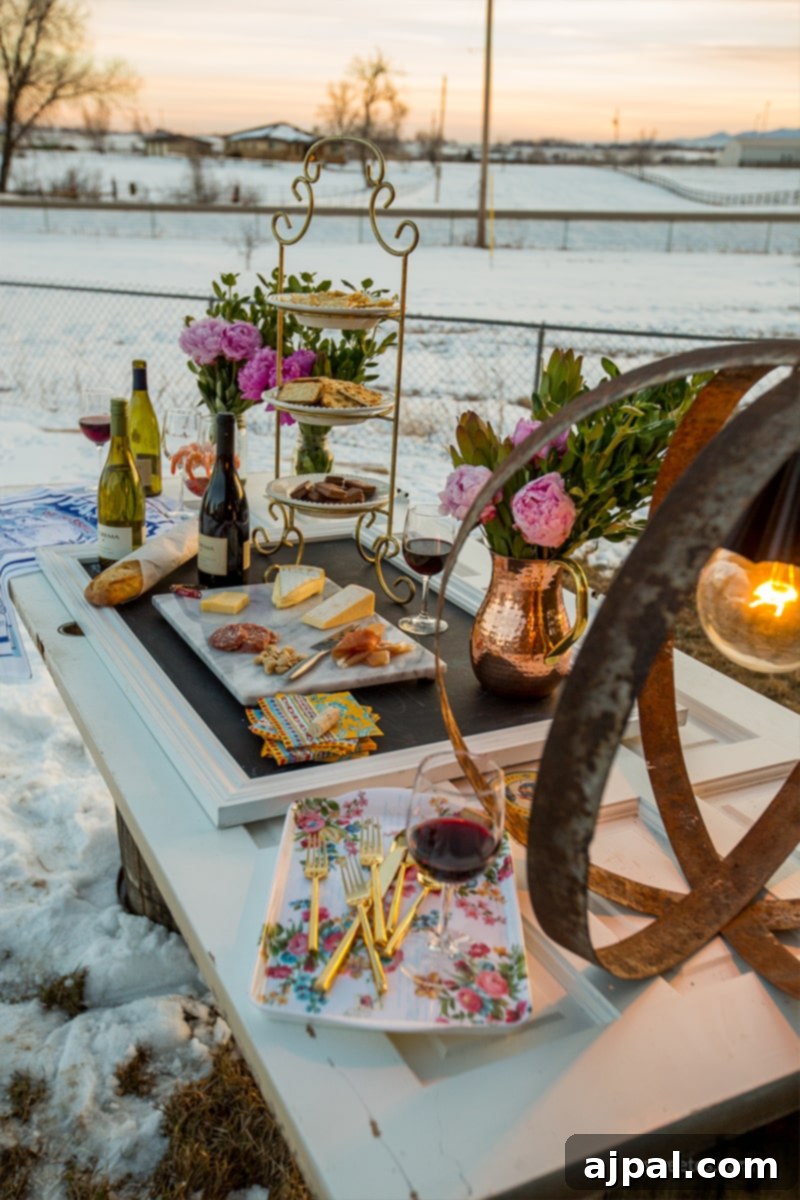
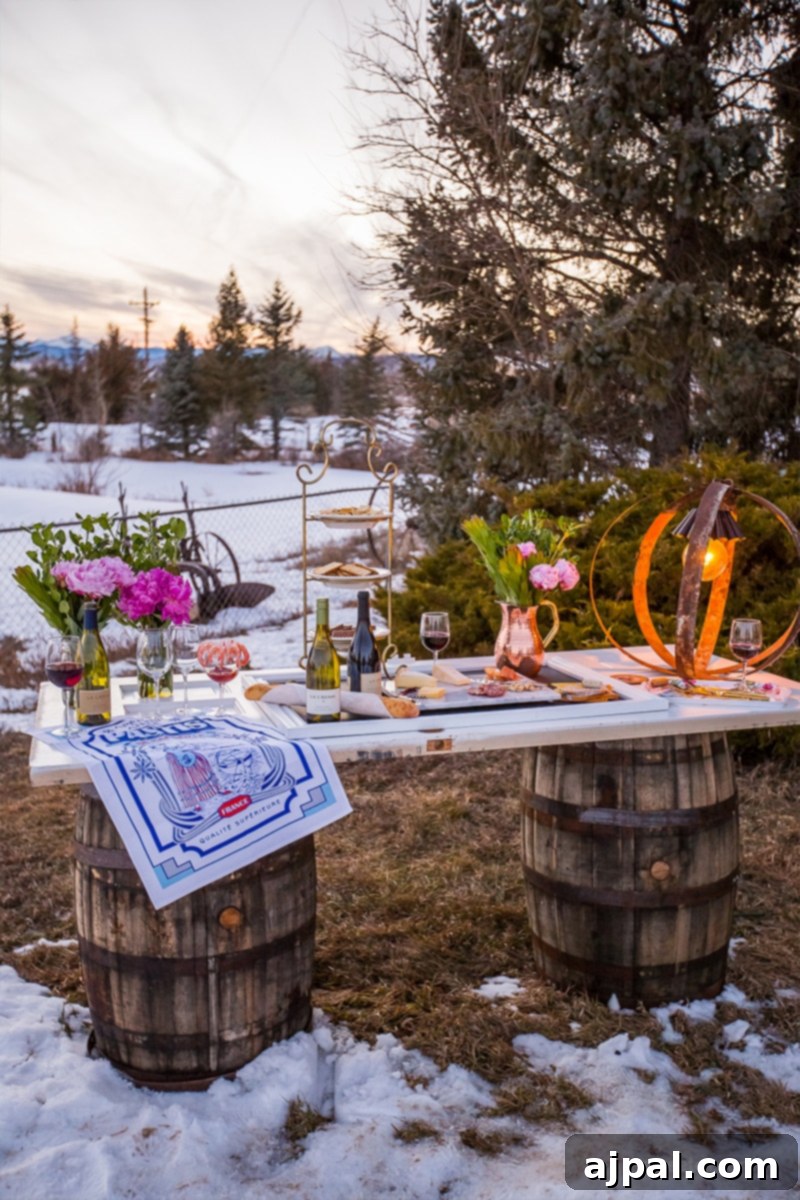
Once your light is complete, it’s time to integrate it into your decor. The beauty of this piece lies in its versatility. It looked absolutely stunning on our table, complementing the rustic theme perfectly, and I can’t wait to incorporate this setup into many summer parties!
- Party Centerpiece: For outdoor gatherings, place it on a long dining table, a repurposed barrel, or a picnic table. Its warm glow creates an inviting and festive atmosphere.
- Indoor Accent: Position it on a sideboard, console table, or even a large bookshelf to add an industrial-chic touch to your living room, dining area, or entryway.
- Farmhouse Kitchen: A permanent fixture can hang above a kitchen island or breakfast nook, infusing your culinary space with rustic character.
- Outdoor Patio Lighting: For a permanent outdoor setup, ensure all electrical components are weather-sealed and the fixture is protected from the elements. It can cast a magical glow over your patio or deck.
- Complementary Decor: Pair your wine barrel light with other natural materials like wood, linen, and ceramic. Vintage finds, antique bottles, and lush greenery will further enhance the rustic appeal.
Advanced Tips & Customization Ideas
While the basic design is captivating, there are many ways to personalize your wine barrel ring light:
- Ring Finish: Instead of the natural patina, you could clean and paint the rings a matte black, bronze, or even a distressed white for a shabby-chic look. A clear coat sealant will protect the finish and prevent rust.
- Bulb Variety: Experiment with different Edison bulb shapes (G80, ST64, A19) or even tinted bulbs for a unique ambiance. Smart LED bulbs can offer color-changing capabilities and dimming control.
- Hanging Options: For permanent hanging, consider using decorative chains to suspend the light from the ceiling. This adds an extra layer of industrial charm and ensures robust support.
- Multi-Light Fixture: If you have more rings, consider crafting two or three smaller fixtures and hanging them at varying heights for a grander, chandelier-like statement.
- Integrated Features: For outdoor use, consider adding solar-powered LED string lights or fairy lights woven within the rings for a soft, enchanting glow without needing a power outlet.
Bringing Rustic Charm to Life
This easy rustic wine barrel ring light DIY is more than just a lighting project; it’s an opportunity to infuse your home with character, embrace sustainable practices, and create something truly unique. The satisfaction of transforming forgotten materials into a functional piece of art is immense, and the warm, inviting glow it casts will be enjoyed for years to come. I mean, really – how gorgeous does this light look, especially when paired with a coordinating table?
Speaking of gorgeous tables, if you’re curious about the beautiful rustic table made from reclaimed wine barrels and a salvaged door that pairs so perfectly with this light, head over to the La Crema Blog to discover how I created it. These projects together create an unforgettable ambiance for any gathering.