
Irresistible Reese’s Peanut Butter Pie: The Ultimate No-Bake Indulgence
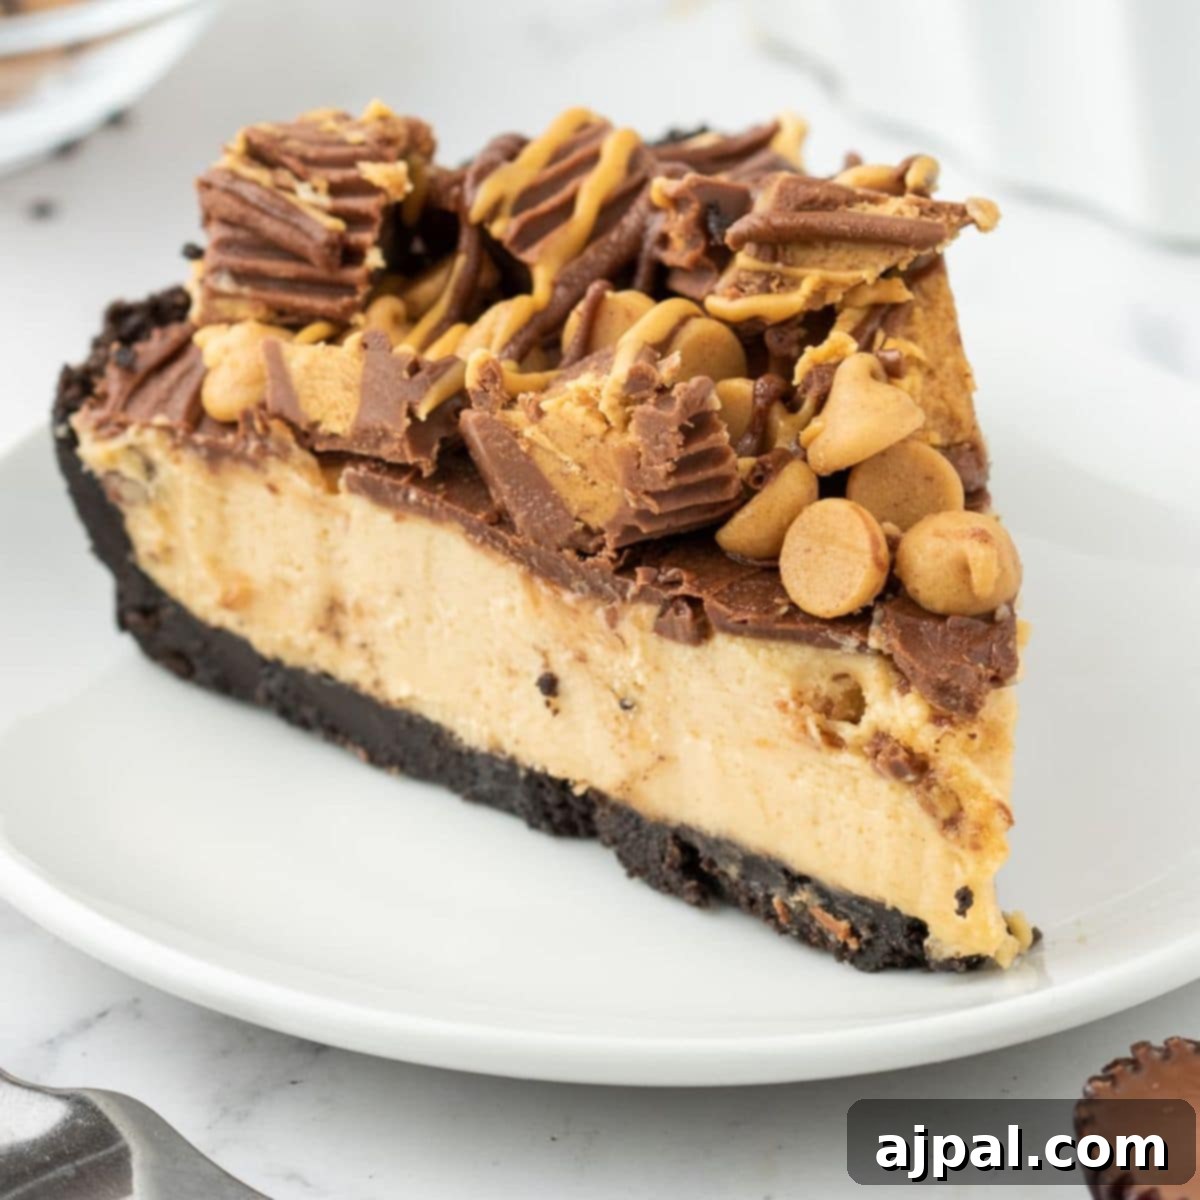
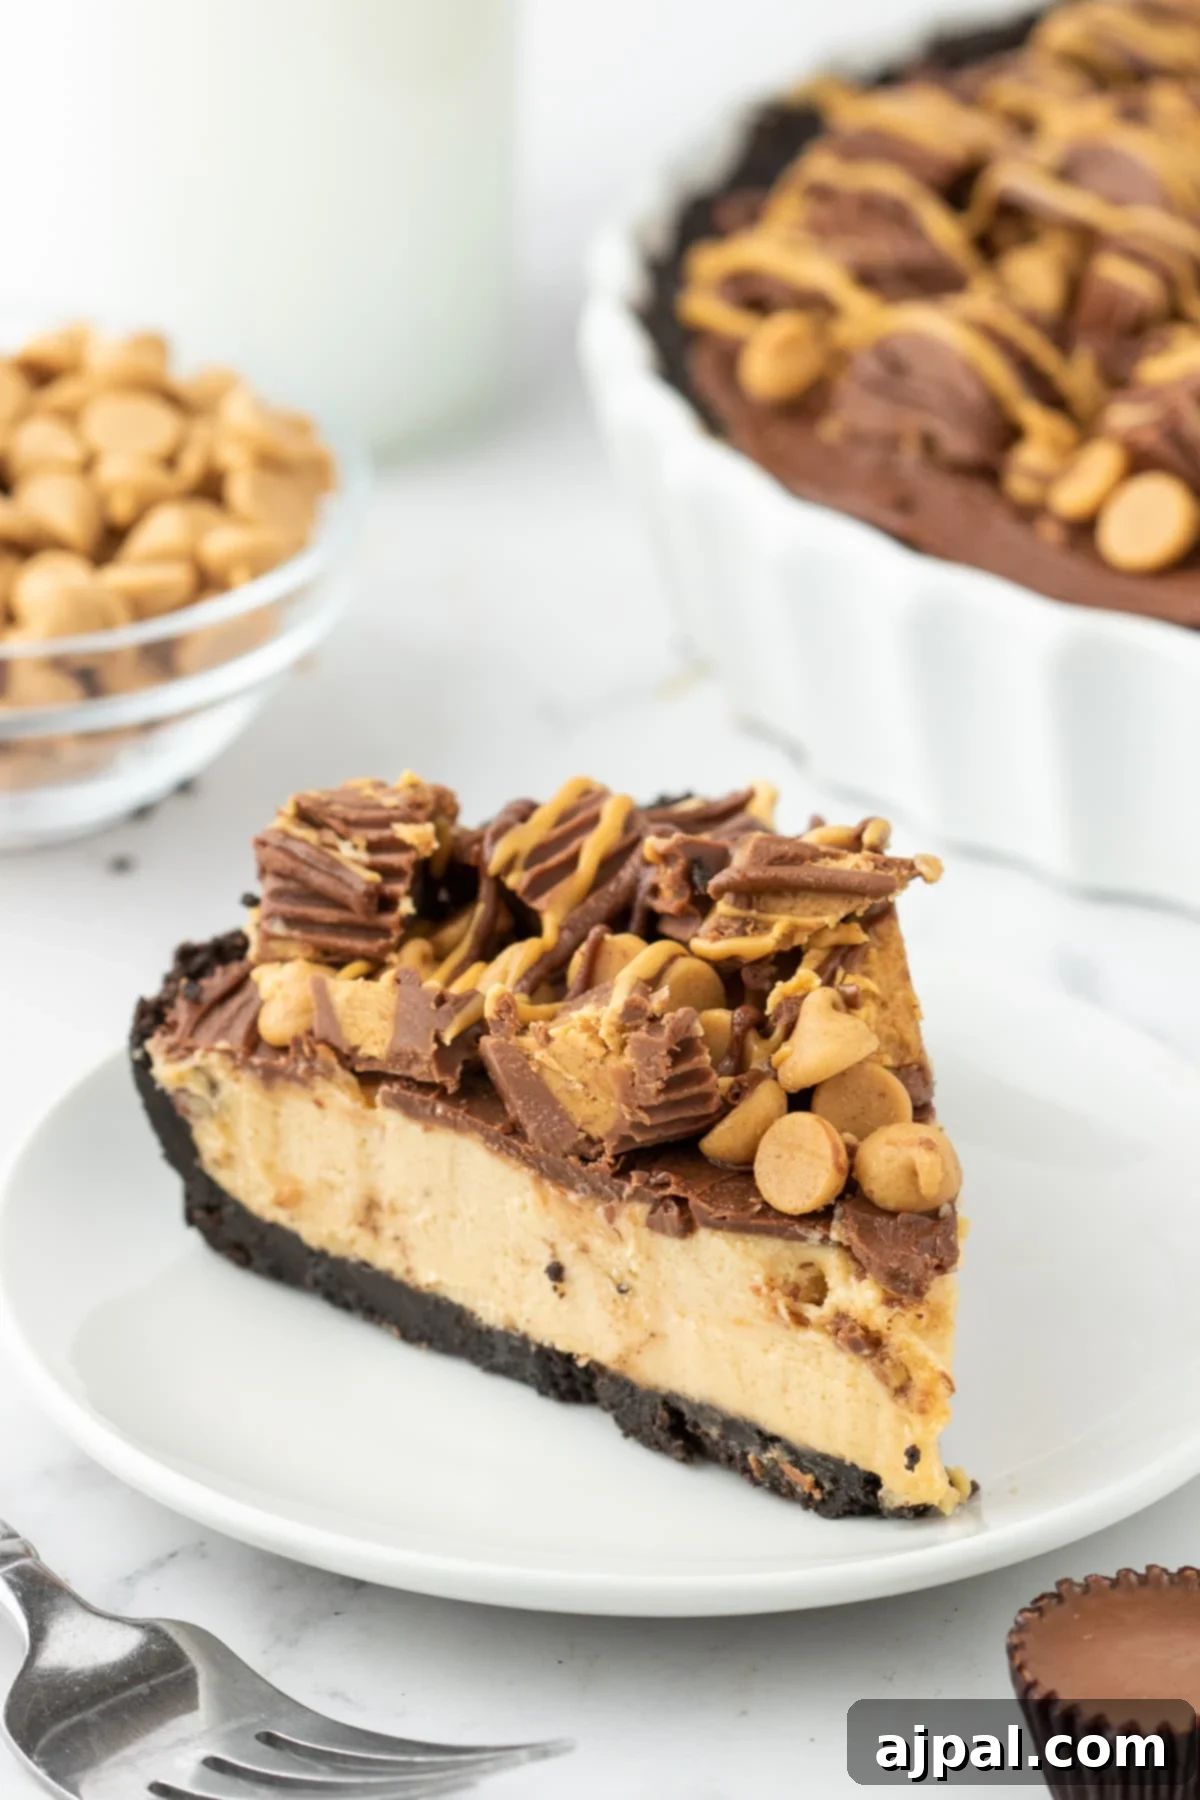
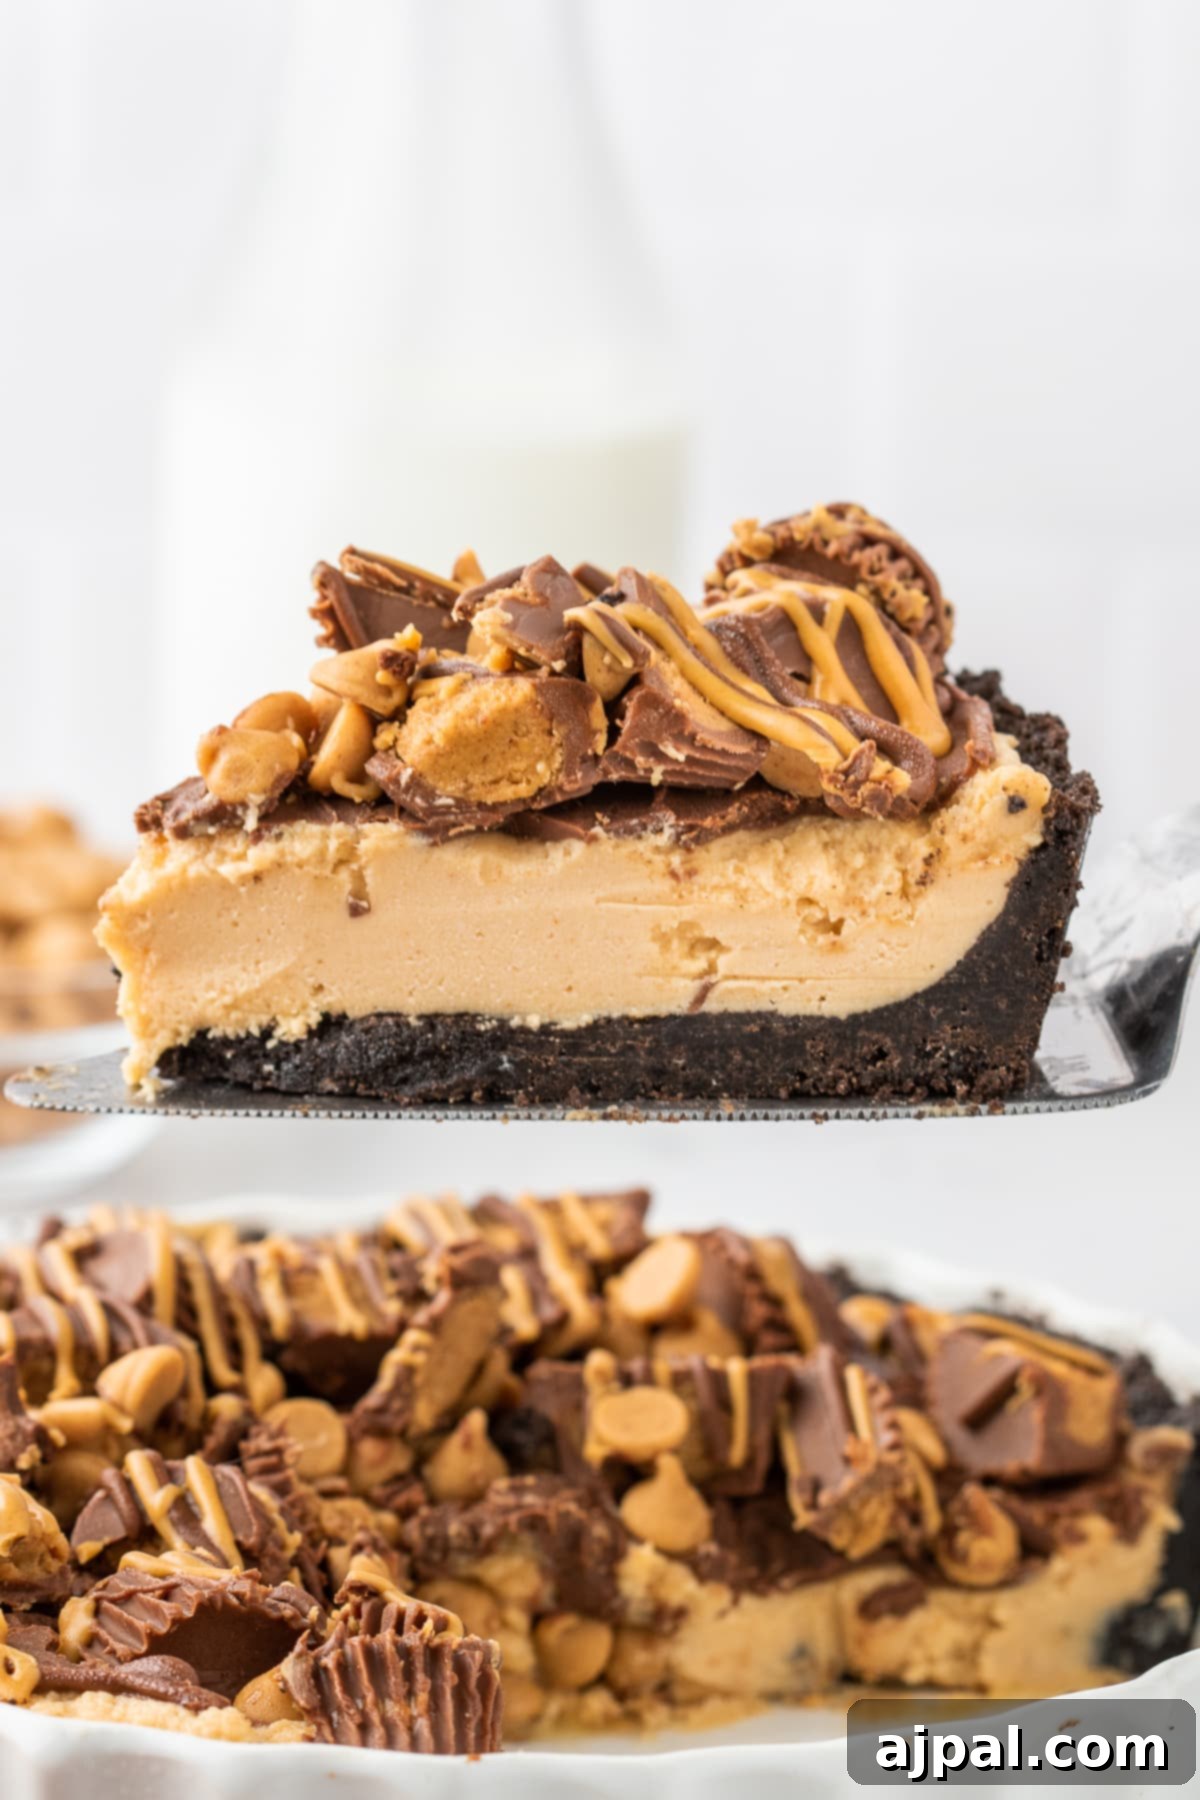
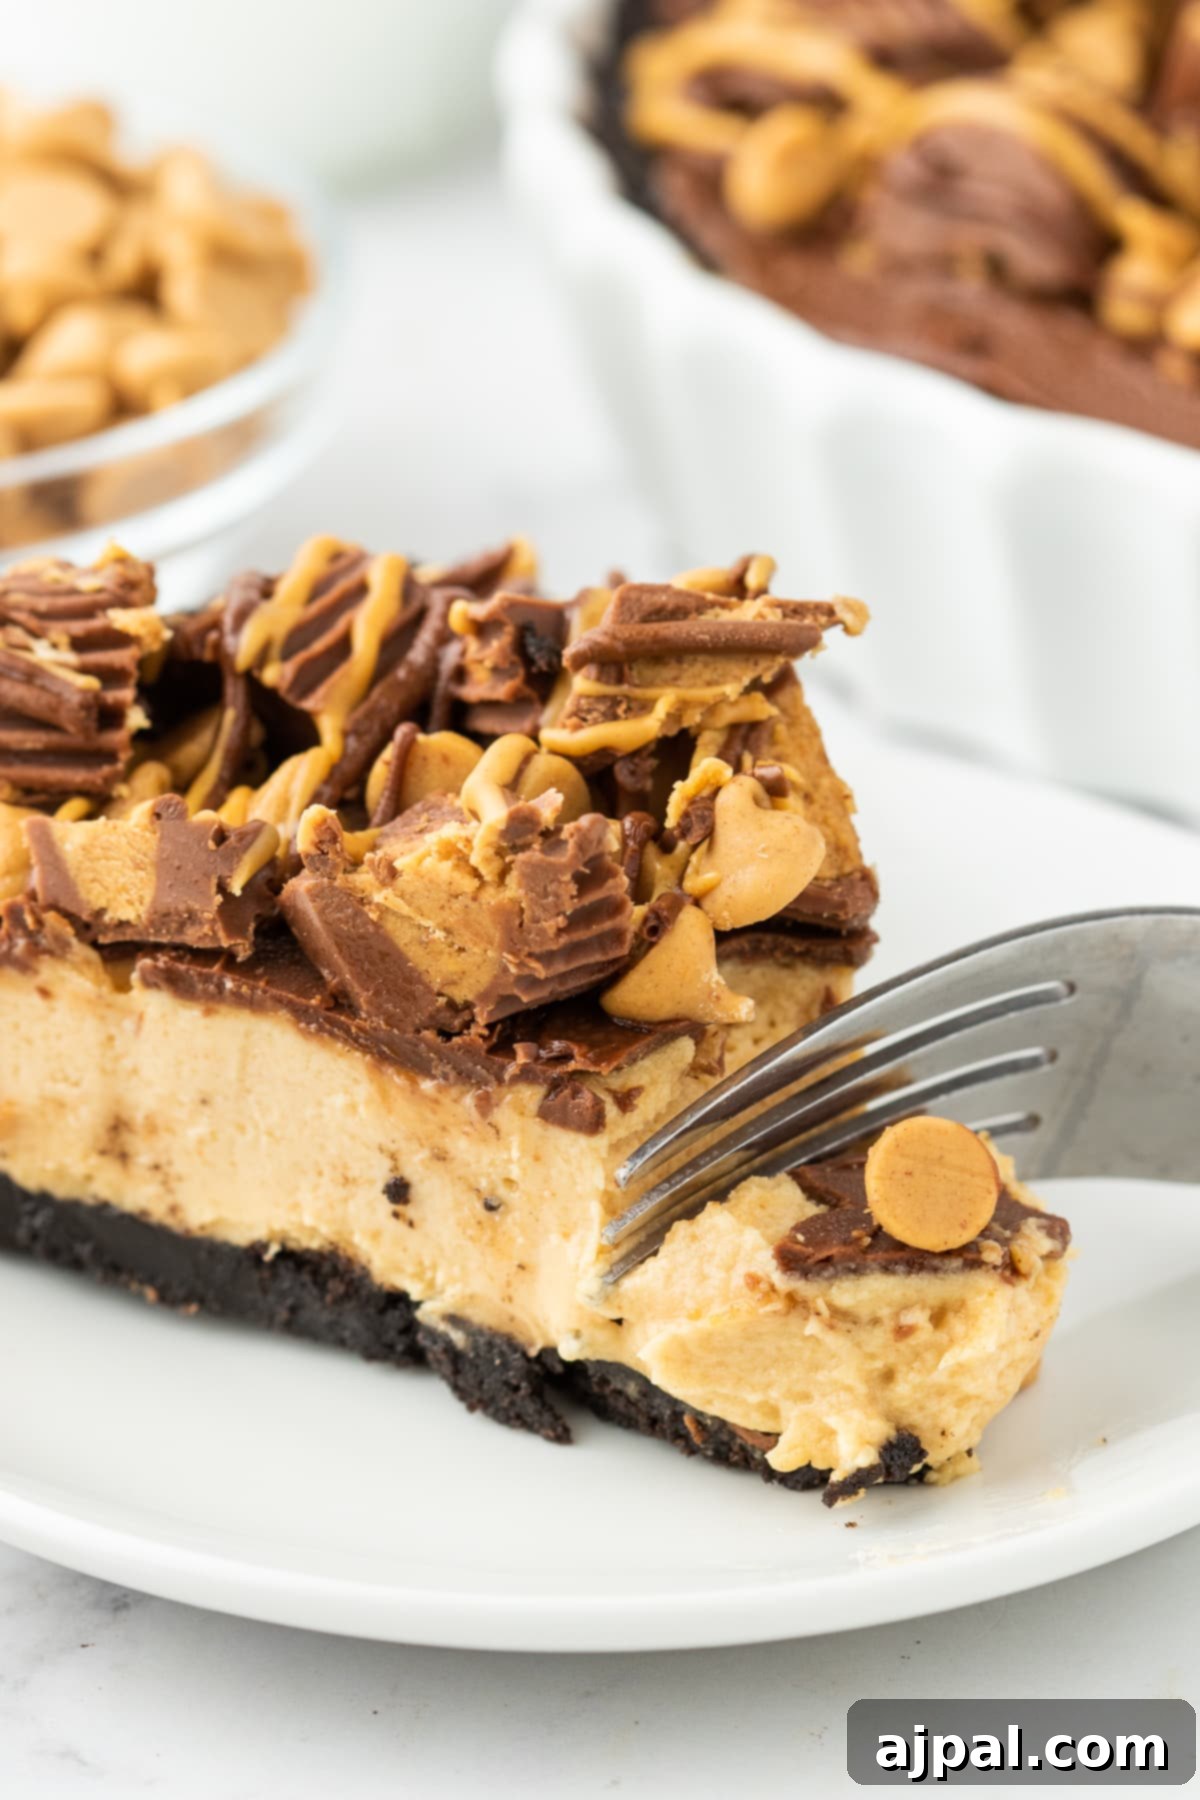
Prepare yourself for a dessert experience that transcends the ordinary: the Reese’s Peanut Butter Pie. This show-stopping creation is a dream come true for anyone who adores the classic combination of rich chocolate and creamy peanut butter. Imagine a perfectly crisp chocolate cookie crust, generously filled with a light and airy peanut butter mousse that’s both sweet and slightly salty. Crowned with a silky smooth chocolate ganache, mini Reese’s Peanut Butter Cups, and a sprinkle of decadent peanut butter chips, every single bite delivers an unparalleled explosion of flavor and texture. This isn’t just a pie; it’s a celebration of pure, unadulterated indulgence.
For home cooks seeking clear, concise guidance, this recipe is crafted with you in mind. We believe that understanding the “why” behind each step and ingredient makes you a more confident baker. That’s why we’ve included comprehensive tips and explanations to ensure your Reese’s Peanut Butter Pie turns out perfectly, even if you’re a beginner in the kitchen. Our goal is to empower you to create this incredible dessert with ease and joy.
Table of Contents
- The Allure of Reese’s Peanut Butter Pie
- Why You’ll Love This Easy Recipe
- Crafting Your Perfect Reese’s Peanut Butter Pie
- Essential Ingredients for Success
- Step-by-Step Guide to a Flawless Pie
- Expert Tips for a Dazzling Peanut Butter Pie
- Common Questions Answered (FAQs)
- Explore More Sweet Indulgences
- Reese’s Peanut Butter Pie Recipe Card
The Allure of Reese’s Peanut Butter Pie
This decadent, mouthwatering pie is truly a chocolate and peanut butter lover’s ultimate fantasy. The timeless pairing of rich nuts and sweet chocolate reaches new heights in this dessert, transforming the beloved Reese’s Peanut Butter Cup into a sophisticated yet incredibly fun pie. It’s a dessert that consistently steals the show, perfect for special occasions or simply elevating an ordinary day. I frequently prepare this indulgent treat for my husband’s birthday, as it perfectly combines his love for creamy, nutty textures with his passion for deep, rich chocolate flavors.
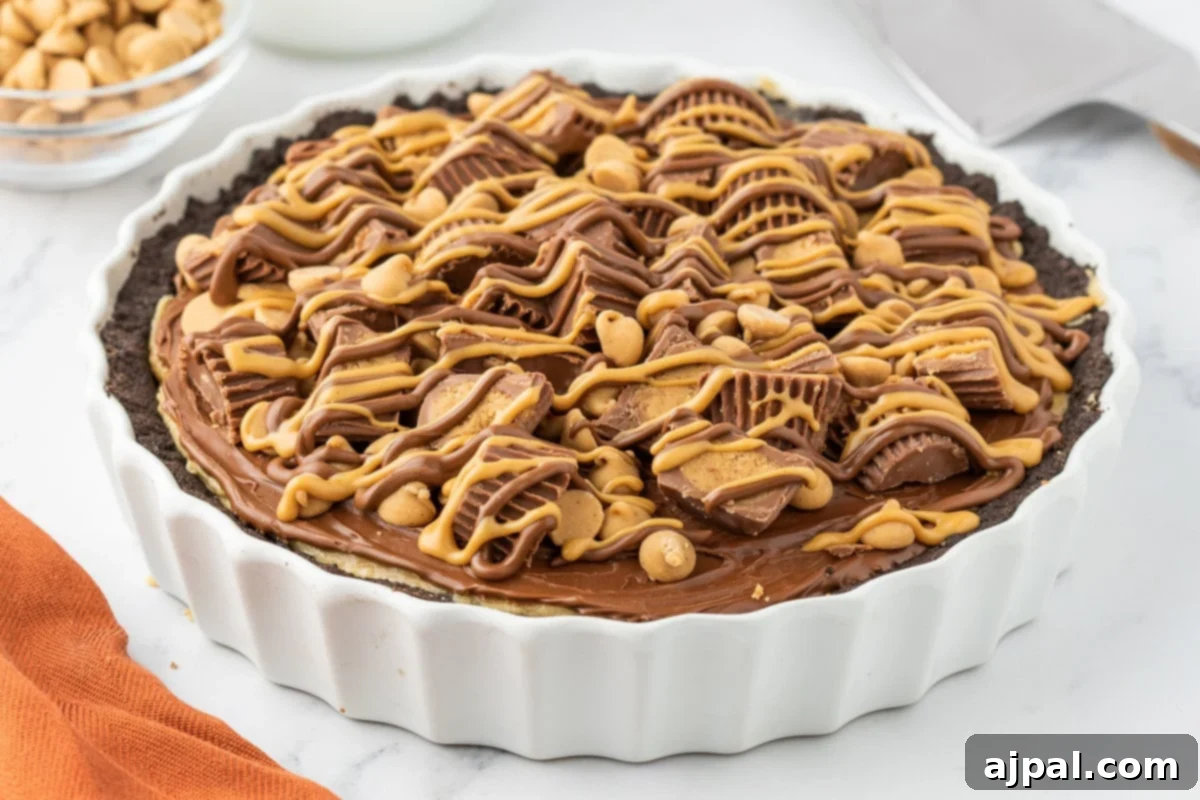
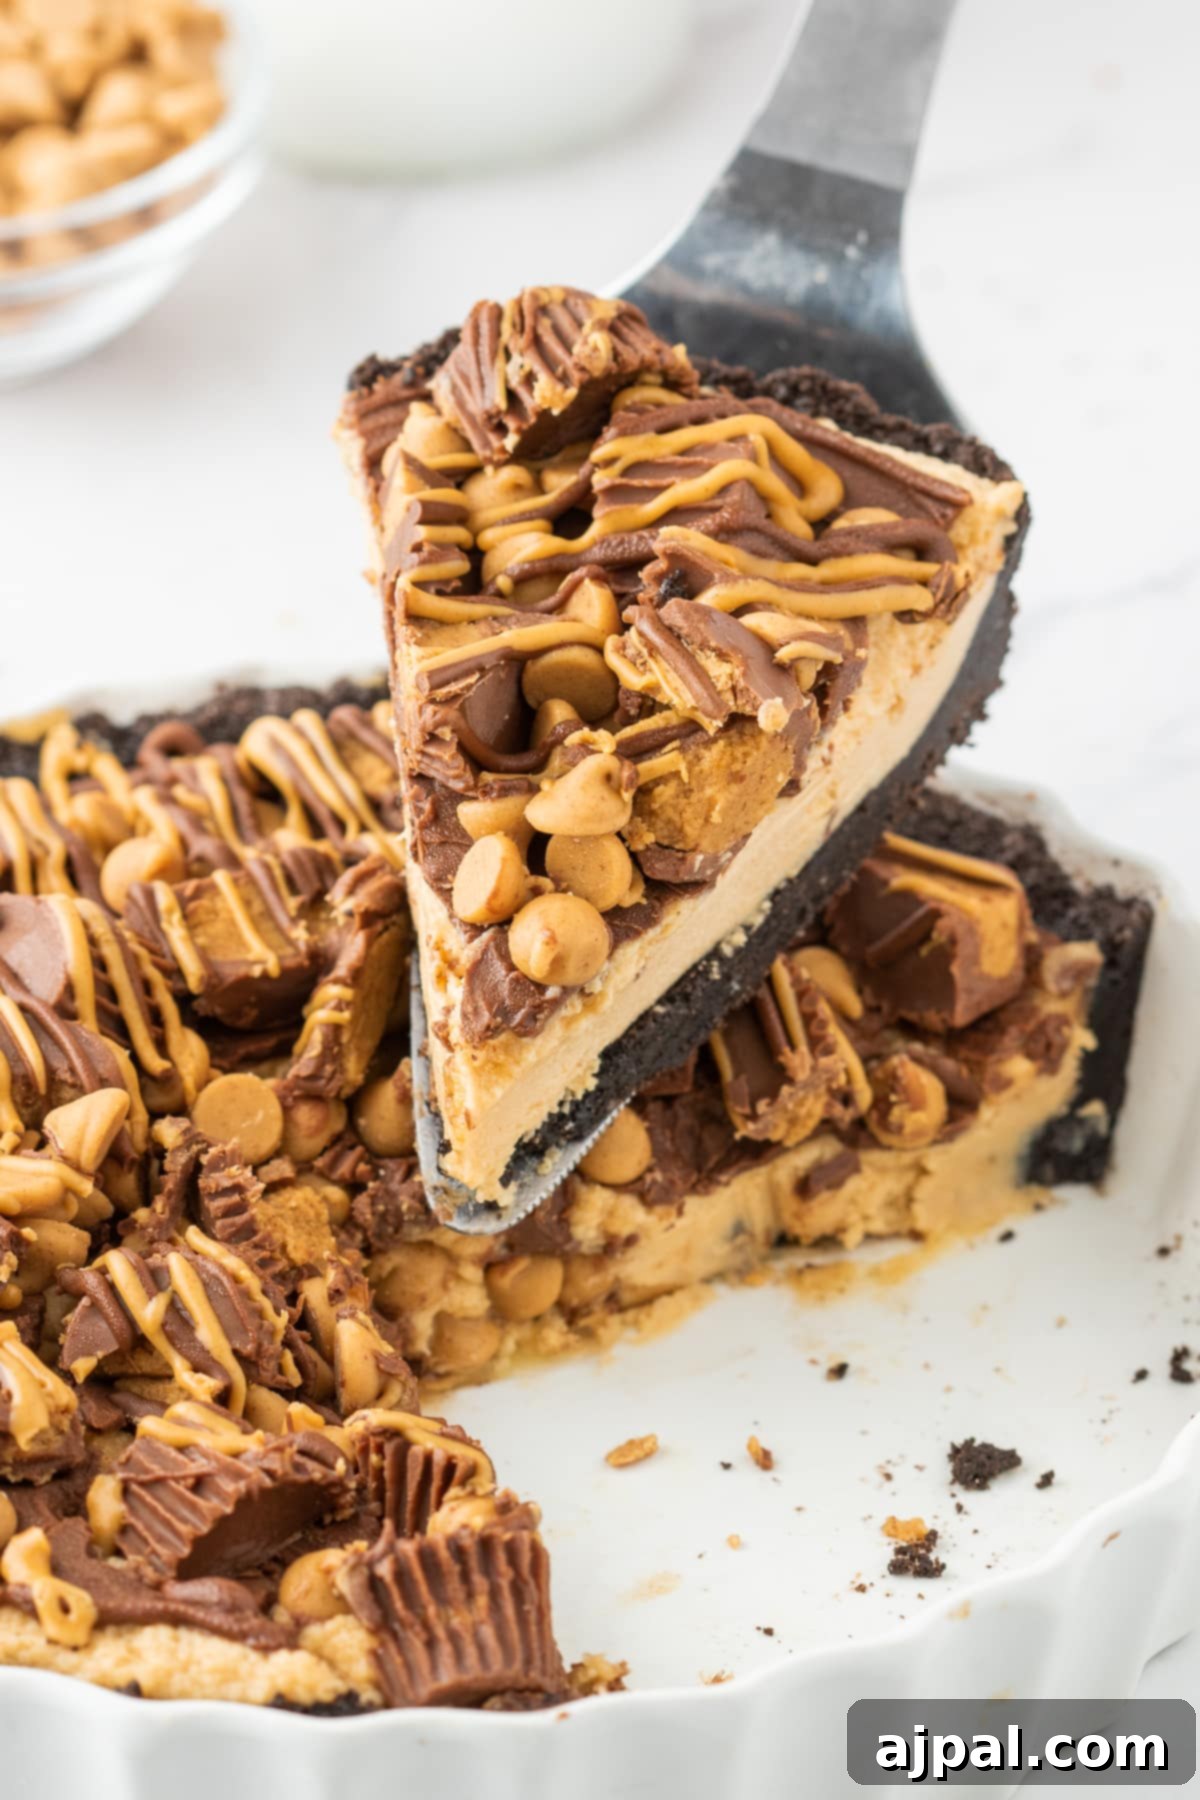
The journey to creating this magnificent pie begins with a simple yet robust chocolate cookie crust, requiring only 10 minutes to bake and minimal effort. Once cooled, it forms the perfect foundation for the star of the show: a light and luscious peanut butter filling. This exquisite filling is crafted from a harmonious blend of softened cream cheese, finely powdered sugar, and, of course, creamy peanut butter. After the tart is generously filled, a few hours in the freezer transform it into a firm, sliceable delight. The grand finale involves a glistening layer of melted chocolate, topped with a generous scattering of mini Reese’s cups and peanut butter chips, creating a visual and textural masterpiece. This pie is genuinely irresistible, making it an excellent addition to holiday celebrations, potlucks, or as a well-deserved “cheat day” treat. Its freezer-friendly nature means you can prepare it in advance or save leftovers for when the craving strikes again – though, honestly, sharing is purely optional!
Why You’ll Love This Easy Recipe
Beyond its incredible flavor, this Reese’s Peanut Butter Pie stands out for its straightforward preparation, making it accessible to bakers of all skill levels. We believe that great desserts don’t have to be complicated, and this recipe proves it. It’s a no-bake wonder (after the quick crust bake), minimizing oven time and maximizing deliciousness. You’ll appreciate how clearly each step is laid out, ensuring a smooth and enjoyable baking experience. From ingredient selection to the final garnish, every element is designed to be user-friendly, allowing you to focus on the joy of creating something truly special. Plus, the ability to make it ahead of time is a huge bonus for busy schedules, letting you impress guests or satisfy your sweet tooth on demand.
Crafting Your Perfect Reese’s Peanut Butter Pie
Creating this spectacular peanut butter pie is a rewarding culinary journey that combines simple steps with delightful results. We’ll guide you through gathering your ingredients and then assembling each delicious layer, ensuring a perfect pie every time. The key lies in understanding the role of each component, from the foundational crust to the glorious toppings, all contributing to that signature Reese’s flavor explosion.
Essential Ingredients for Success
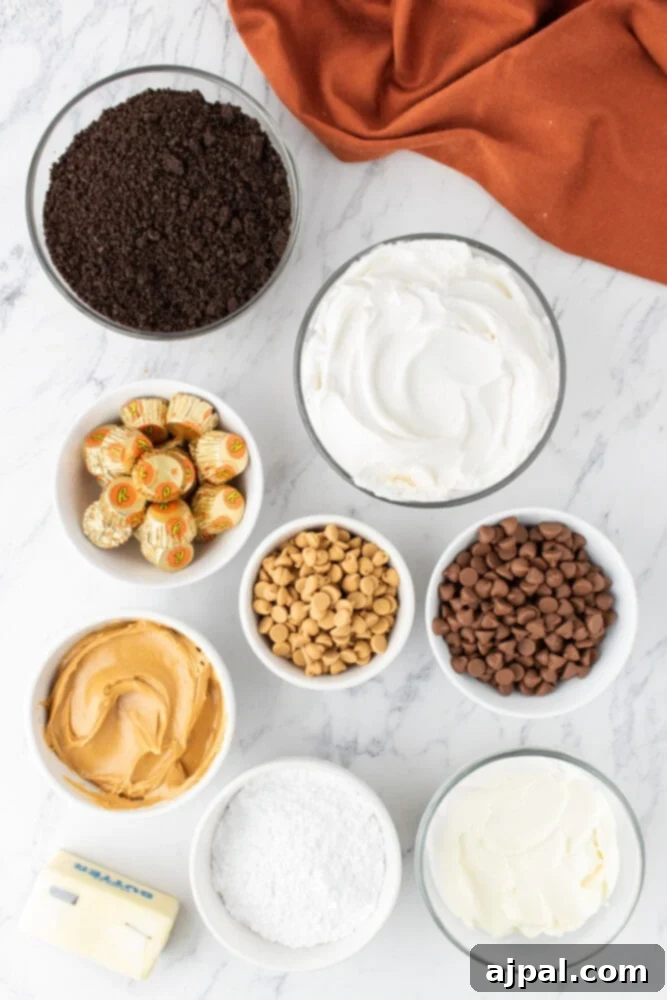
To embark on your Reese’s Peanut Butter Pie adventure, gather the following high-quality ingredients:
- Chocolate Sandwich Cookies (e.g., Oreos): These form the backbone of our rich chocolate crust. You’ll need the cookie crumbs, so simply separate and discard the white cream filling before crushing the chocolate cookie wafers into fine crumbs. For a gluten-free version, opt for gluten-free chocolate sandwich cookies.
- Unsalted Butter: Melted unsalted butter acts as the binding agent for our cookie crust, ensuring it holds together beautifully. Using unsalted butter gives you control over the overall saltiness of the pie.
- Cream Cheese: The foundation of our creamy filling, softened cream cheese provides a rich, tangy base and an incredibly smooth texture. Ensure it’s at room temperature for easy blending and to prevent lumps. For a slightly lighter option, plain whole milk yogurt can be a good substitute, though it will alter the texture and flavor subtly.
- Powdered Sugar: Also known as confectioners’ sugar, this fine sugar dissolves seamlessly into the cream cheese and whipped topping, creating a silky-smooth filling without any graininess. Its intense sweetness means a little goes a long way.
- Creamy Peanut Butter: The star ingredient! Creamy peanut butter is essential for achieving that signature smooth and luscious filling. If you desire a textural contrast, you could incorporate a small amount of crunchy peanut butter or finely chopped nuts into the mixture. Remember to reserve some creamy peanut butter for drizzling over the top for an extra flourish.
- Cool Whip (Whipped Topping): This lightens the peanut butter filling, giving it an airy, cloud-like consistency. It’s best kept frozen until just before use, then gently folded in to maintain its delicate structure and prevent deflation.
- Milk Chocolate: Whether you choose high-quality milk chocolate chips or a chopped chocolate bar, this ingredient creates a delightful layer of chocolate ganache over the peanut butter filling. It adds another dimension of richness and helps anchor the toppings.
- Mini Reese’s Cups: These iconic candies are the perfect tribute to the pie’s inspiration. Chop them or leave them whole for a classic Reese’s touch. Feel free to use full-size cups if you prefer a bolder statement.
- Peanut Butter Chips: Adding another layer of nutty flavor and a pleasing texture, peanut butter chips are a fantastic topping. If they’re unavailable, chocolate chips or even butterscotch chips make excellent substitutions, each offering a unique twist.
Step-by-Step Guide to a Flawless Pie
Follow these simple instructions to create your delectable Reese’s Peanut Butter Pie:
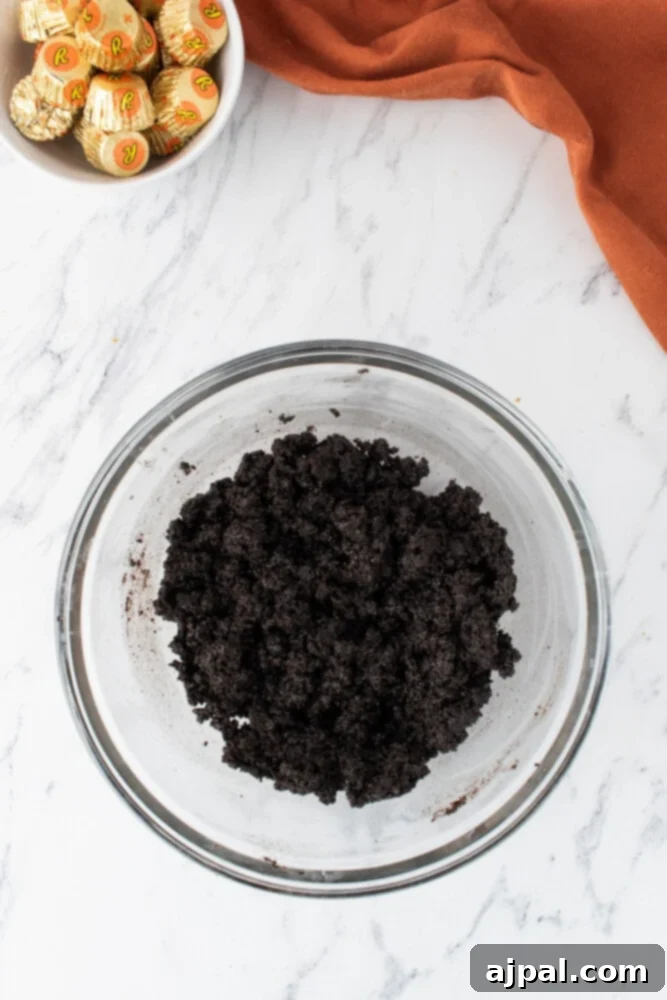
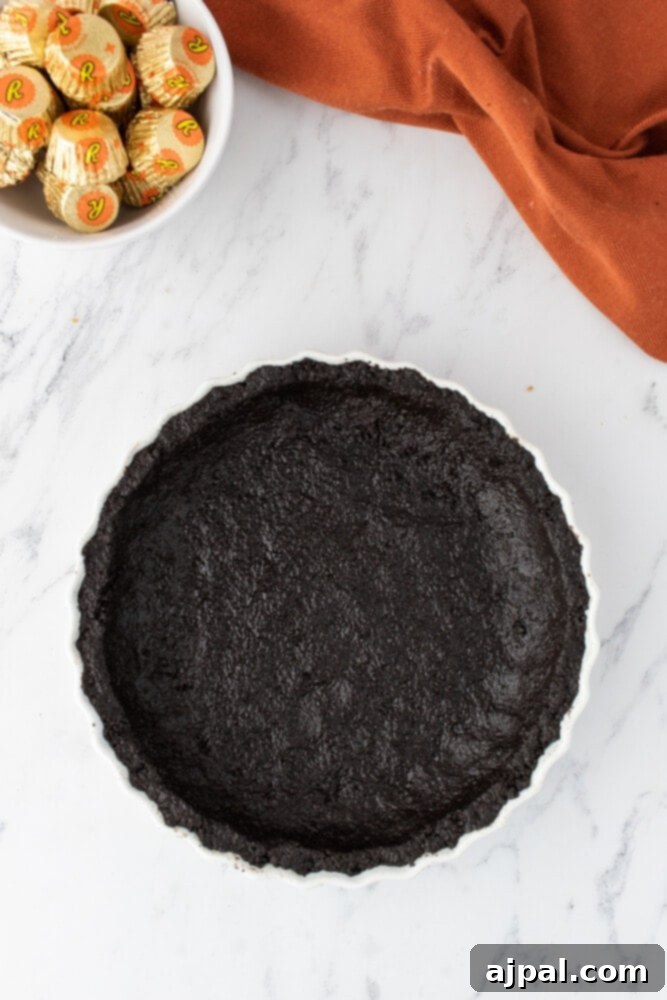
1. Prepare the Crust: Begin by preheating your oven to 325°F (160°C). Lightly grease a 9-inch pie plate or tart pan and set it aside. In a large mixing bowl, combine the chocolate cookie crumbs with the melted unsalted butter. Use a fork to mix thoroughly until the crumbs are evenly moistened and have the texture of wet sand. Transfer this mixture to your prepared pie pan and press it firmly and evenly across the bottom and up the sides. A firm press is crucial to prevent the crust from crumbling and to create a solid base for your filling. Bake the crust for 10 minutes, then remove it from the oven and allow it to cool completely on a wire rack before proceeding to the next step. This cooling period is vital to ensure the crust remains crisp.
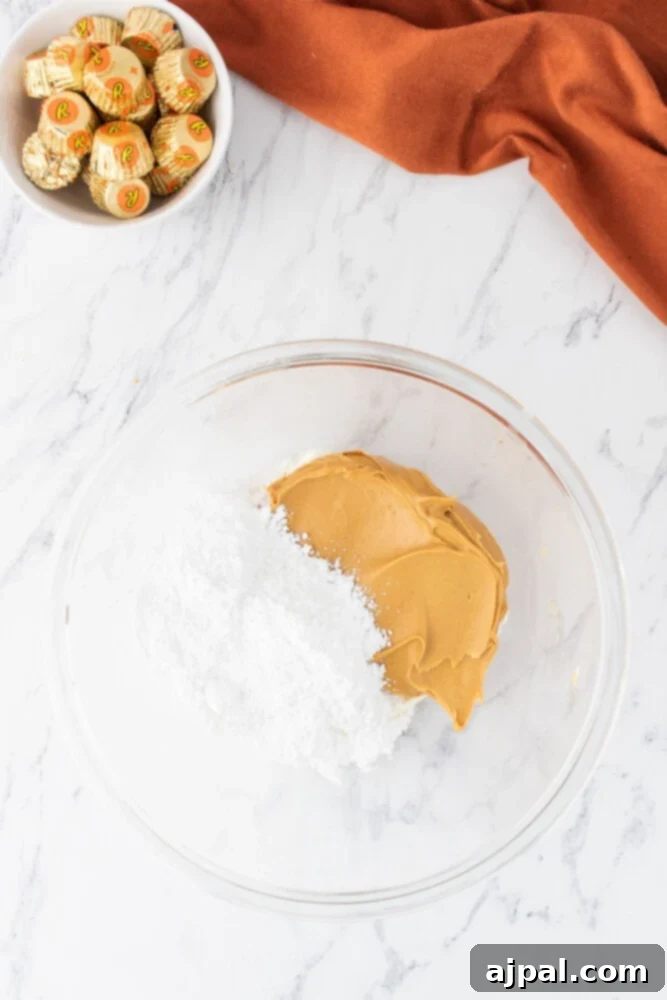
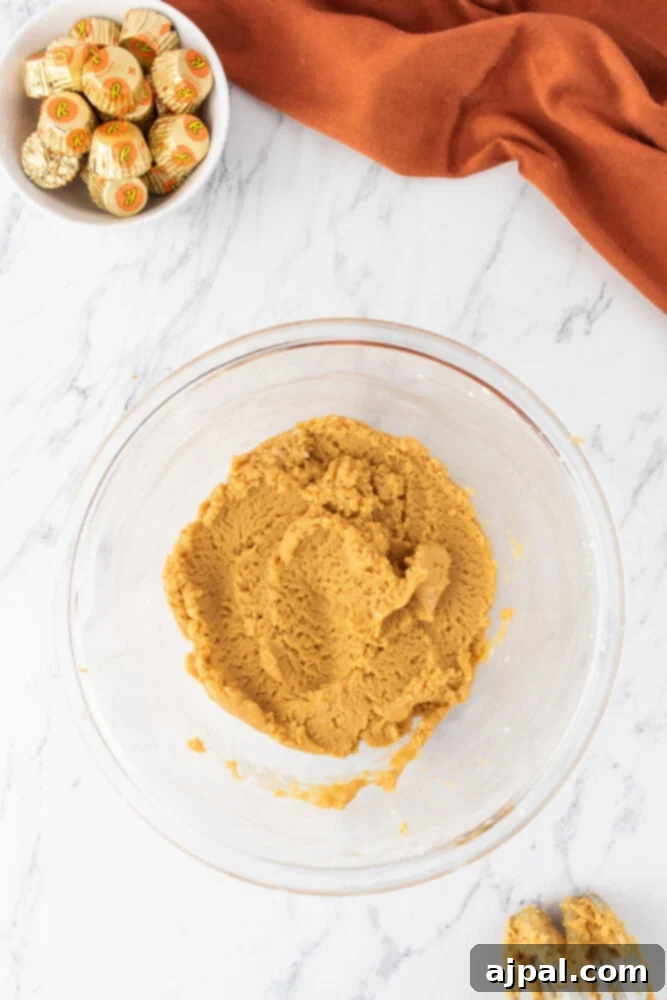
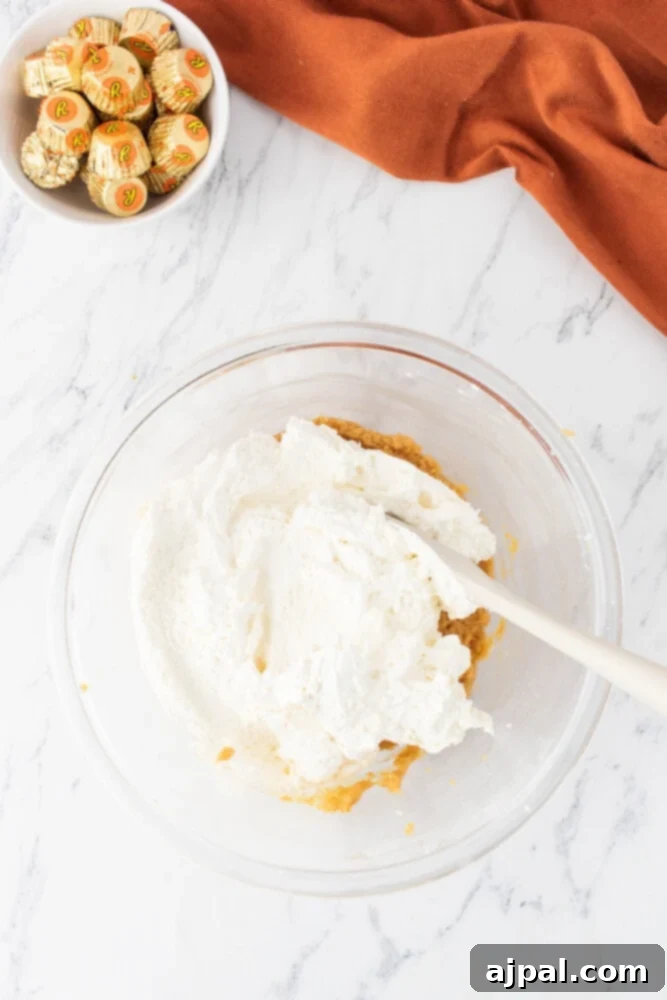
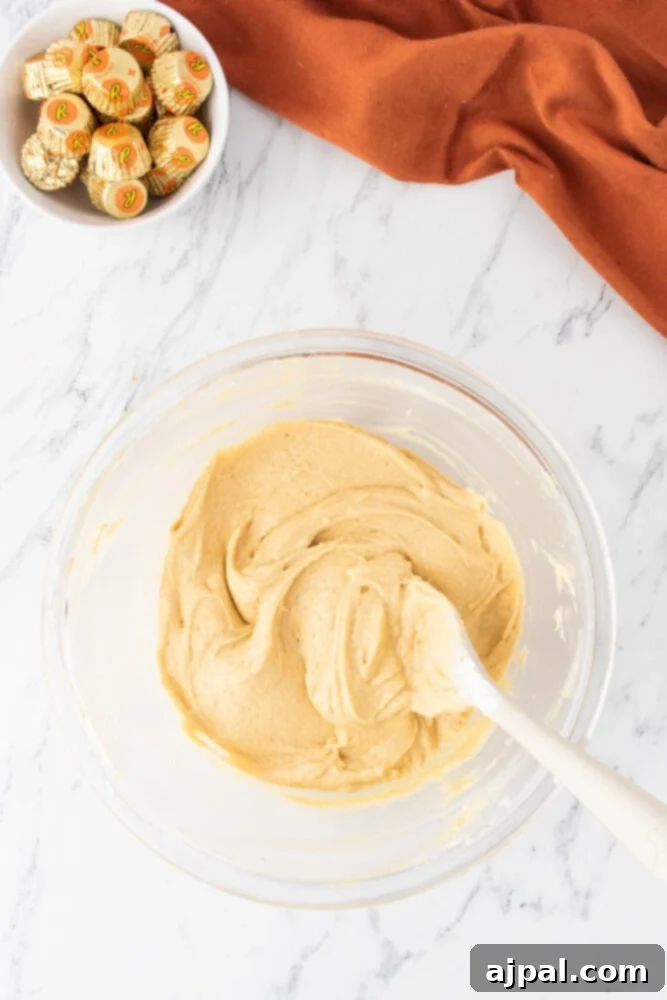
2. Craft the Peanut Butter Filling: While the crust cools, prepare your irresistible filling. In a large mixing bowl, use a hand mixer to beat the softened cream cheese until it’s smooth and lump-free. Gradually add the powdered sugar and creamy peanut butter, continuing to beat until the mixture is light, smooth, and perfectly creamy. Once combined, gently fold in the thawed whipped topping (Cool Whip) using a spatula. Be careful not to overmix, as this can deflate the whipped topping and reduce the airy texture of your filling. The goal is a light, cloud-like consistency.
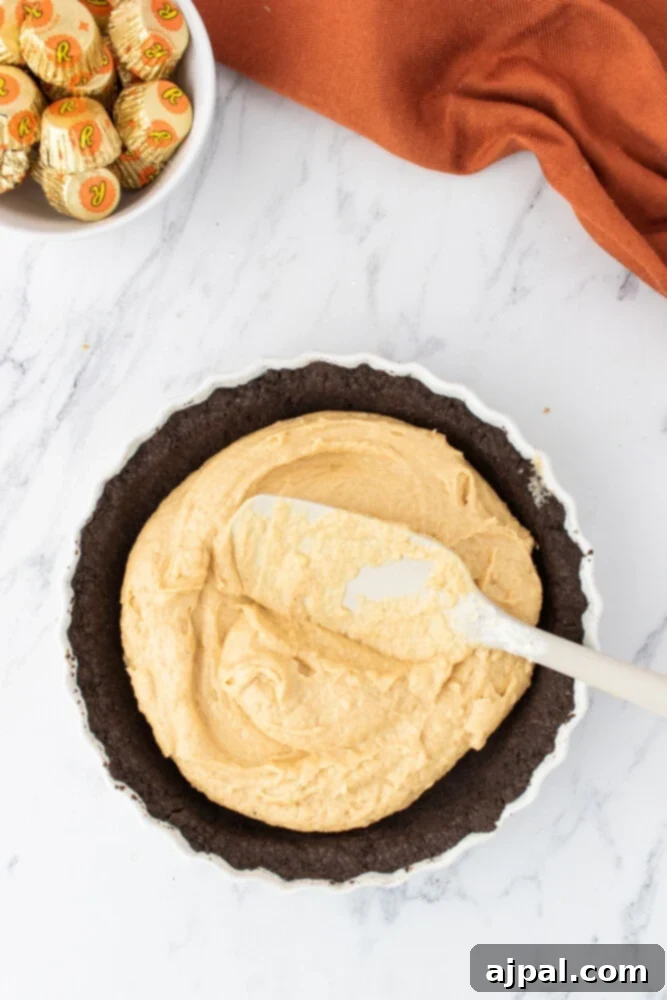
3. Assemble and Chill: Carefully spread the prepared peanut butter filling into the completely cooled chocolate pie crust, ensuring it’s evenly distributed. Place the pie in the freezer and chill for at least 3 hours, or until the filling is firm and fully set. This extended chill time is essential for the pie to hold its shape when sliced.
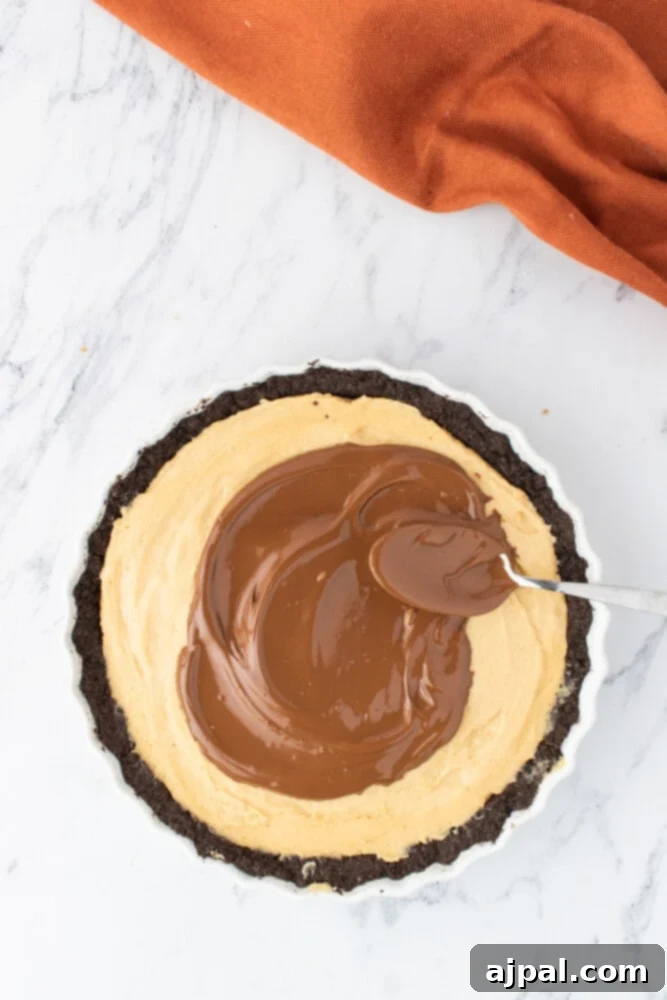
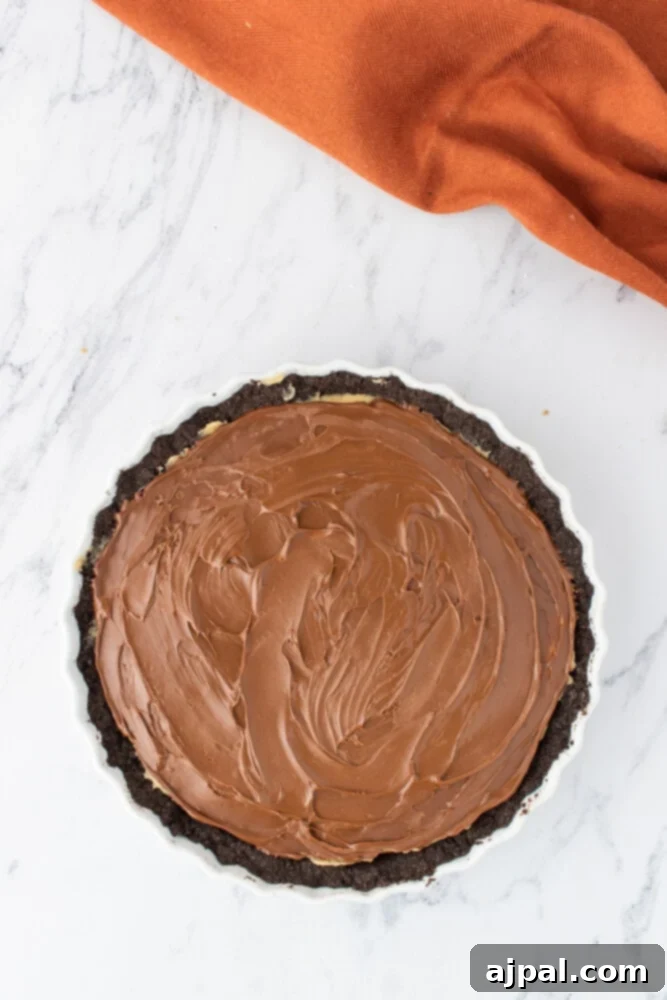
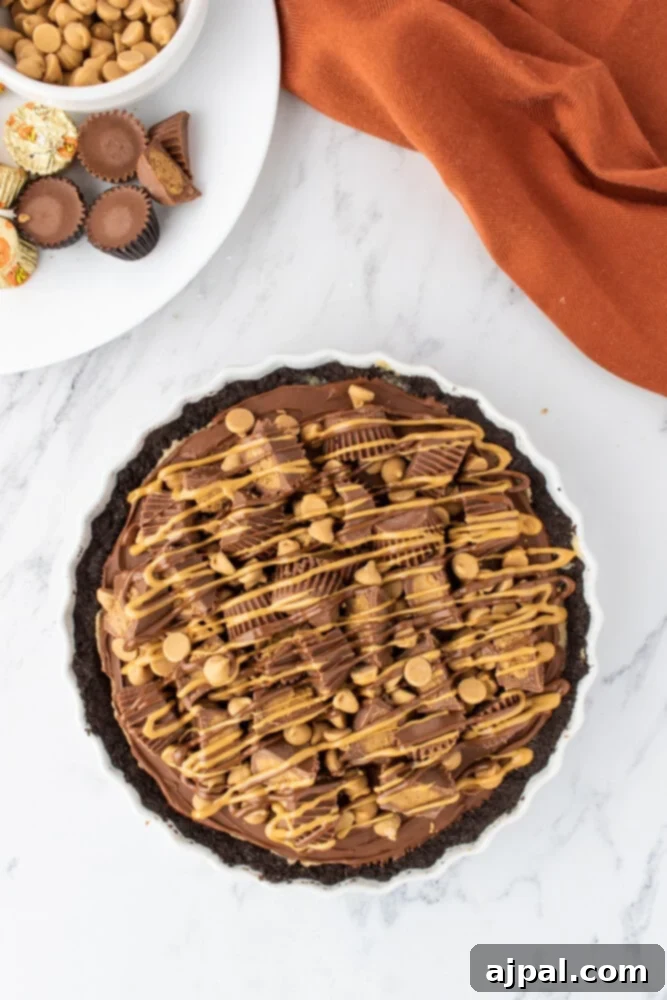
4. Garnish and Serve: Once the pie is thoroughly chilled, gently melt the milk chocolate (either in a microwave-safe bowl in 30-second intervals, stirring between each, or over a double boiler). Spread this melted chocolate evenly over the set peanut butter filling. Immediately arrange the mini Reese’s cups and peanut butter chips on top of the chocolate layer. For an extra decorative touch, you can drizzle additional melted peanut butter and melted chocolate over the entire pie. Return the pie to the freezer for a few more minutes to set the toppings, then it’s ready to slice and serve. For the cleanest slices, use a knife warmed under hot water and wiped clean between each cut.
Expert Tips for a Dazzling Peanut Butter Pie
Achieving the perfect Reese’s Peanut Butter Pie is easy with a few key considerations. These tips and tricks will help you elevate your pie from great to absolutely unforgettable, ensuring a smooth process and delightful outcome.
- Make it Gluten-Free: It’s incredibly simple to adapt this recipe for gluten-free diets. Just swap the regular chocolate sandwich cookies for your favorite gluten-free chocolate cookies when making the crust. The rest of the ingredients are naturally gluten-free, making this a versatile dessert for everyone to enjoy.
- Go Nuts for Texture: For an added layer of crunch and a deeper nutty flavor, consider folding some finely chopped, toasted nuts (like peanuts or pecans) into the peanut butter cream filling. This provides a wonderful textural contrast to the smooth, creamy filling.
- Prioritize Quality Peanut Butter: The quality of your peanut butter directly impacts the flavor of your pie. Opt for a high-quality, creamy peanut butter. While regular brands work well, a fresh-ground peanut butter from a specialty store or a natural, unsweetened variety can truly enhance the depth and richness of the peanut butter flavor in the pie.
- Balance the Sweetness to Your Taste: This pie is undeniably sweet, as it should be! However, feel free to adjust the amount of powdered sugar in the filling to match your personal preference. To cut through some of the richness and add complexity, a tiny pinch of sea salt in the peanut butter filling can create a delightful contrast that enhances the overall flavor profile.
- Freeze Ahead for Convenience: One of the best features of this recipe is its excellent freezer-friendliness. You can prepare the entire pie days or even weeks in advance. Double-wrap it tightly in plastic wrap and then in foil to prevent freezer burn, and it will keep beautifully. This makes it a fantastic make-ahead option for parties or busy holidays. You can also freeze individual slices of leftovers, ensuring you always have a delightful treat on hand for those unexpected cravings.
- Slice with Precision: To achieve perfectly clean, elegant slices, especially with a cold, firm pie, warm your knife under hot water, then wipe it completely dry before making each cut. Repeat this process for every slice, and you’ll be amazed at the professional-looking results.
- Chill Thoroughly for Structure: Patience is a virtue when it comes to no-bake pies. Ensure you allow for the recommended chill time (at least 3 hours in the freezer) to properly set the peanut butter filling. A thoroughly chilled pie will hold its shape beautifully, preventing a runny or messy slice and ensuring the best possible texture.
Common Questions Answered (FAQs)
To maintain its freshness and delightful texture, wrap your peanut butter pie tightly with plastic wrap or aluminum foil. Store it in the refrigerator. For the best flavor and consistency, it’s ideal to consume the pie within a few days. Before serving, allow it to sit at room temperature for about 15-20 minutes to soften slightly, enhancing its creamy texture.
Absolutely! This pie freezes exceptionally well, making it a perfect make-ahead dessert. Double-wrap the entire pie (or individual slices) in plastic wrap, then an additional layer of aluminum foil to protect it from freezer burn. Label it with the date and freeze for up to 1-2 months. When you’re ready to enjoy it, thaw the pie in the refrigerator for several hours or overnight before serving.
This particular recipe is not inherently gluten-free due to the chocolate sandwich cookie crust. However, it can be easily adapted! Simply substitute regular chocolate sandwich cookies with a brand of gluten-free chocolate cookies for the crust. All other ingredients in the filling and topping are typically gluten-free, but always double-check labels to be sure.
Yes, mini peanut butter pies are a fantastic idea for individual servings or party treats! To do this, simply prepare more crust mixture (you might need to adjust quantities based on the size and number of mini pans). Press the crust into individual ramekins, muffin pans (lined with cupcake liners), or mini tart shells. Reduce the baking time for the crust slightly, then proceed with the filling and chilling steps as usual. The chilling time might also be a bit shorter for smaller pies.
Explore More Sweet Indulgences
While this Reese’s Peanut Butter Pie is a masterpiece on its own, its versatility makes it suitable for various occasions—be it a birthday celebration, a festive holiday gathering, a casual potluck, or simply a well-deserved personal treat. If you’ve loved creating this pie, we encourage you to discover more delightful desserts from our collection. Here are some other Sweet C’s favorites that are sure to satisfy your sweet cravings:
Cranberry Bars
Best Chocolate Truffles
Cranberry Apple Pie
White Chocolate Dipped Ghost Cookies
Pumpkin Bread Mini Pumpkins
20+ of the best Halloween treats!
Grandma’s Apple Pie
Pumpkin Cupcakes
Click here to explore all our delightful pie recipes!
Reese’s Peanut Butter Pie Recipe Card
If you loved this easy recipe, please consider giving it a five-star rating and leaving a comment below! We’d also be thrilled if you shared your creations on Instagram, Facebook, and Pinterest – don’t forget to tag us!
Share on Facebook
Share
Pin this now to find it later
Pin It
Follow on Instagram
Follow
Click here to view the web story for this recipe!

Only have 30 minutes to get dinner on the table? Sign up for my 30-minute dinner plans direct to your inbox!
Find and shop my favorite products in my Amazon storefront here!
Reese’s Peanut Butter Pie
Equipment
-
DI ORO Silicone Spatula Set – Rubber Kitchen Spatulas for Baking, Cooking, & Mixing – 600°F Heat-Resistant & BPA Free Silicone Scraper Spatulas for Nonstick Cookware – Dishwasher Safe (4pc, Black)
-
KitchenAid NEW 7 Quart Bowl Lift Stand Mixer with Double Flex Edge Beater KSM70SK, Mineral Water
-
USA Pan Bakeware Aluminized Steel Pie Pan, 9-Inch
Ingredients
Oreo crust
- 2 ½ cups oreo crumbs
- 6 tablespoons unsalted butter, melted
Peanut butter filling
- 8 ounces cream cheese, softened
- ¾ cups powdered sugar
- 1 cup creamy peanut butter
- 8 ounces cool whip, thawed
Topping
- ½ cup milk chocolate
- Melted peanut butter
- Mini Reese’s cups
- Peanut butter chips
Instructions
-
First, make the Oreo crust. Preheat the oven to 325°F (160°C). Grease a 9-inch pie plate or tart pan. Set aside.
-
In a medium mixing bowl, combine the Oreo crumbs and melted butter. Mix with a fork until a wet sand-like texture forms.
-
Add the crust mixture to the prepared pan, and press firmly on the bottom and along the sides of the pan to create an even base.
-
Bake for 10 minutes. Remove from the oven and allow to cool completely on a wire rack while you prepare the filling.
-
Next, make the peanut butter filling. In a large mixing bowl, beat the softened cream cheese with a hand mixer until smooth and creamy.
-
Add the powdered sugar and creamy peanut butter to the cream cheese mixture and continue to beat until well combined and smooth.
-
Gently fold the thawed Cool Whip into the peanut butter mixture until it is completely combined and light.
-
Pour the filling into the prepared pie crust and spread it out evenly. Freeze for at least 3 hours to allow it to set completely.
-
For the topping, melt the milk chocolate (using a microwave or double boiler) and spread it over the set filling. Immediately top with mini Reese’s cups and peanut butter chips. Drizzle additional melted peanut butter and chocolate over the top for garnish.
Nutrition
Serving: 1g
Calories: 730kcal
Carbohydrates: 55g
Protein: 13g
Fat: 53g
Saturated Fat: 25g
Polyunsaturated Fat: 23g
Cholesterol: 54mg
Sodium: 397mg
Fiber: 3g
Sugar: 39g
Nutrition information is automatically calculated, so should only be used as an approximation.
Additional Info
We hope you thoroughly enjoy creating and savoring this incredible Reese’s Peanut Butter Pie. It’s truly a dessert that brings joy with every spoonful. Happy baking!